Got my ML '09 GLXR in Feb 2010. Was initially going to get a MN 2010 GLR but it was only about $4000 difference to the previous years model but in the 4x4 variant with all the extras i wanted. So without knowing what I’d be in for after finding this site, the missus and i bought it. Lucky we did as the same weekend we found out the missus was pregnant with our first, and if we knew that first probably wouldn't have got it. But in the end we are both glad we did!!
Now before anyone pipes up. I know its platoon green and a petrol but i love it and know you do too!!
Got the factory tub liner and tow bar with it.
Just warning I may get carried away with the pics.
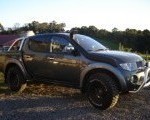
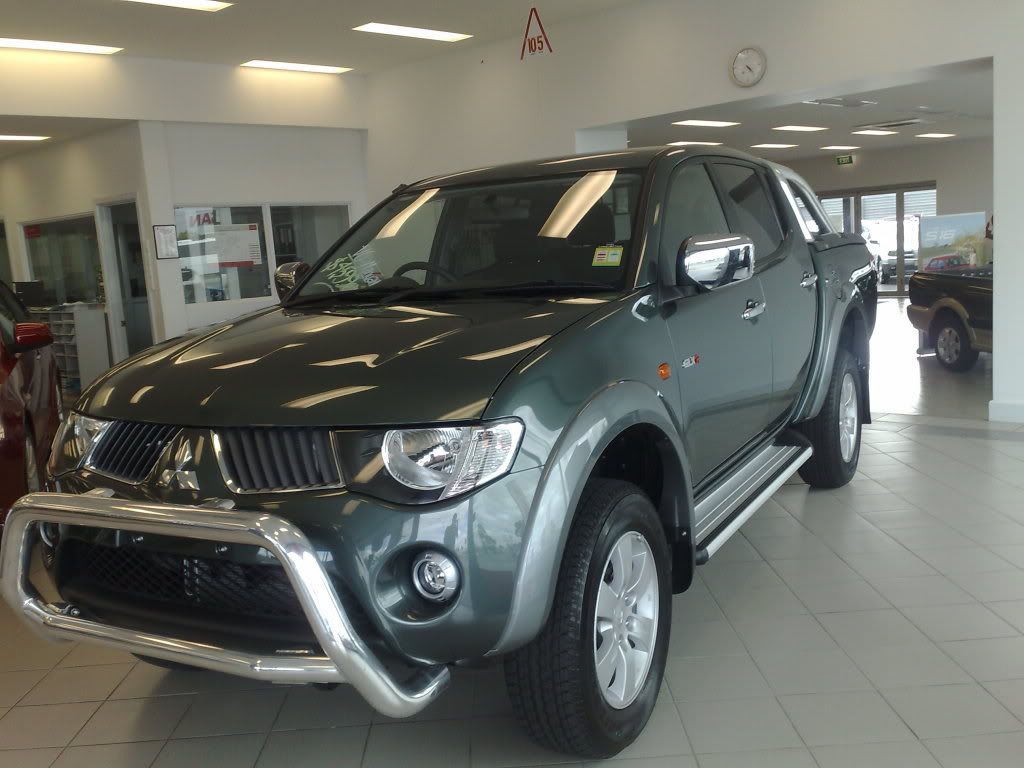
The showroom stock-standard Triton....never be that shinny again.
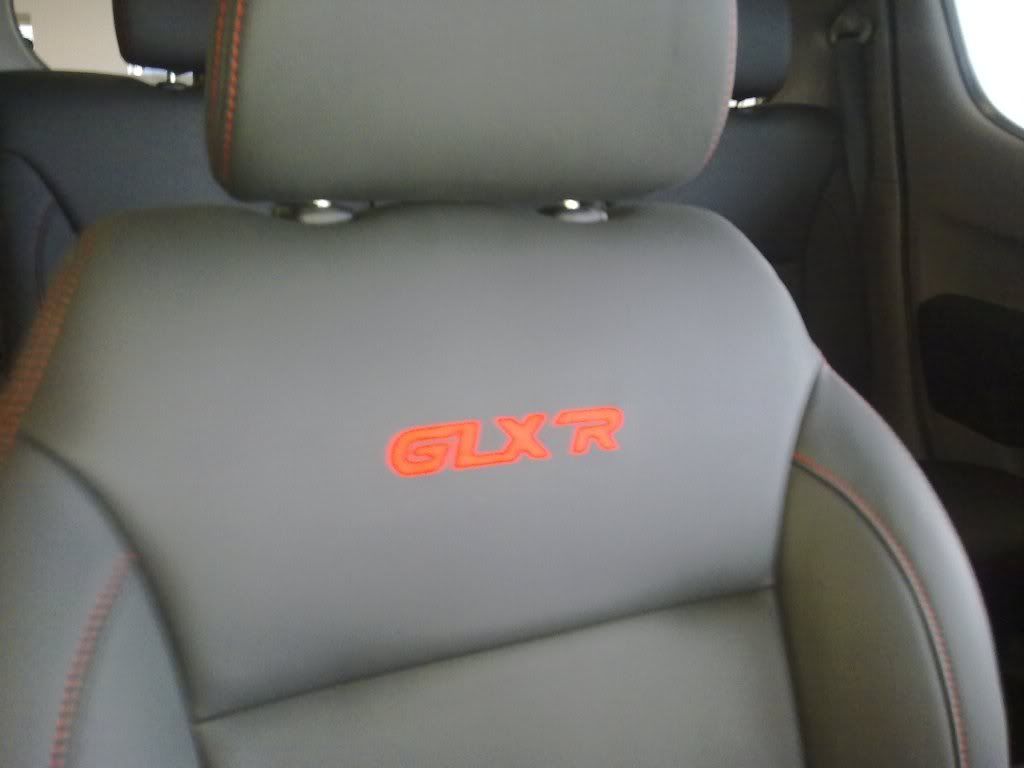
Leather interior.
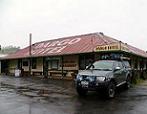
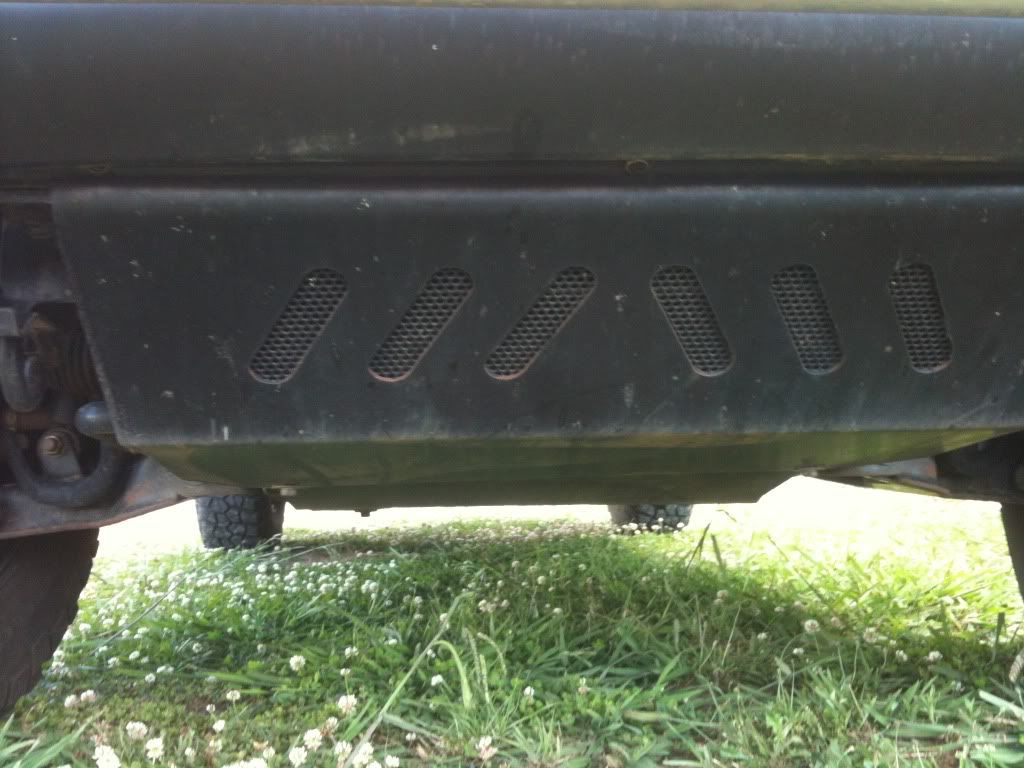
Soon after a boys weekend away along the Murray River i soon realised that the standard tyres and bash plate just wont do, and so the Mods begin. Apart from that i was wrapped with my new toy.
Just not going to happen.
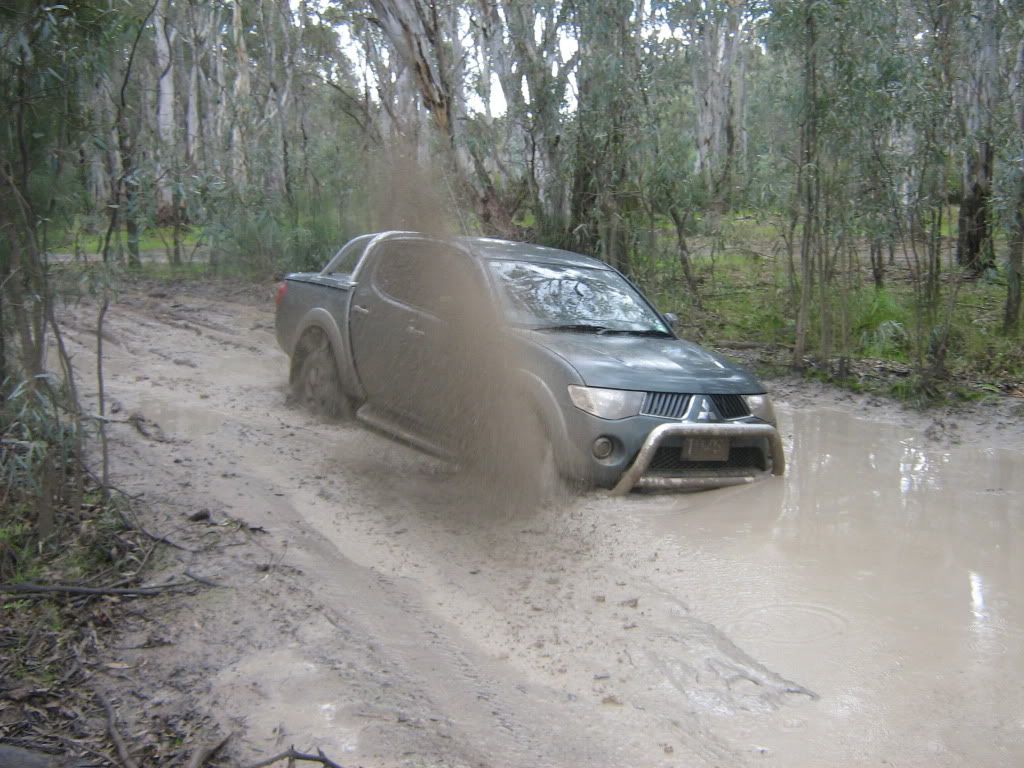
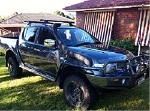
They build em tough!
Bash Plate-Brown Davis.
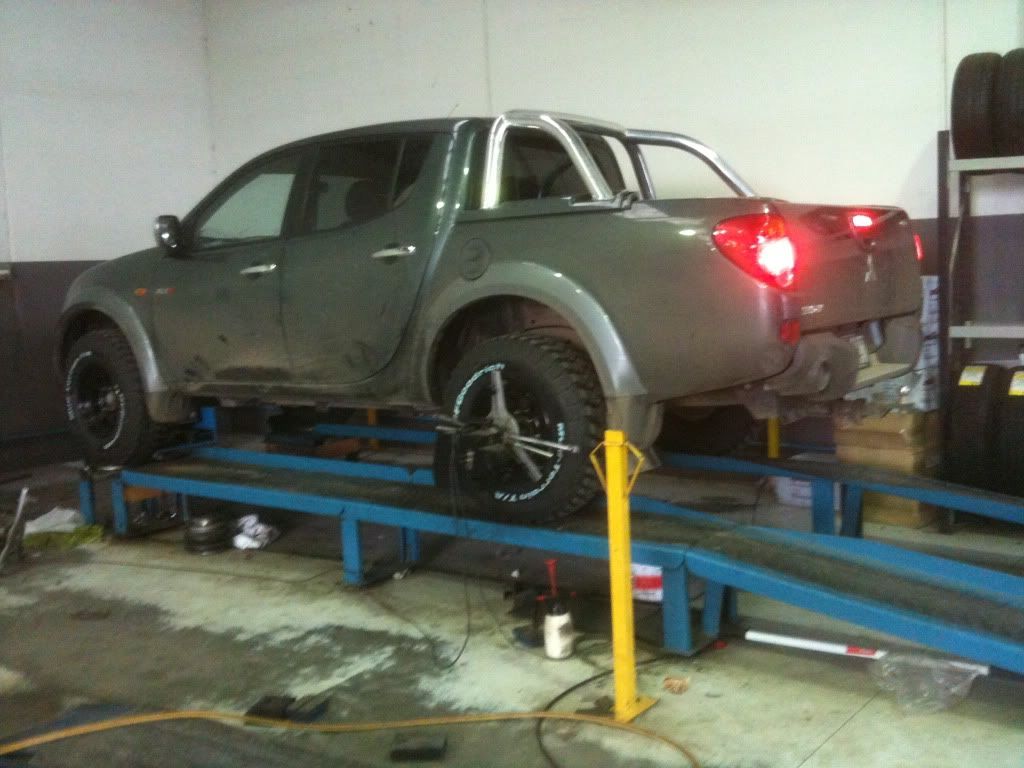
Muddies. 265/75/16 (32')
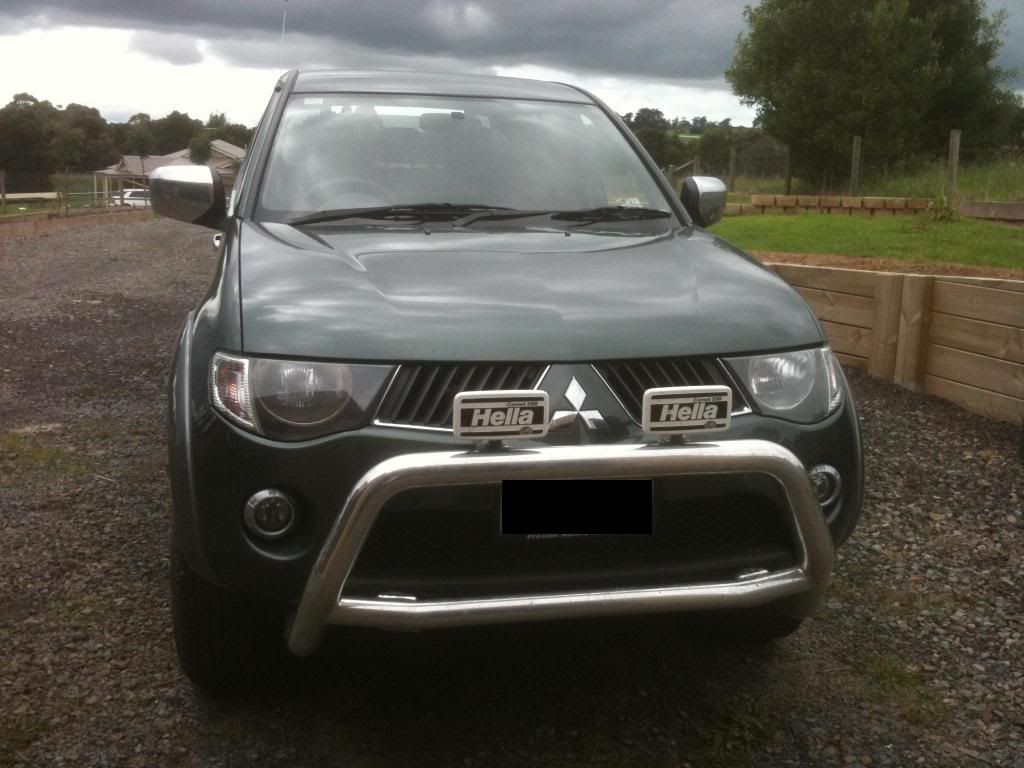
Driving lights.
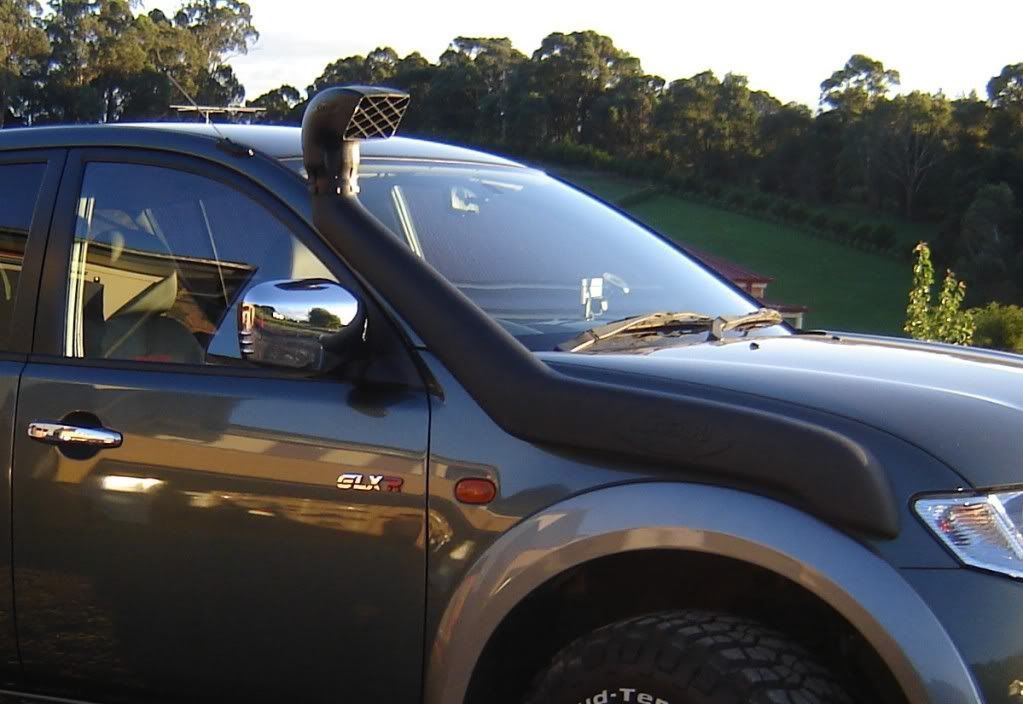
Safari Snorkel.
Put a set of Piranha dif breathers on as well.
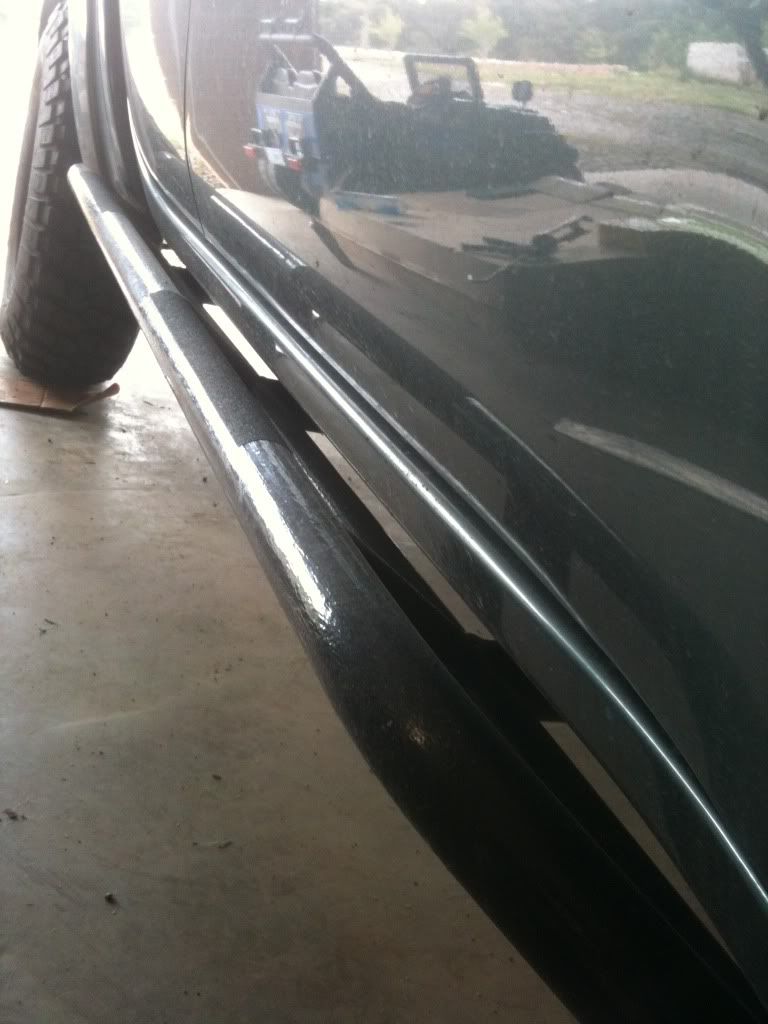
Not long after i got the tyres done i went out with a mate 4wdin and ended up dinting one of my side steps-lucky for me no damage was done to the sill of the car. Thought 'that's it!!! Need sliders.' Went and spoke to a bloke and after working it all out and how they would sit got a set made up. Ended up costing $600. So i was pleased with that. Threw a few coats of paint on for looks and some grip tape so i don't end up on my arse.
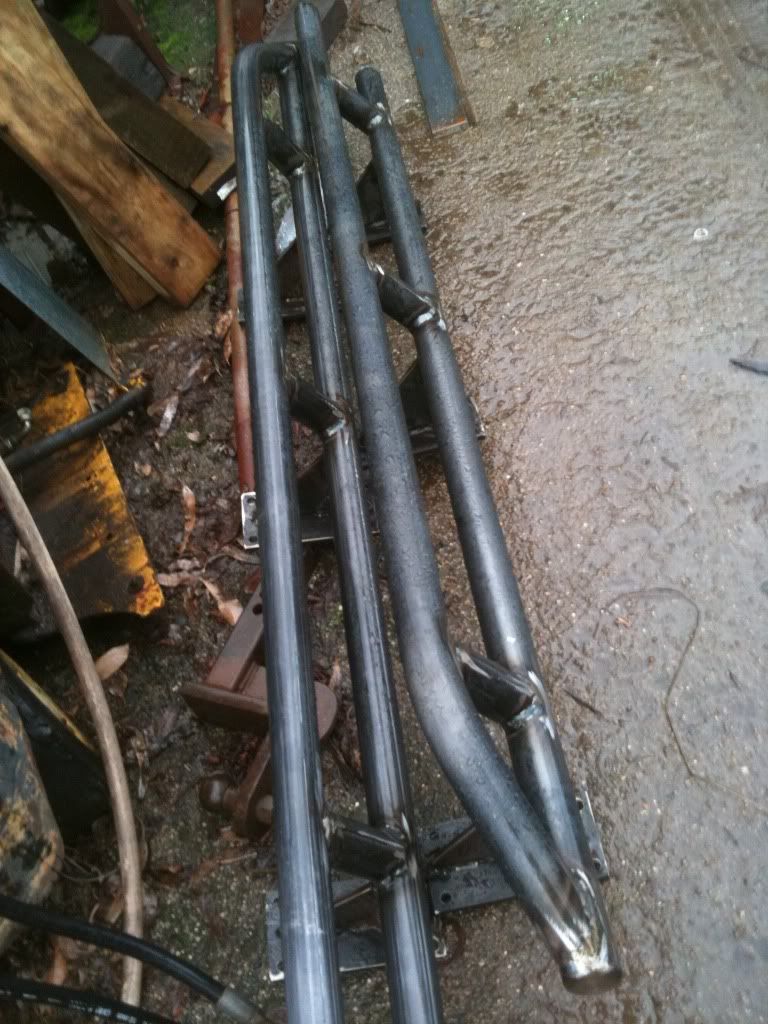
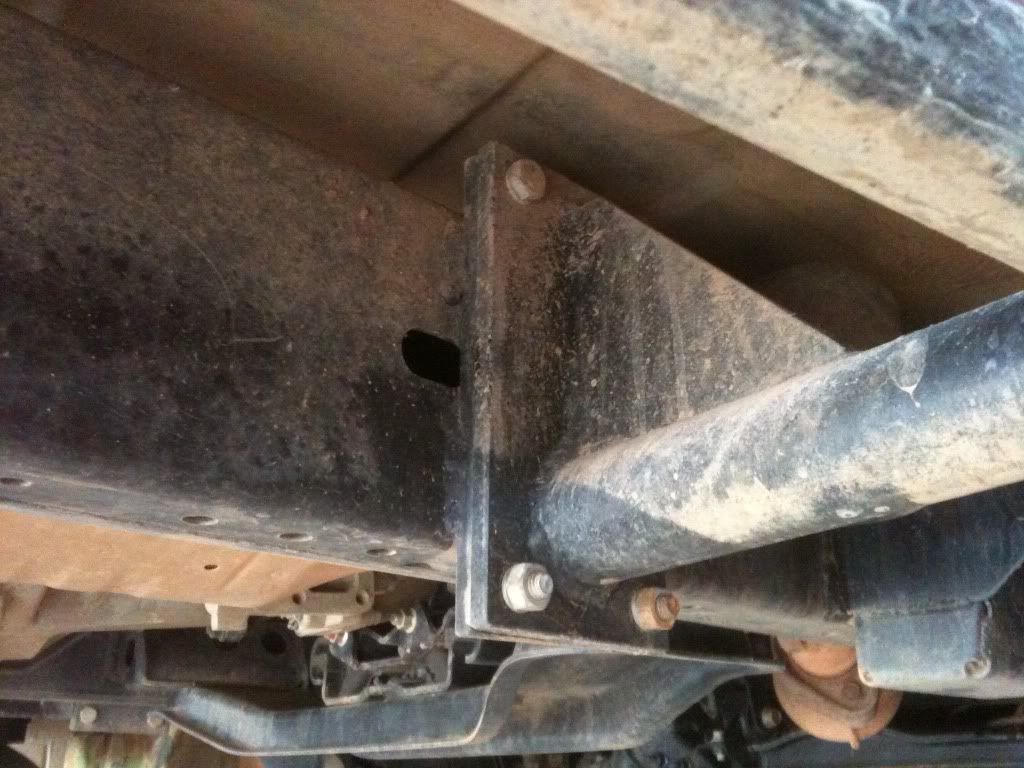
Decided that the easiest way to attach the sliders to the car was to weld plates to the chassis then just bolt from the sliders to the plates.
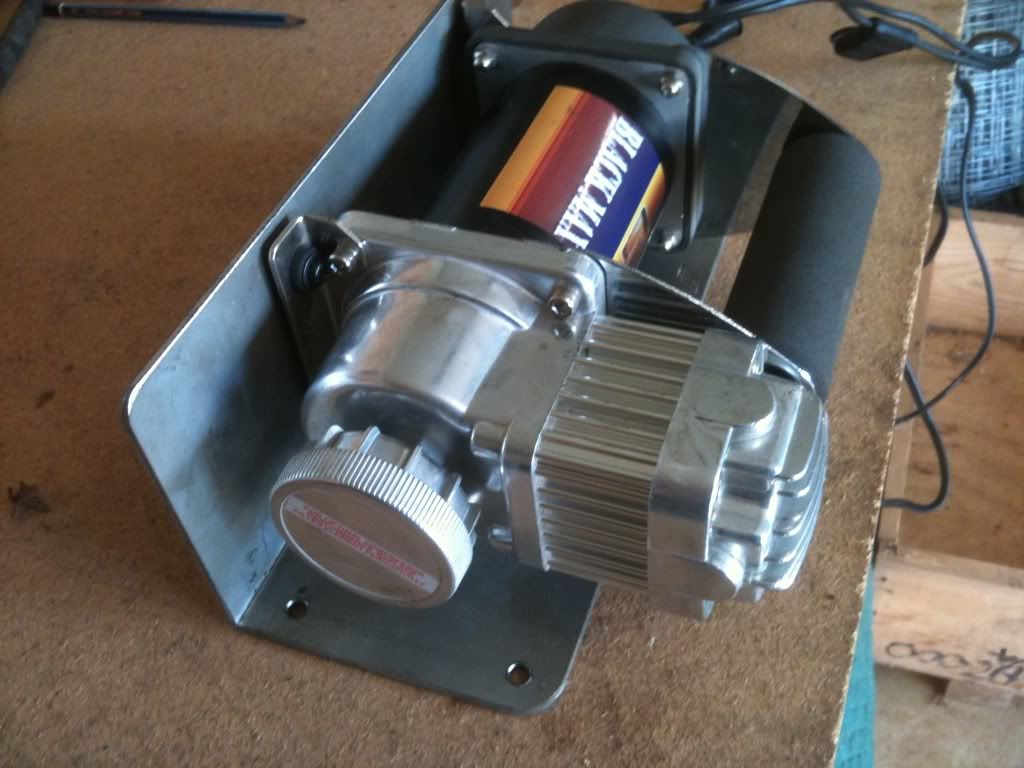
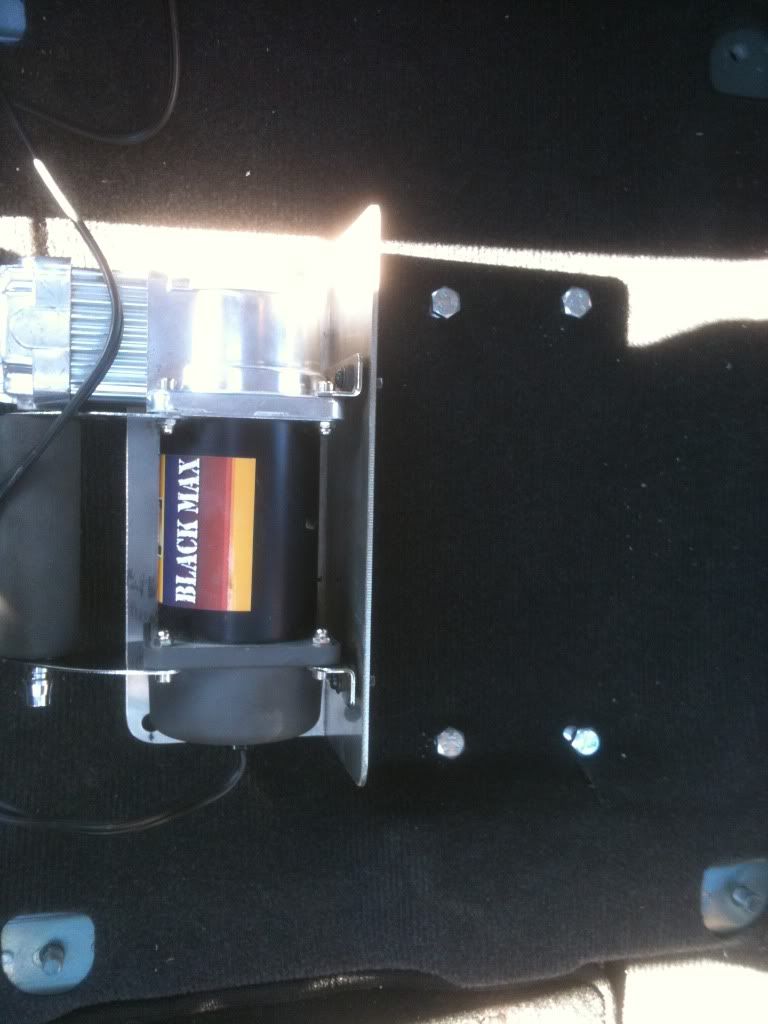
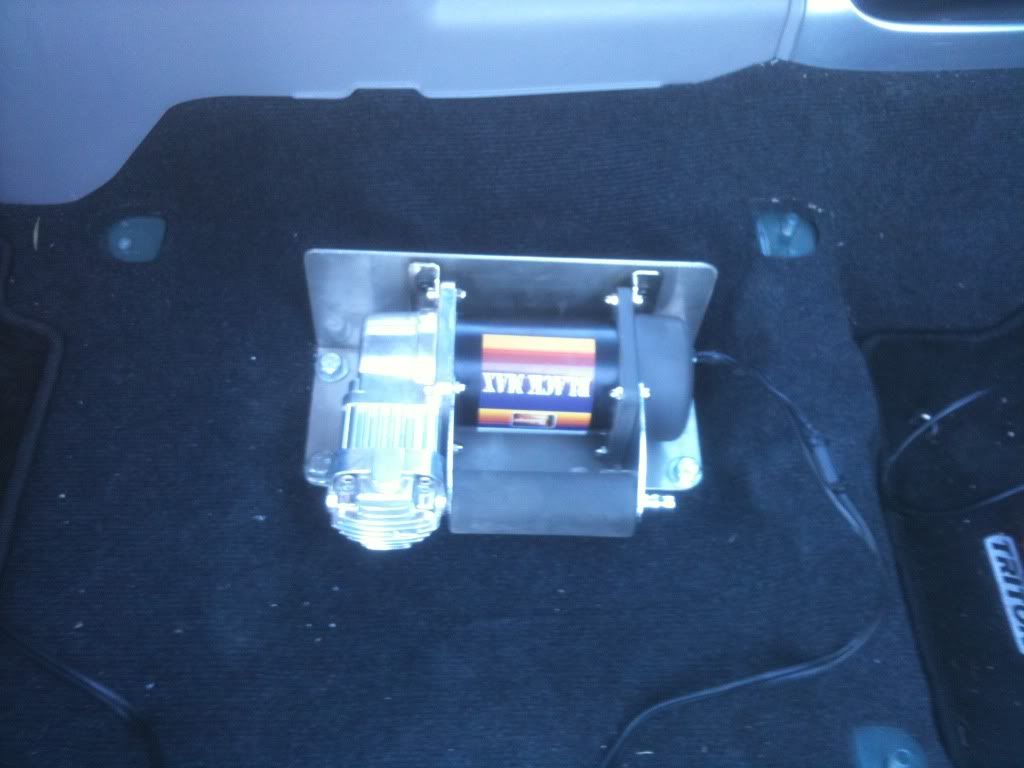
Next on the list was the air compressor. Where to mount it?? Ended up going with the under seat choice. So it was back to the guy who done the sliders for me to get a bracket made up to hold the compressor in place.
Next was taking the seat out and getting it into place. was a bit hesitant about drilling holes into the floor of the car but managed to work up the courage to do so.
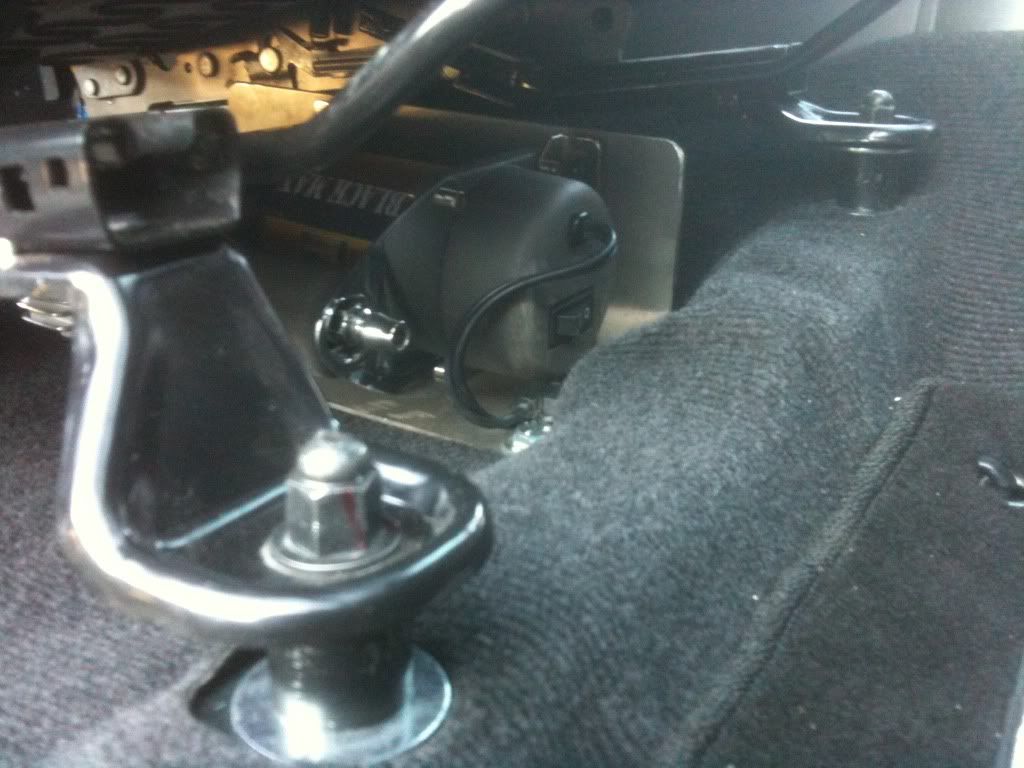
Also as seen in the pic I got seat spacers. (ordered from user Did3.2) Initially i wanted them so that the compressor had more air flow under the seat as they can get quite hot. The bonus is the difference they make to the comfort of the seats.
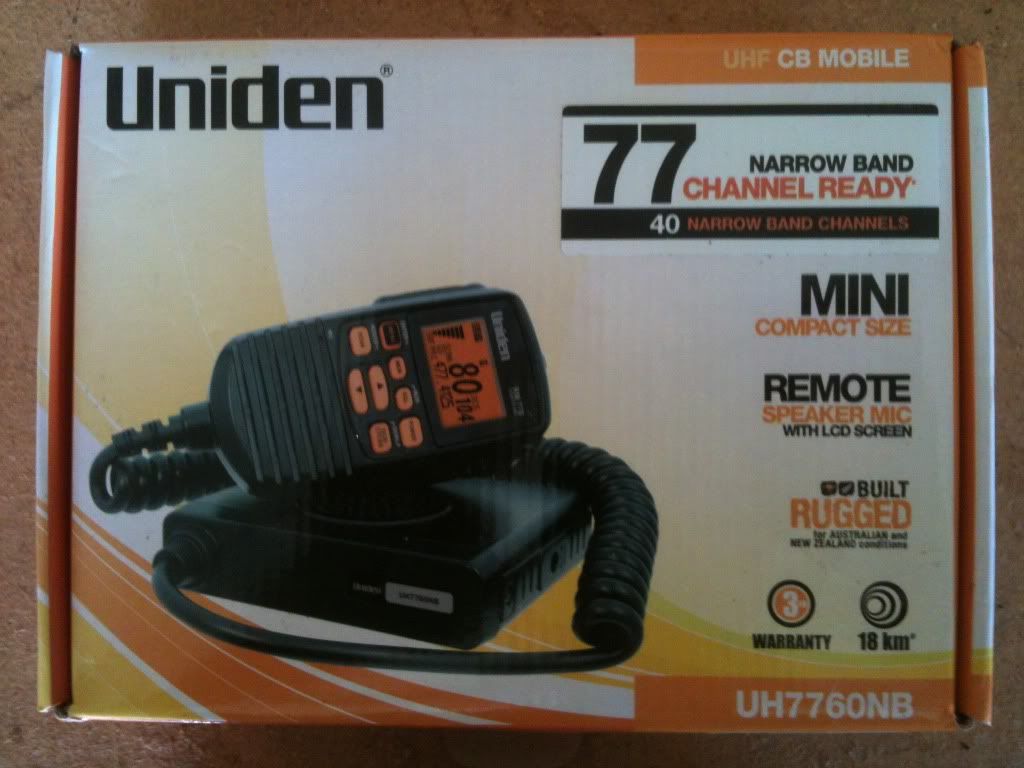
Time for a UHF. Got a Uniden 7760 off ebay with a 6.5 DB antenna. The only reason i went with this model was because all the buttons are on the handset. Which meant i could mount the unit itself under the dash with only the handset protruding.

Moved the two Hella driving lights to the rear bar and added another 2. As i needed to utilise the mounting point on the nudge bar for the antenna.
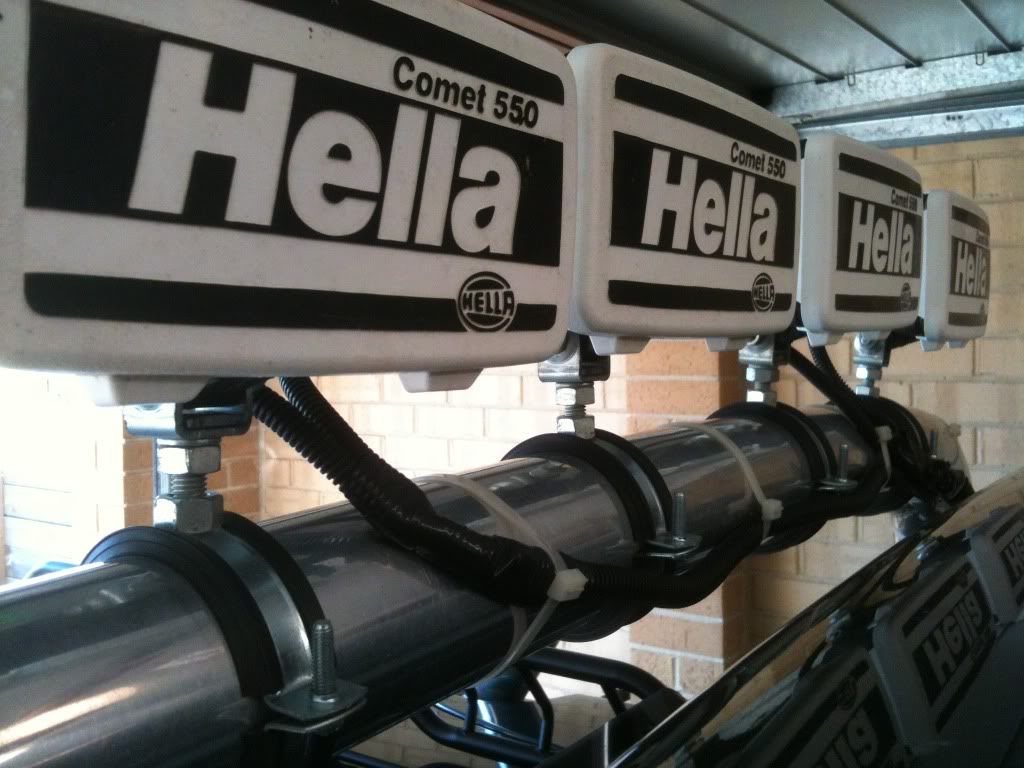
Mounted them by using "Walraven Bifix Clips" available from any plumbing shop. When wiring the lights in i wired them directly from the battery to a switch so they can be on without the use of the high beam.
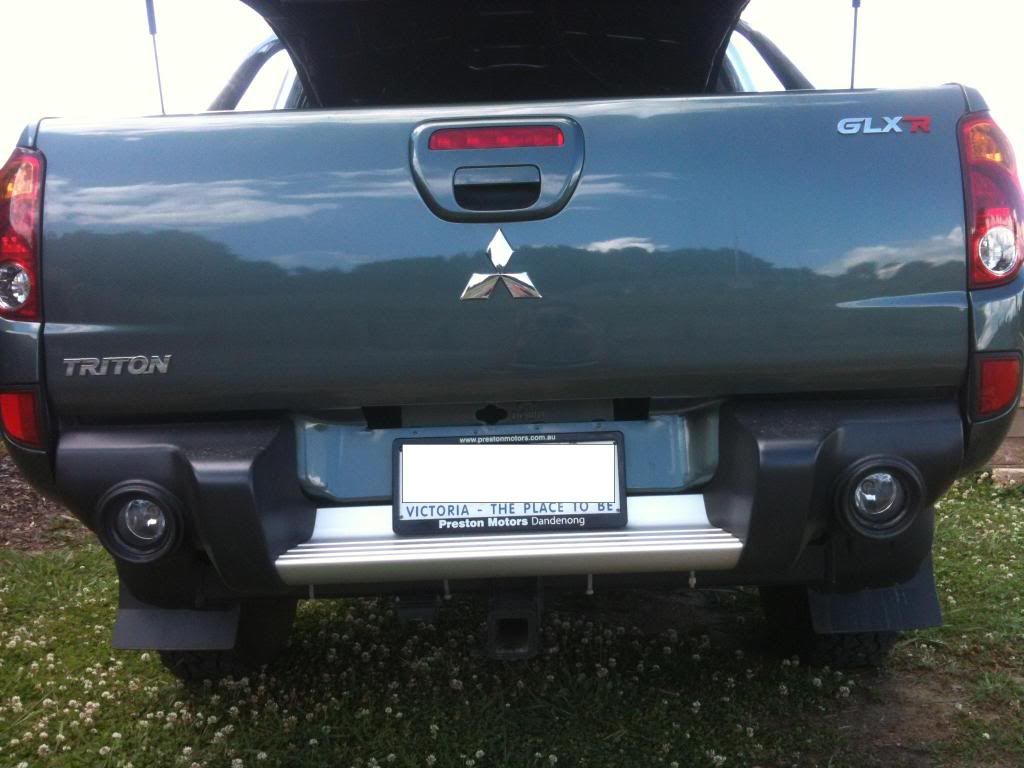
Reversing lights.
Just used at set of factory fog lights. (Mattz old ones.)
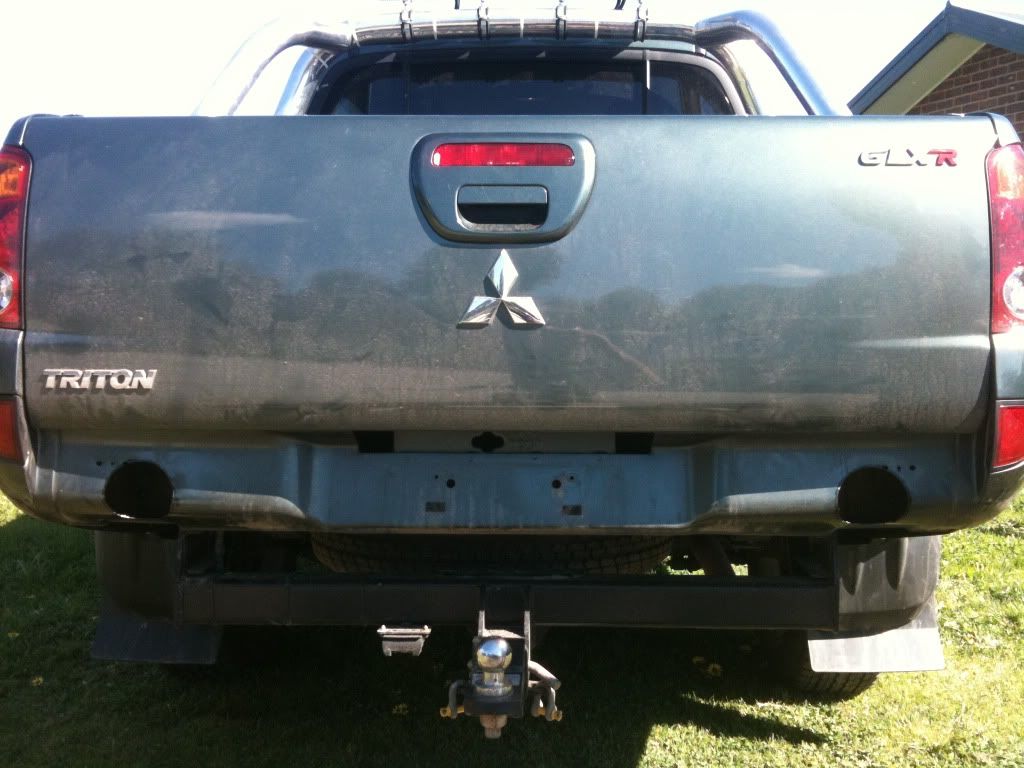
Cut holes into the factory rear bumper using a hole saw. Then went back to the bloke who done the sliders and compressor bracket to make up some spacers for the fog lights to screw into, as the holes in the bumper didn't match up with the fog lights and i wanted a certain offset for the lights and bumper. To do this i had to cut two holes into the rear of the car so the lights could sit back into them. God knows how hesitant i was about doing it. But in the end it came up ok.
Tapped them into the existing reverse wire so that they power up when put into reverse but also have a switch to turn them on manually if needed.
Switches. Right one-Driving lights. Left one-Reversing lights.

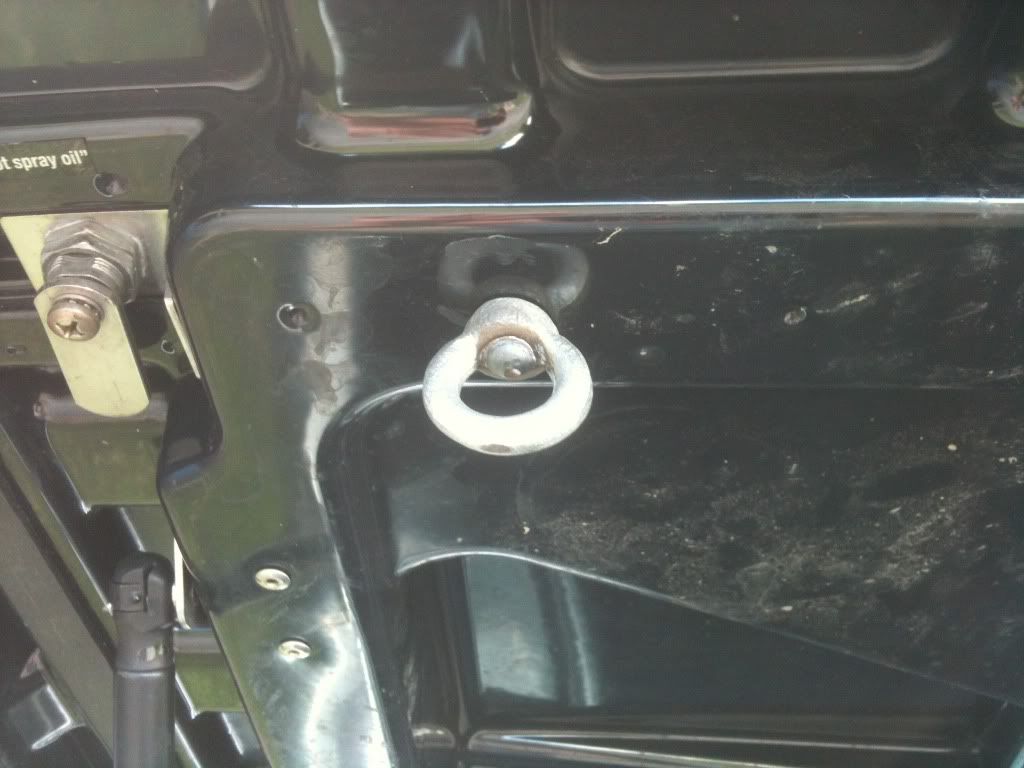
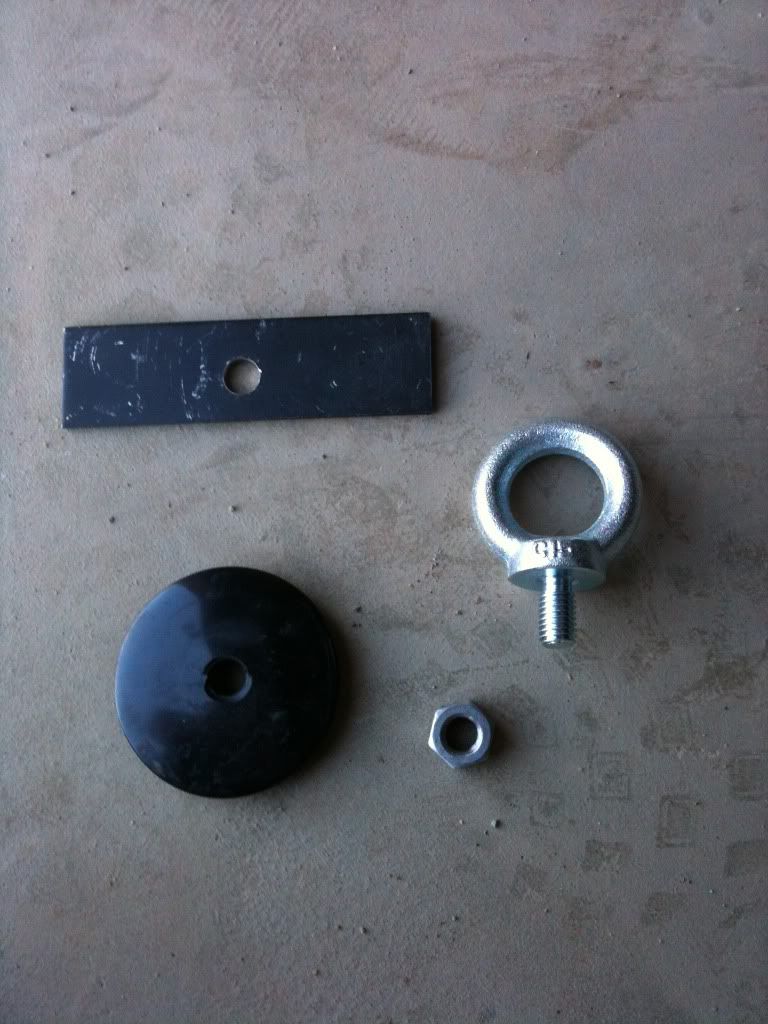
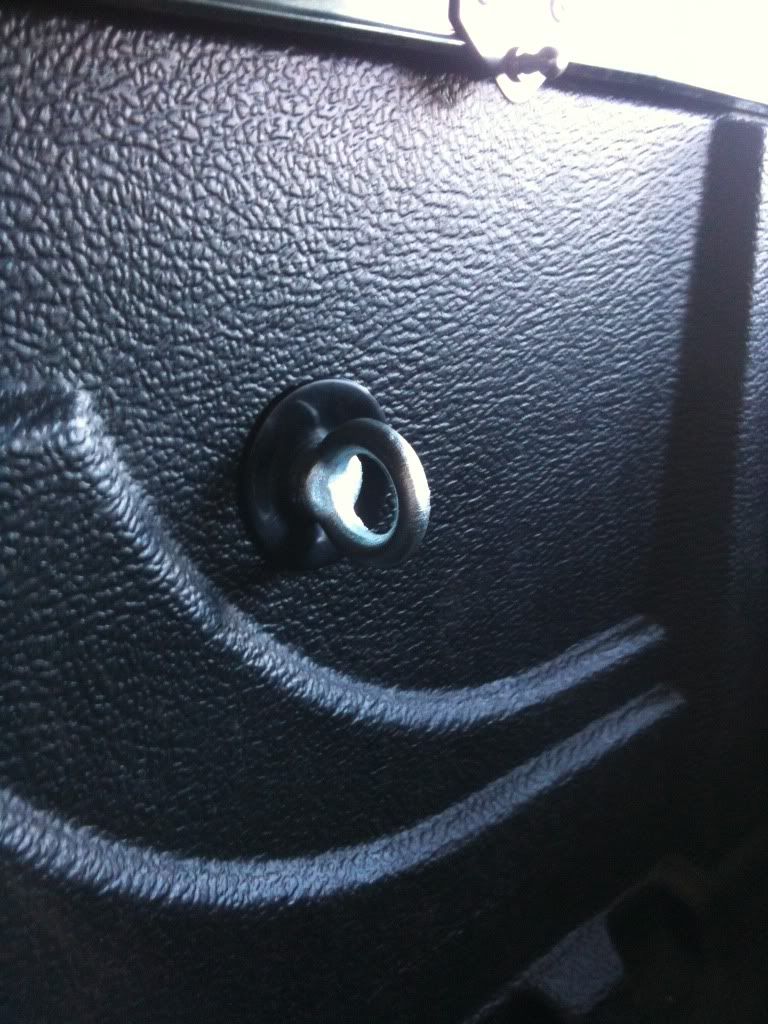
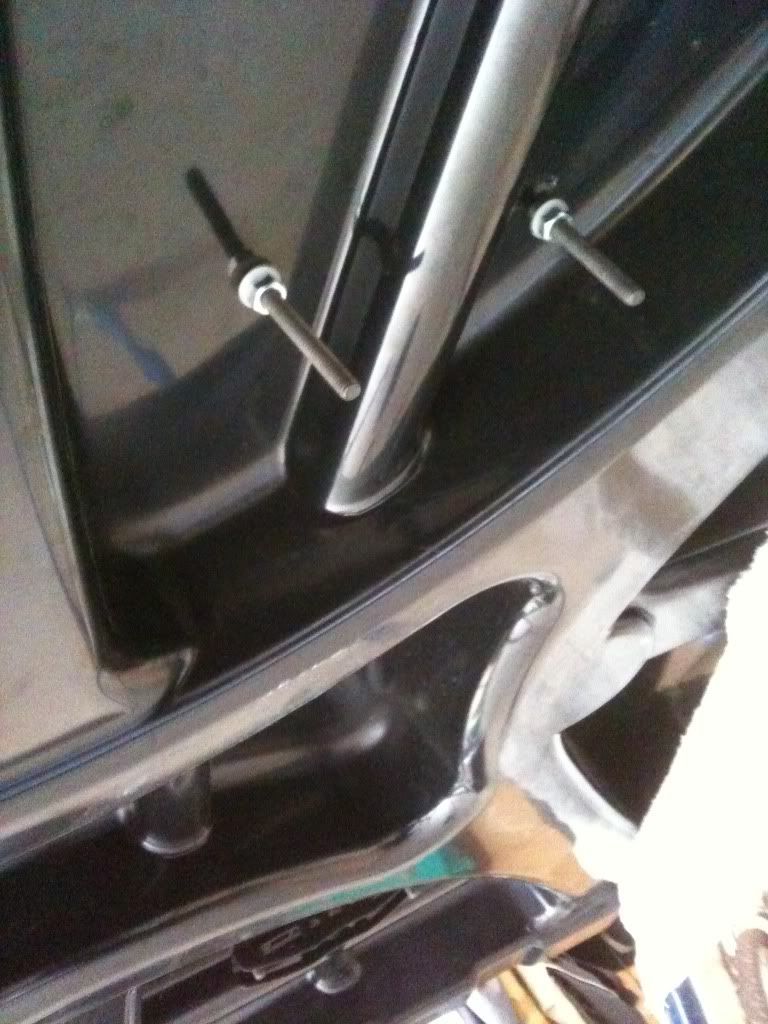
Added more tie down points to the underside of the hard lid and to the middle of the tub. The hard lid ones just screw into the holes provided as the holes are threaded. The ones in the tub arn't the strongest to tie off to as they are attached to the tub liner alone but they are better than nothing. Just don't apply to much pressure when tying off to them as the tub liner side starts to fold in.
Hard lid tie off points
middle tub tie off points
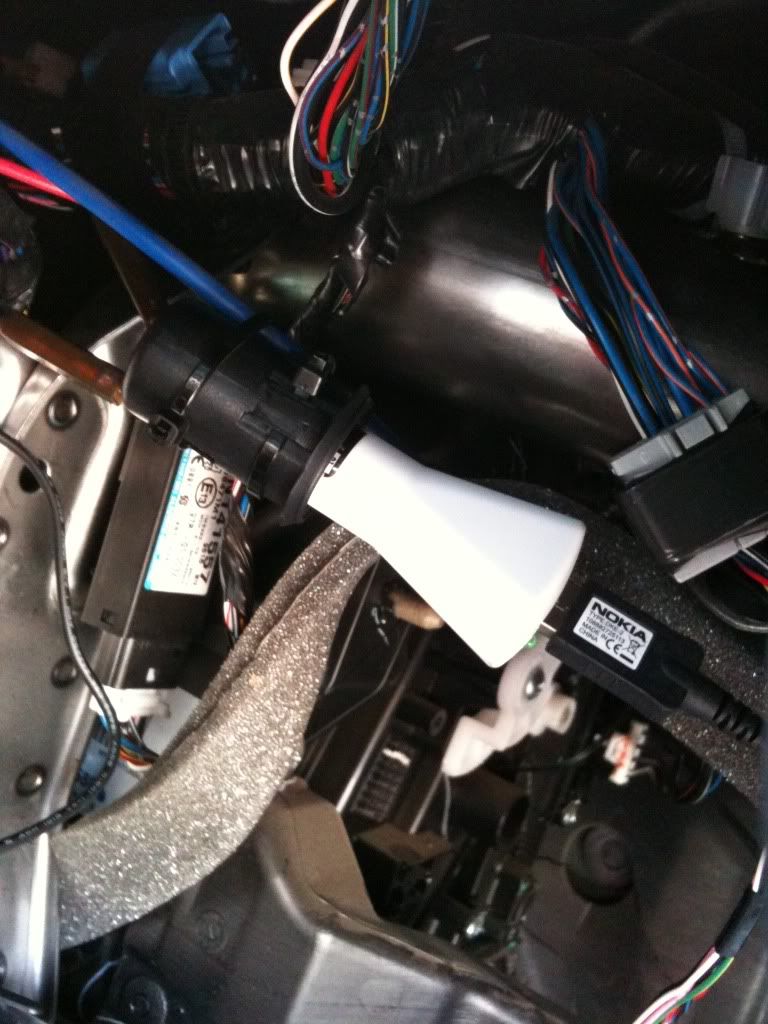
Put in another ciggie point under the dash to plug the GPS into from behind the dash as i got sick of cables everywhere on long trips.
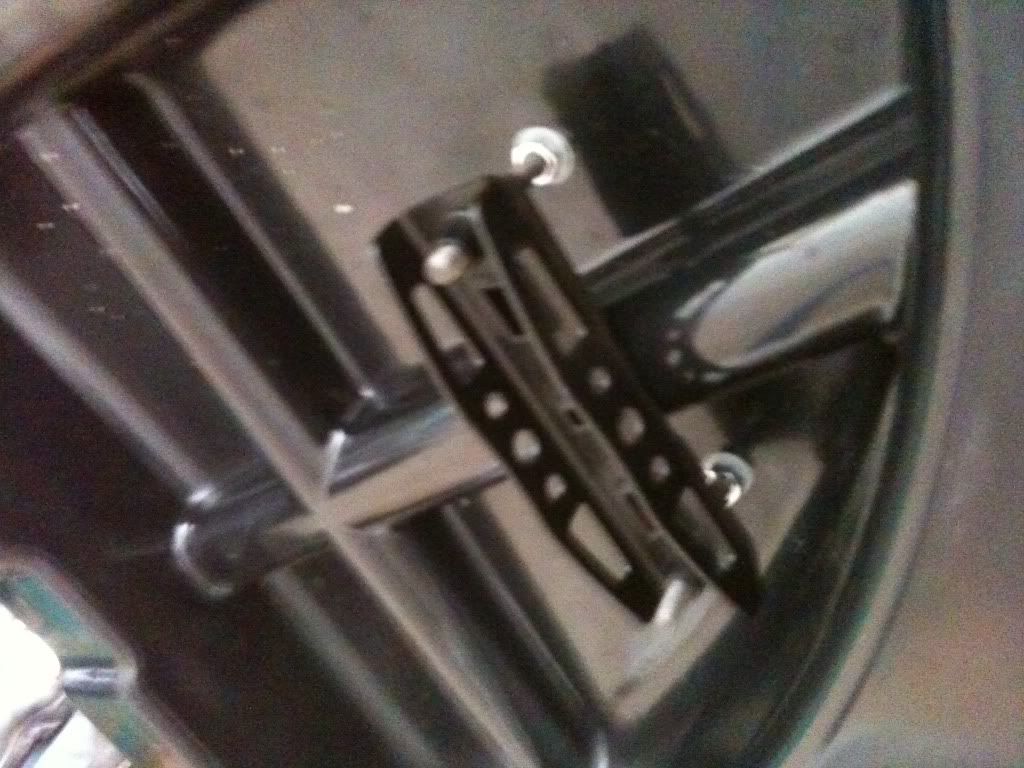
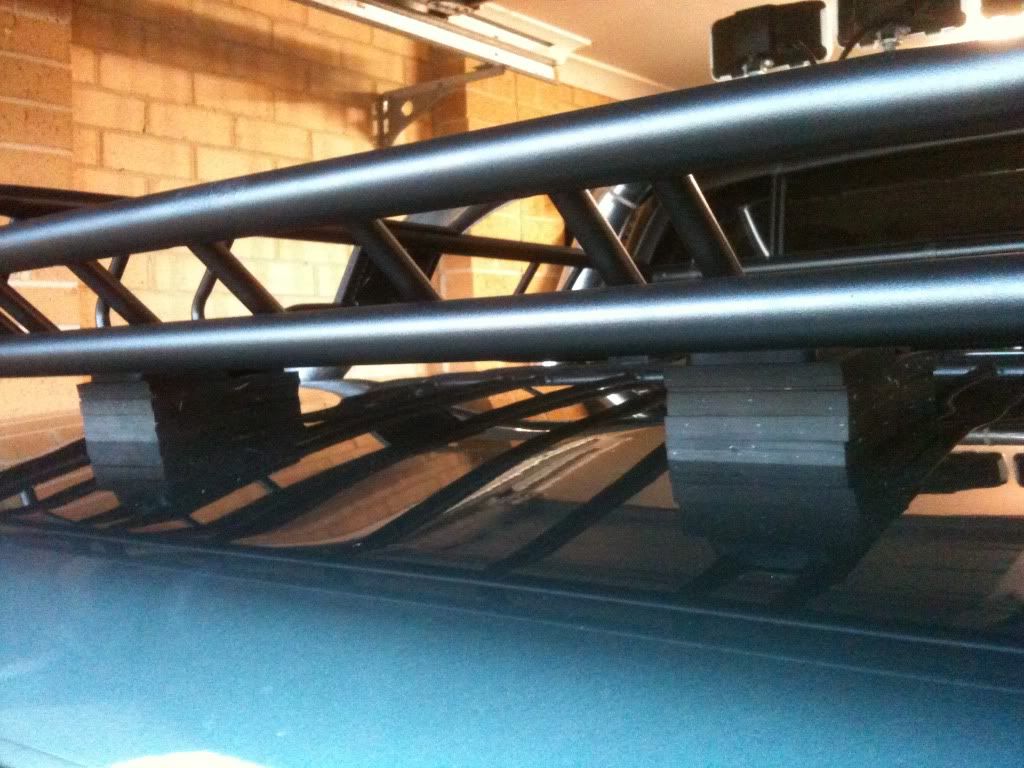
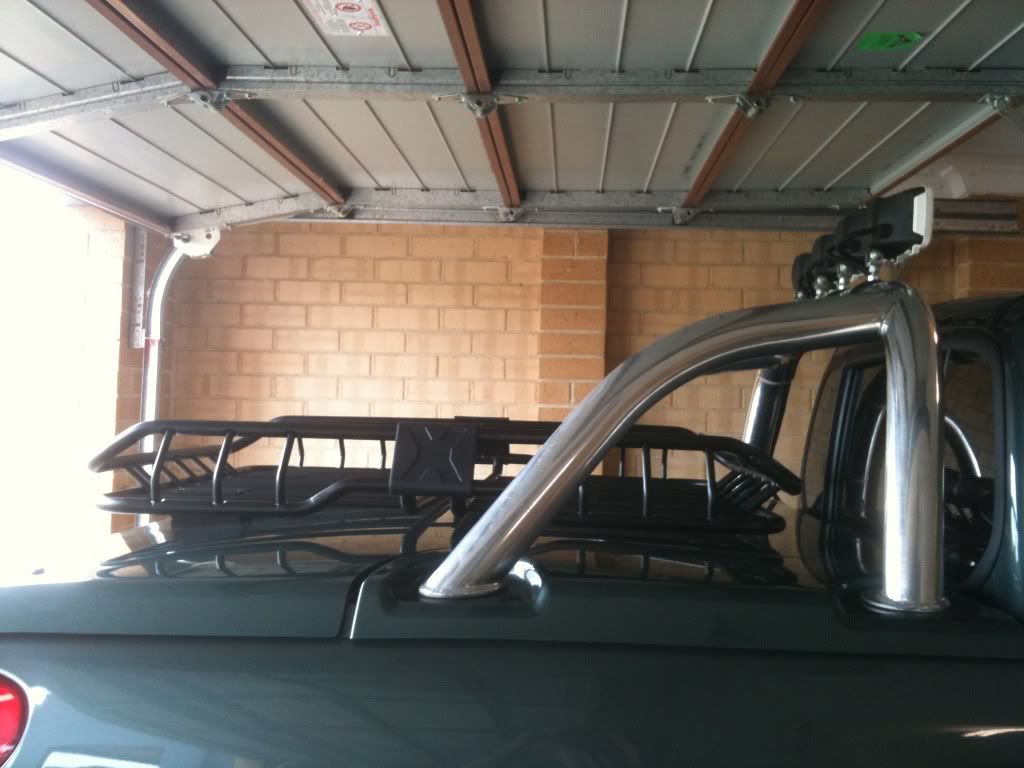
Rhino rack basket mounted directly to the hard lid. Measured it up and went for it. Had to make a trip to the local bolt and nuts shop as the bolts that came with it ended up too short. Payed a visit to 'clark rubber' to get some rubber strips so that i could use it to 'jack' up the rear of the tray to get it level due to the curve of the hard lid. The rubber also will help prevent water from entering the tub where the holes where drilled into the lid.

screws holding nylon washers
utilising the mounts that came with the basket
the rubber 'jacks' at the rear of the basket
the end result
That's about it for now.
Got the standard mods in mind as well such as bullbar, winch, drawers, lift etc. etc. but you all know how it goes!
Will update as it progresses.