Well it has been a long time coming with a lot of time planning, researching, Designing, then redesigning, then more redesigning, then some more researching then some more redesigning
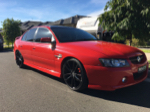
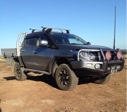
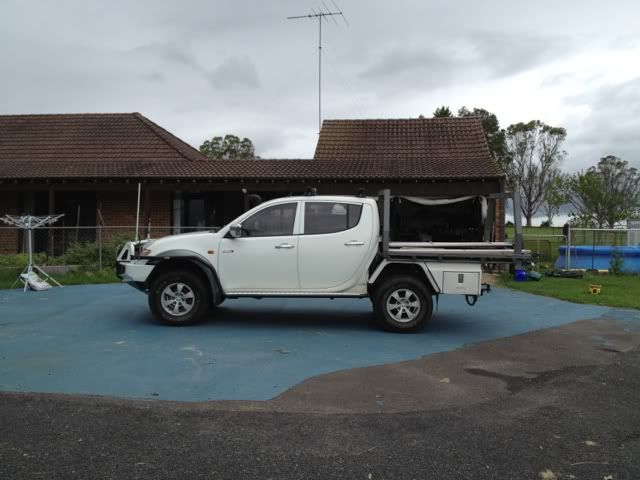
I first bought the ute in sept 2010 and it was bog standard with 56000kms on it. i loved it from the start, thought it looked nice and sleek with the factory hard cover and roll bar, but soon found that the hard lid was very impractical for me as a day to day work ute, carrying all sorts of crap to and from the job sites.
first mod was an Ironman Snorkel, along with the accompanying incorrect template. so a few extra holes are hidden underneath the snorkel.
being short on funds, i headed back to Ebay to look for a steel tray and found a Landcrusier tray cheap not far from here which would be the basis for my first tray.
I cant find the photo of when i first put it on the ute as its full length (just to drive it over to the shed), but i do have one of its massive headboard.
i had the tray like this for a few months until i got myself stuck in a carpark in strathfield that i thought was just an open top carpark, but ended up being a multi storey carpark that i had to go down 3 floors to get out. ended up with 8psi in my tyres to get out of there.
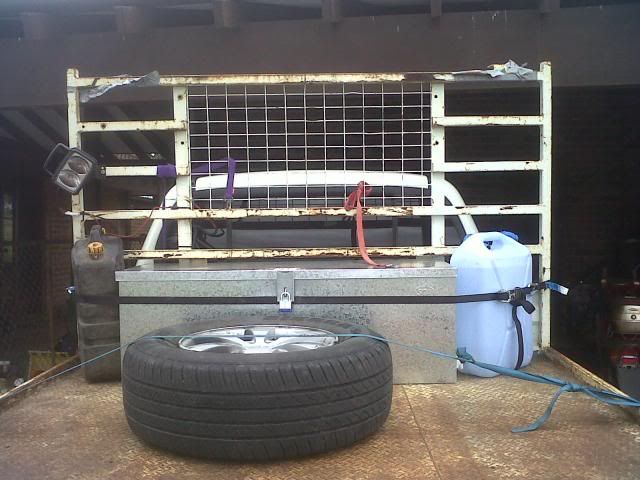
anyway, after that incident i got off my ass and bought some 75*75*2mm shs and built myself a new headboard with water tank inbuilt, as well as a rear removable hoop so i could carry timbers etc.
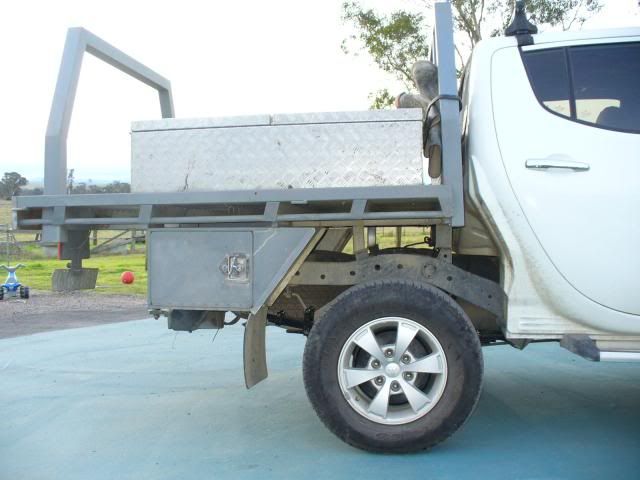
i put tie down points everywhere, 3 across the headboard, and 1 in each corner of the tray. they came in very handy when carrying all the bits an pieces that i was at the time.
about the same time I realised that my suspension was becoming inverted on a constant basis. my standard weight was 2.7t before carrying anything extra, and it wasnt uncommon for me to have 20-30 lengths of 150*50 oregon timbers on the roof as well, so a quick couple of visits to Brendan at Ultimate (the second visit was because i lost a spring pack off the back of the ute on the way home
new lift installed
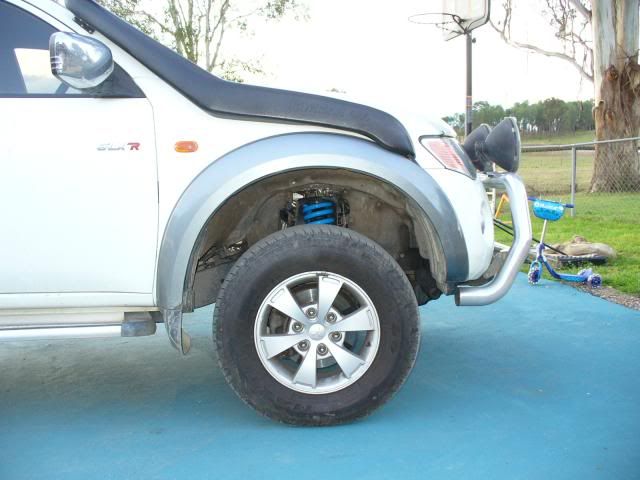
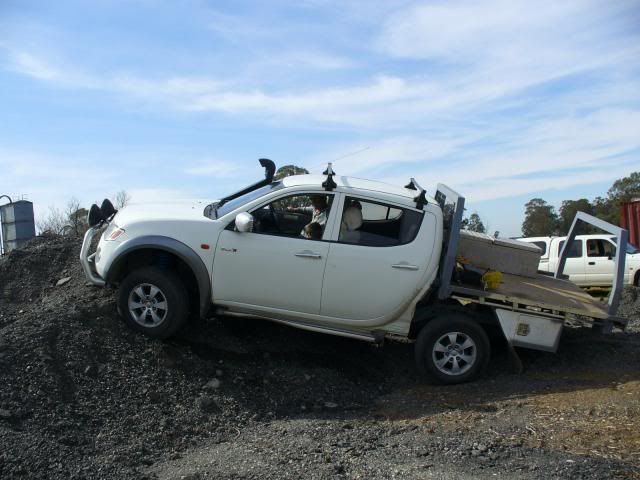
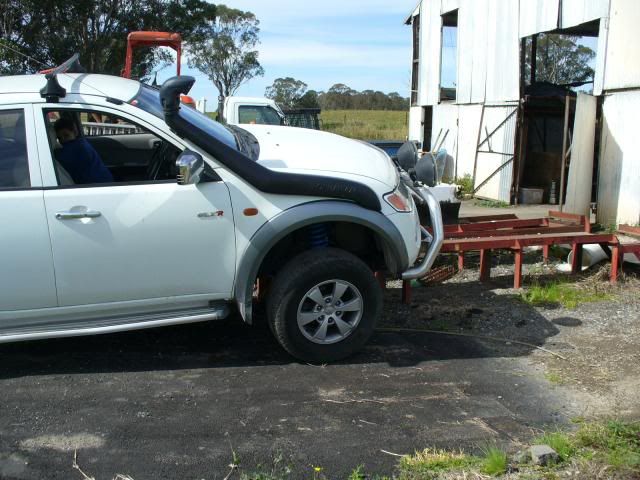
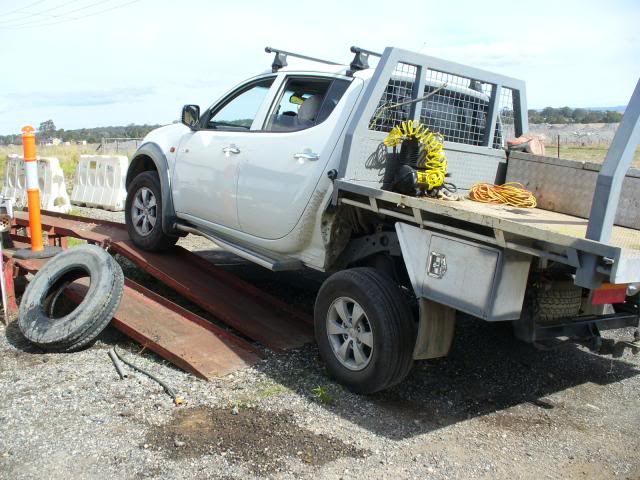
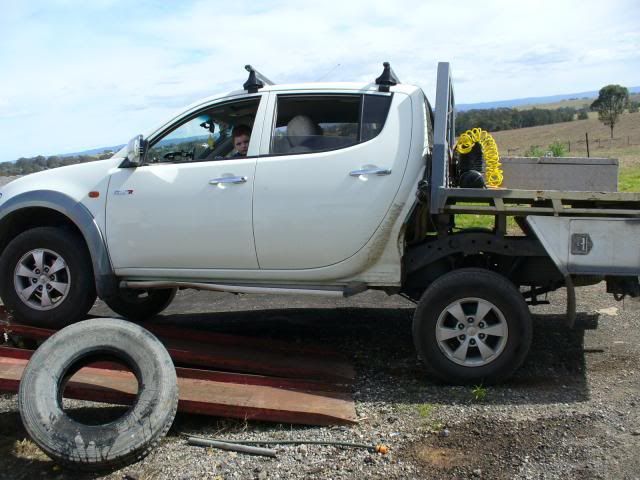
took it straight up the back of the shed on a pile and on the ramps to test the flex. very happy with the result, but the highway terrain tyres on it looked ridiculously small with the lift.
i cant remember which mod was next but I upgraded to 265/75/16 Mickey Thompson ATZ 4 Ribs, ECUTEK tune,
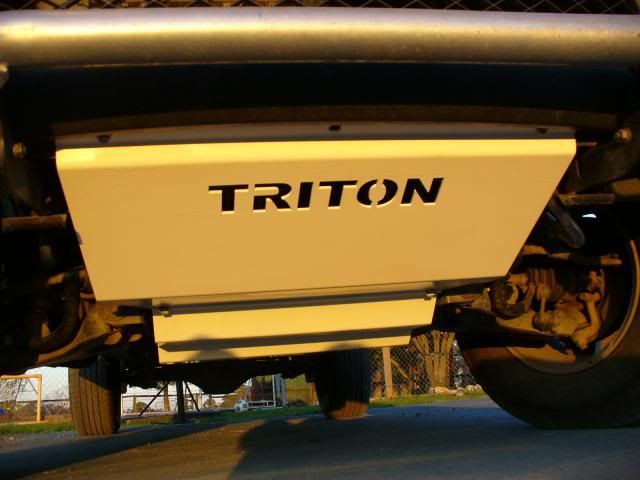
Colour coded and fitted bash plates off the forum
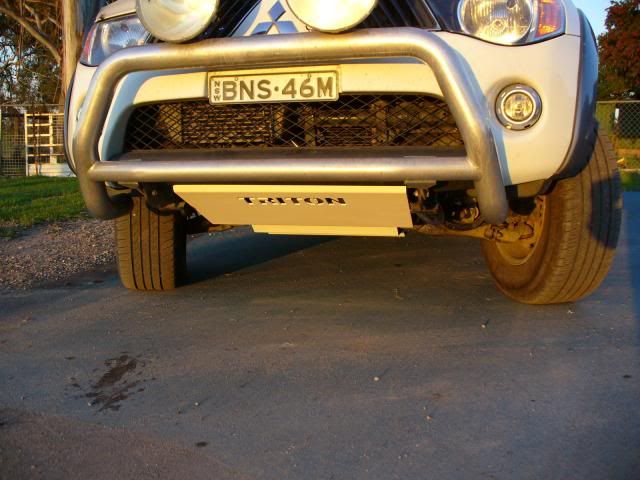
also, ended up with a ARB Deluxe winch bar along with Aldi Winch, all installed at ARB Moorebank for a steal of a price thanks to a fellow forum member. Next In line was a 3" Scotts rods system then back to MRT to have the tune updated and gave it another run on the dyno to be sure.

very happy with the results. although i am very tempted to go down the turbo upgrade path, but that can wait until i get back from the cape in august.
Also, after bending my factory sidesteps whilst out hunting, last christmas i bought a set of sidesteps/scrub rails that were supposed to be for my model triton, which ended up fitting against the body, but the mounting brackets were way too short for the chassis rails. they have stayed in the garage until last month when i finally cut the ends off and Welded up some new brackets to go around the chassis rails, along with some 16mm high tensile bolts.
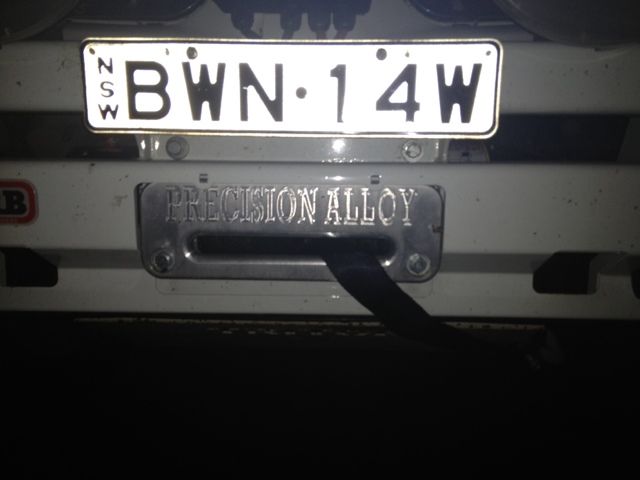
Changed the winch cable over to winch rope and fitted an alloy fairlead from Precision alloy that takes up the whole space in the Deluxe bar. I got them to make some spacers to make the fairlead finish flush with the bar, so that the rope would not touch any sharp edges when being used on an uphill/downhill slope.
so now with all the barwork, suspension, tyres, toolboxes etc sorted, it was time to finally start building the canopy/cage that i had been asking people questions about for a few months.
here are a few pics of my first go at Tig Welding Aluminium. 1.6mm wall 45*45 shs tube.
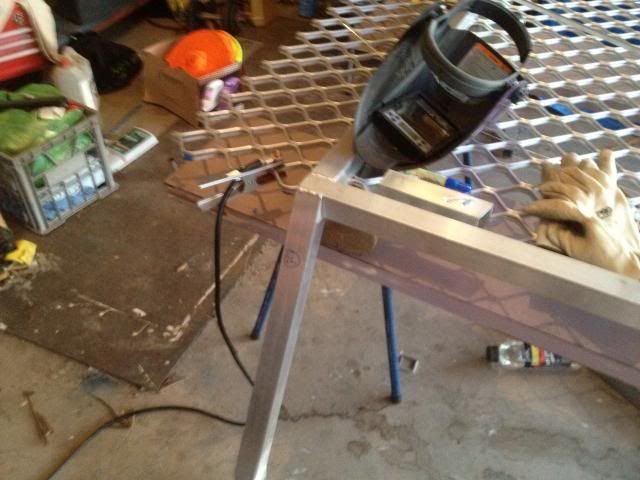
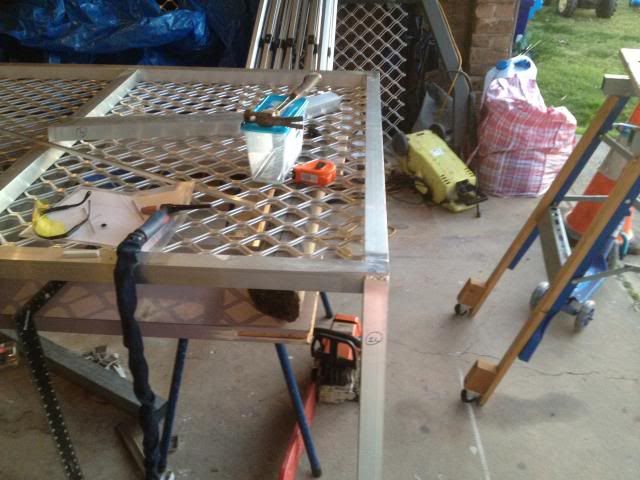
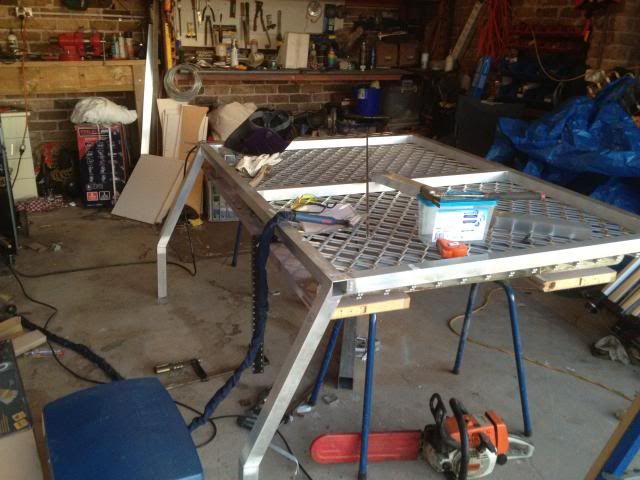
i was pretty proud of myself that i didnt blow through it anywhere and it was actually to the shape that i wanted.
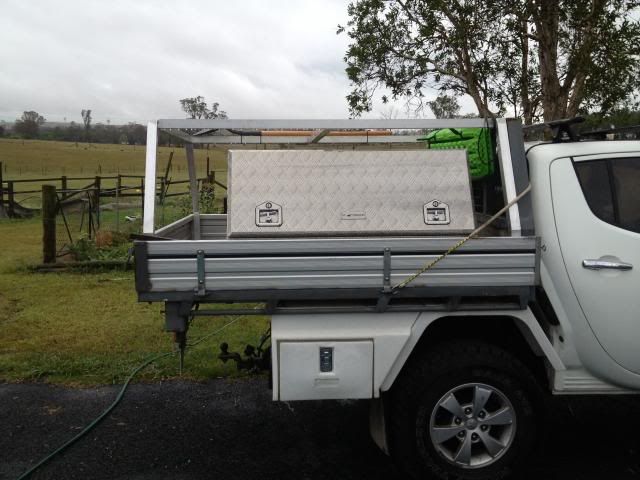
i still needed to put the mesh doors on and mesh on the roof, but i wasnt quite happy with it. I got a call from the mine next door to me and went down to see him. i Parked on his weighbridge and noticed that with me in the car, my half empty toolbox and nothing else, i was still at 2650kgs which wasnt going to leave me much room to fit the kids, the mrs, a couple of fridges and some clothes in it for the trip to the cape in june/july this year.
so i decided i needed to build a whole new tray, and it had to be alloy to keep the weight down, but I wanted it to be strong, not like the pissweak alloy trays that clip together.
this is where the researching, desiging, researching, re desiging etc came into play, and it kept me up late every night for 3-4 months. first learning how to use a CAD program, then trying to draw my design, working over it to see any issues with it, re drawing it etc until finally coming up with the final design.
I decided that if i was going to spend money on a new custom tray, it was going to be everything i ever wanted in a tray, and whilst I really didnt want to go overboard with the costs, if the difference between getting exactly what i wanted and almost what i wanted was a matter of $1000, i was going to spend it, as i can take this tray with me to the next ute if i ever get rid of the Triton.
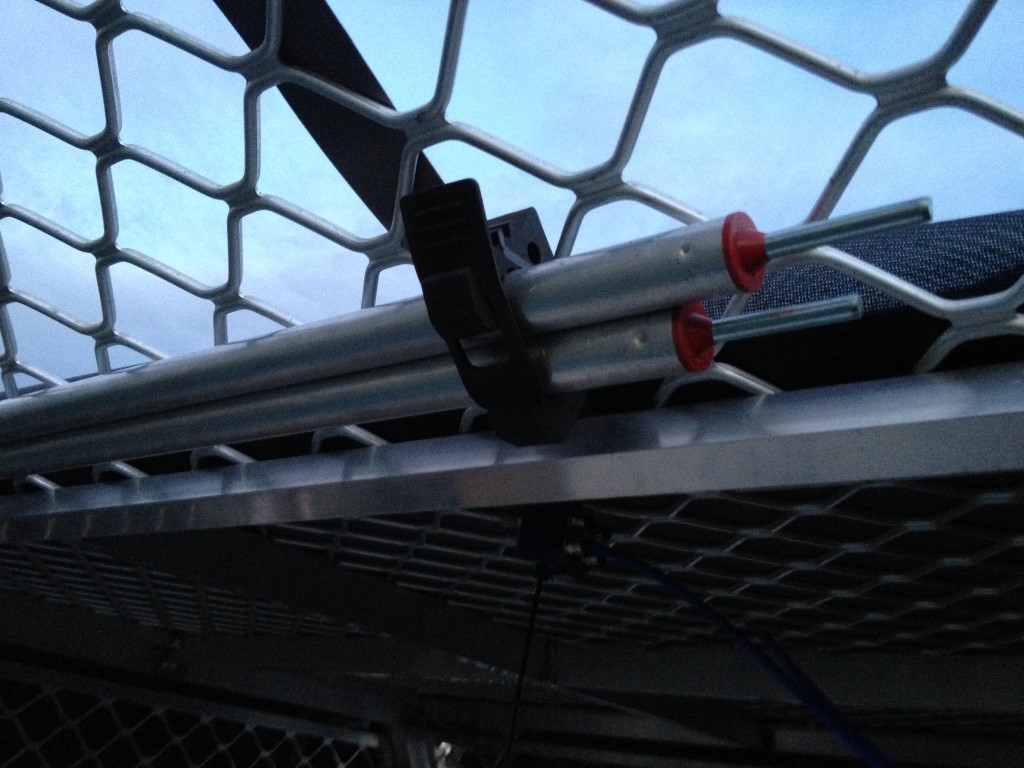
so the wish list for the tray was: Minimum of 50ltrs water on board (preferably in the headboard), Min 80-100 ltrs diesel Aux tank, Strong Chassis for tray, 3mm treadplate floor, "C" channel side rails as i dont like the look of tie rails, and i can never find ratchet straps that fit around most tie rails without having to loop on themselves.
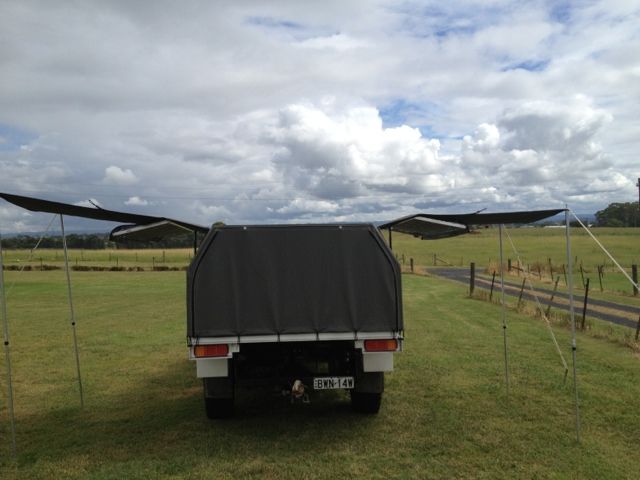
also wanted a Canvas canopy with inbuilt awnings on both sides, so i dont have to have one strapped to the roof of the car.
i got prices from a few places, and when i took my Camper trailer up to Exclusive Trailers at Bilpin to have the axle extended, install new calipers to fit my new 265/75/16 muddies. The camper sits perfectly level with my ute now that it has the bigger rubber on it. also give me two extra spares that will fit my ute, so i will have 3 spares in total.
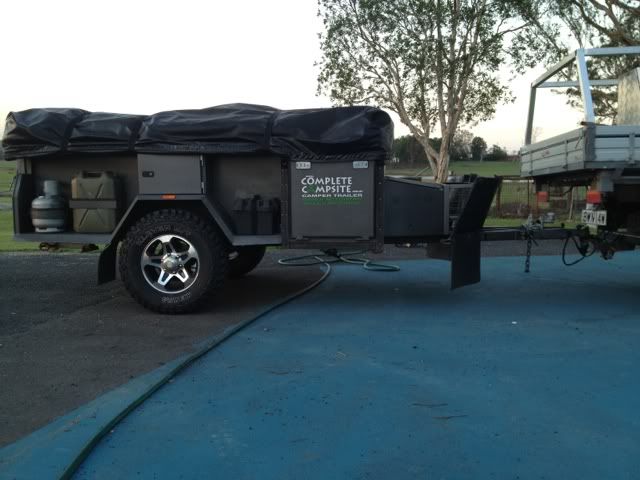
i remebered that he builds custom alloy trailers and seeing as though i know the quality of his work (he built a very heavy duty plant trailer for me a few years ago), i would leave the job with him.
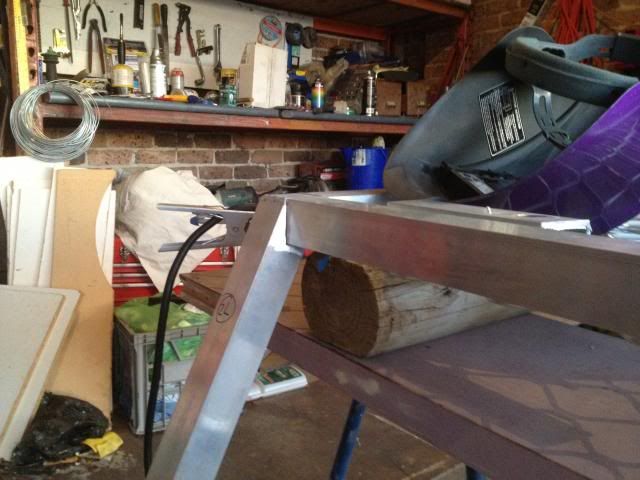
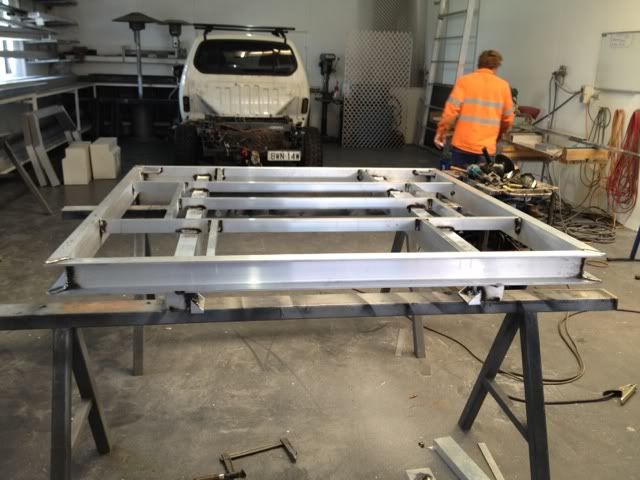
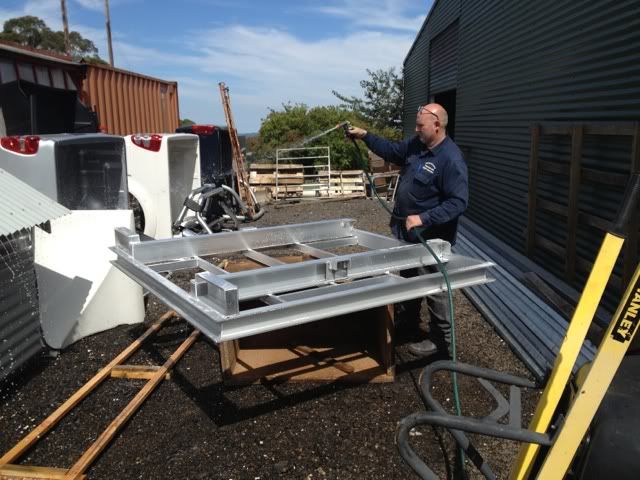
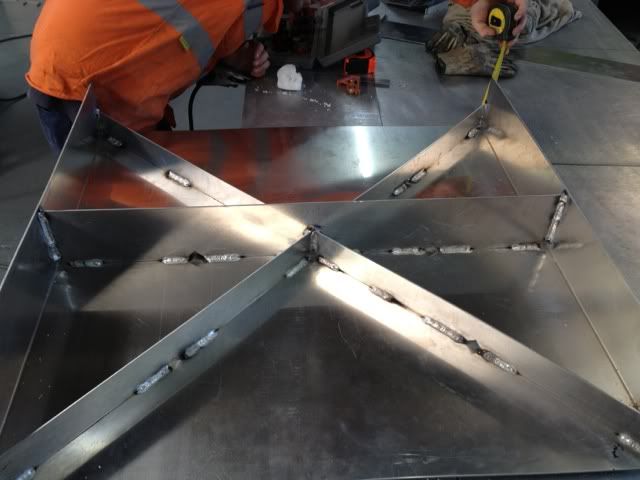
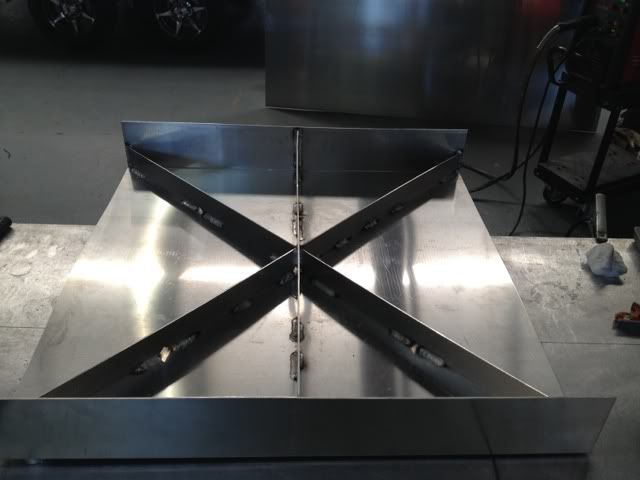
starting off with the C channel frame and cross braces

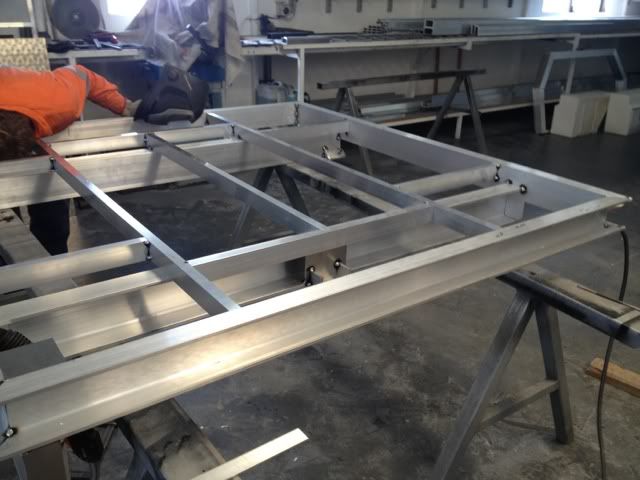
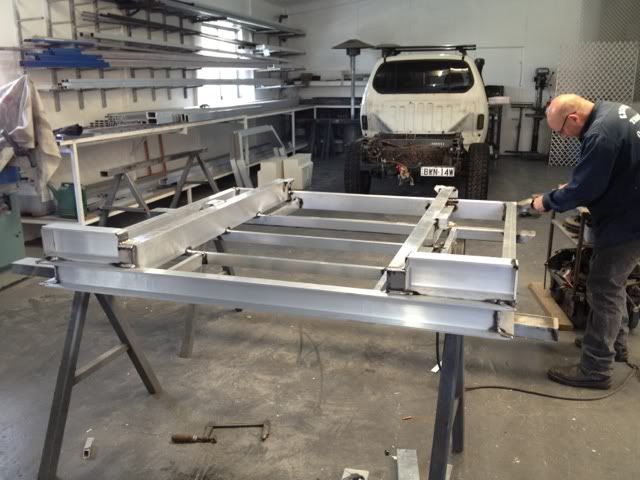
all the main welding was done with a double pulse mig
a quick little acid bath to get rid of the mig smoke marks
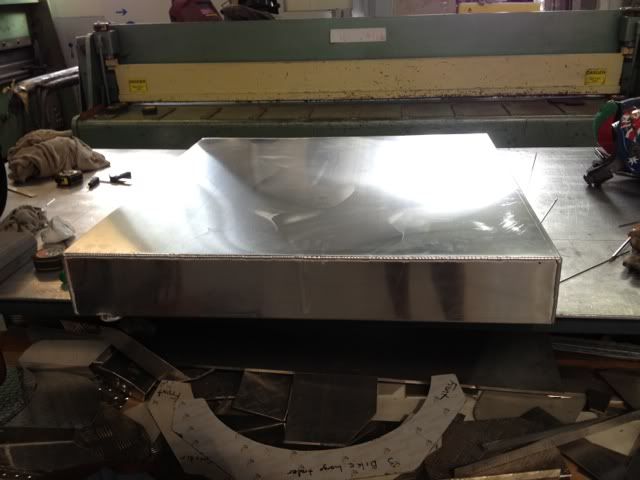
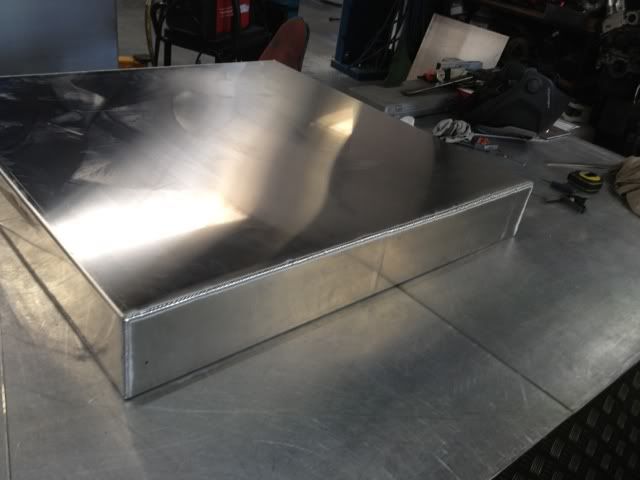
next step was the aux diesel tank fully baffled.
Internal baffles mig welded, with the outside seams fully TIG welded. very neat welding too i might add.
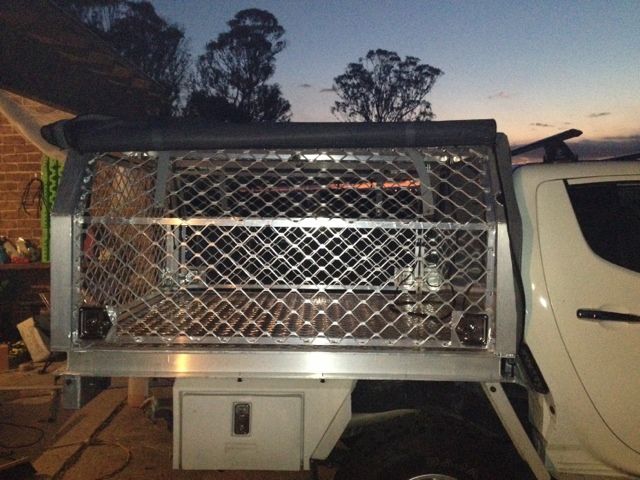
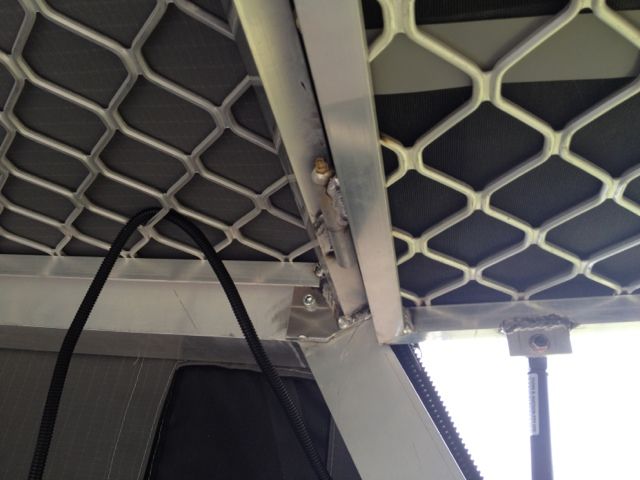
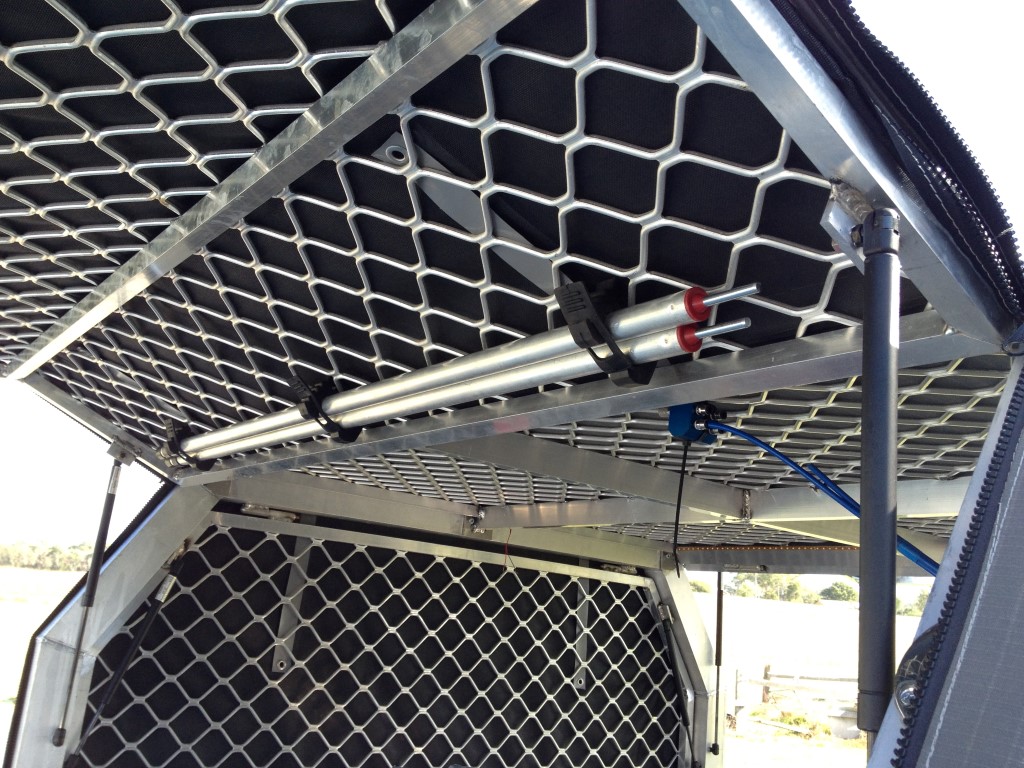
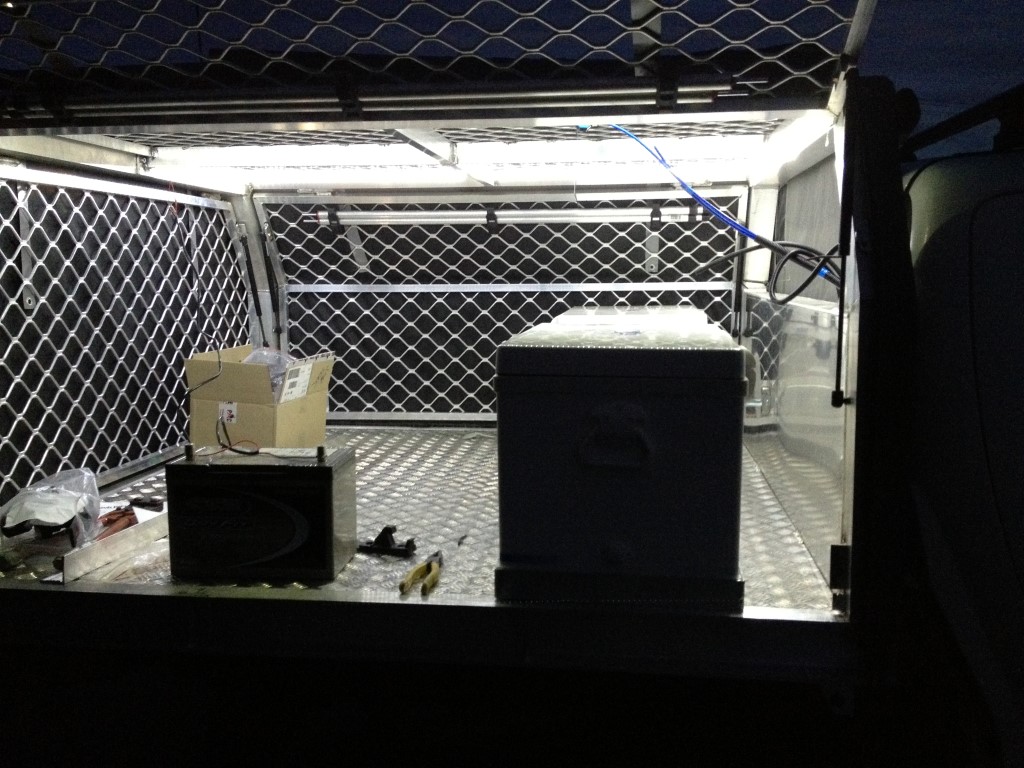
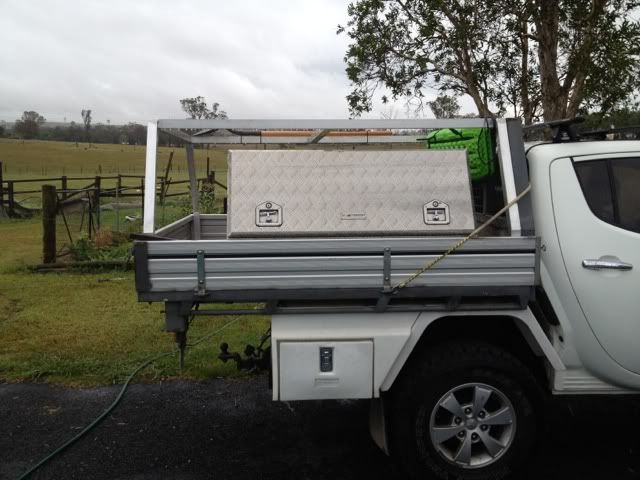
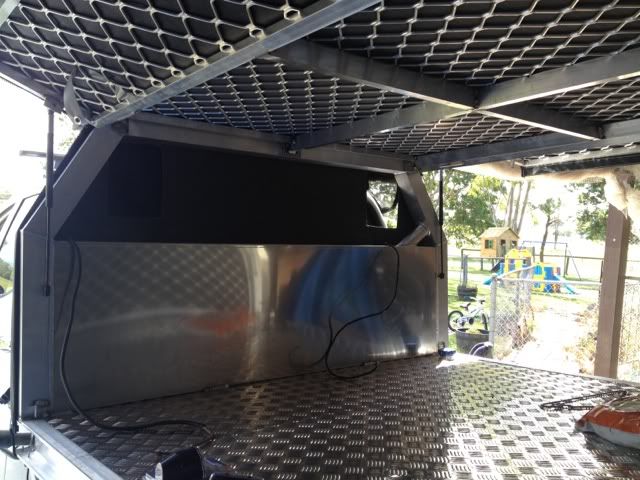
i dont have any more photos of the tray during its build, just waiting on Kriss to email the to me, but this was the final product as i picked it up , with full mesh cage, including doors.

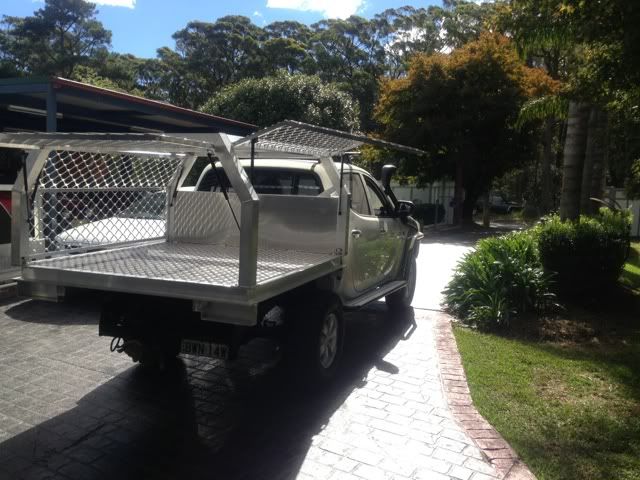
i was a very happy lad when i finally got to pick it up as it had been so long in the planning etc.
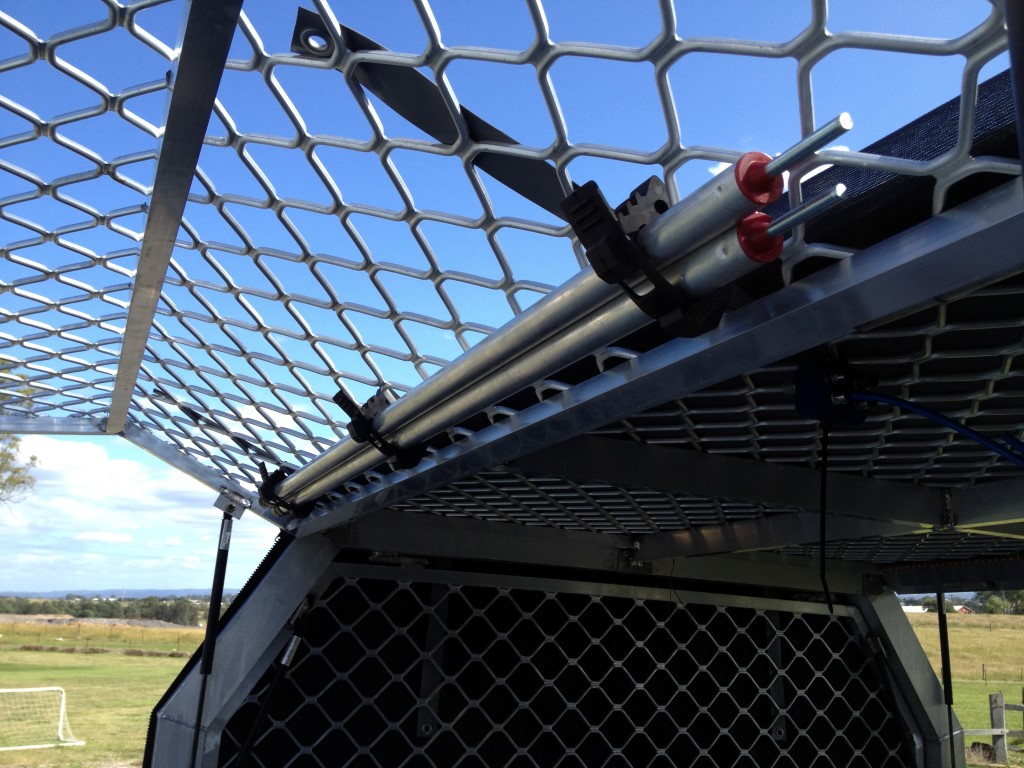
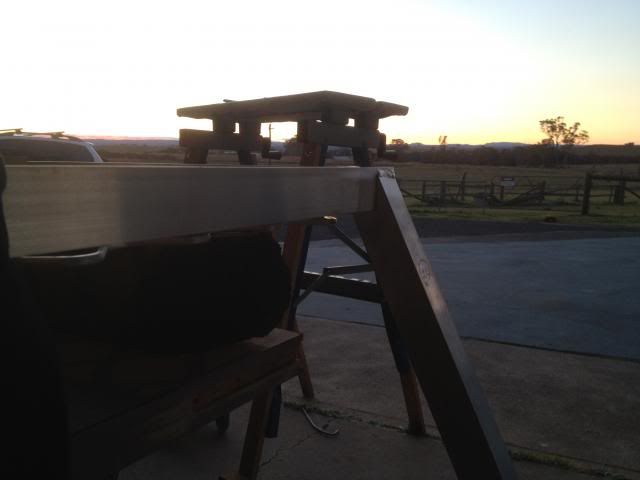
here are a few more shots of the tray
the main chassis rails of the tray are a 127mm transport C section with 12mm main wall and 9mm legs
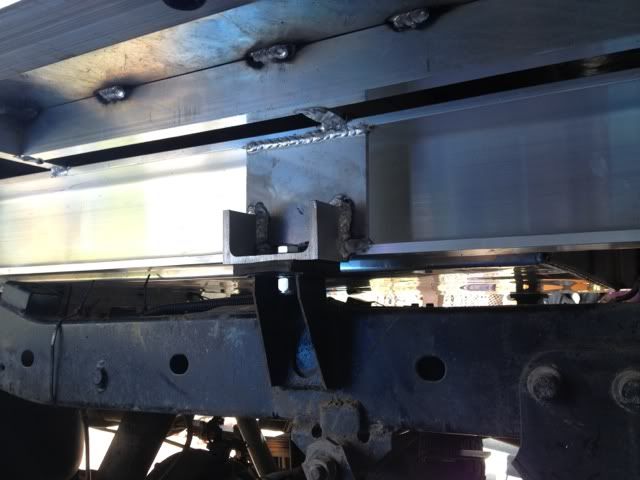
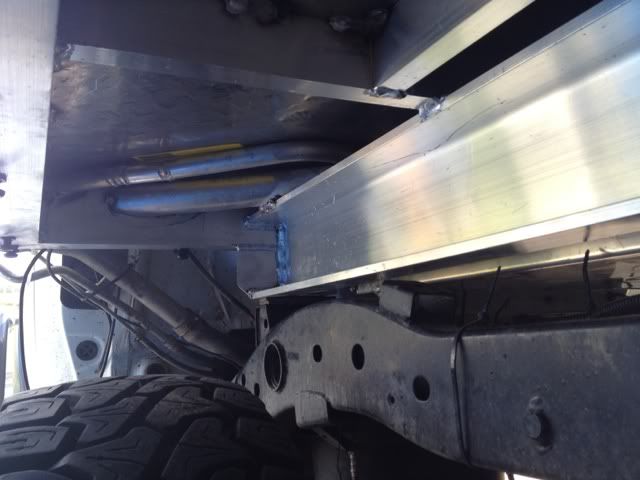
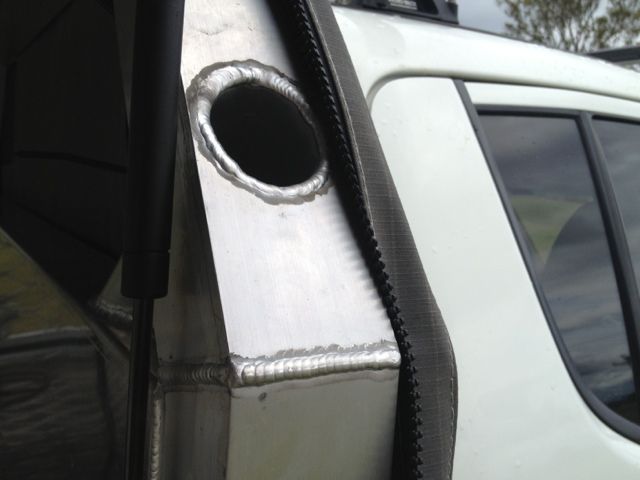
only thing i wasnt happy with is that we had to weld the tank in, instead of bolting it in. the reason for this is that there was no way to get the filler neck in a position to be able to use flexible hose and still have it drain down. as it is it is a very flat grade to the top of the tank. this part took the best part of a day to get sorted as it was very tight and fiddly and required a lot of lifting and turning of the tray to be able to weld all the way around the inlet pipe
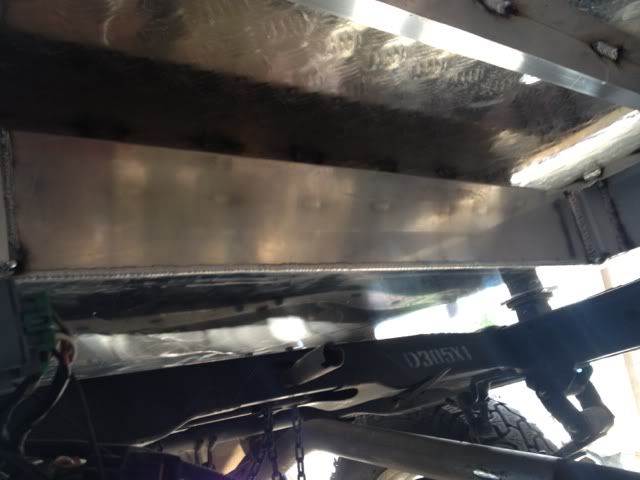
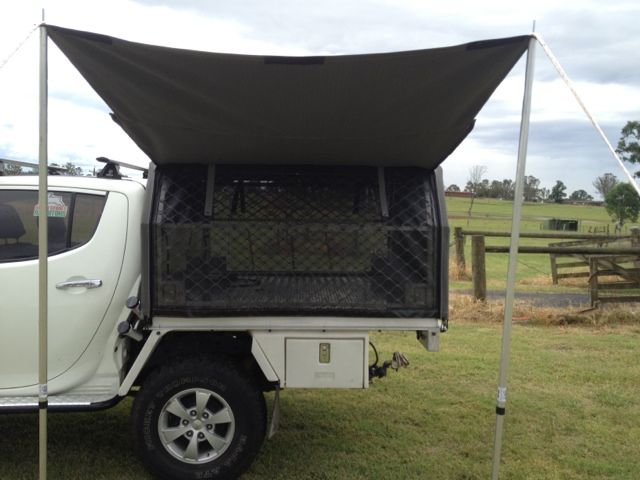
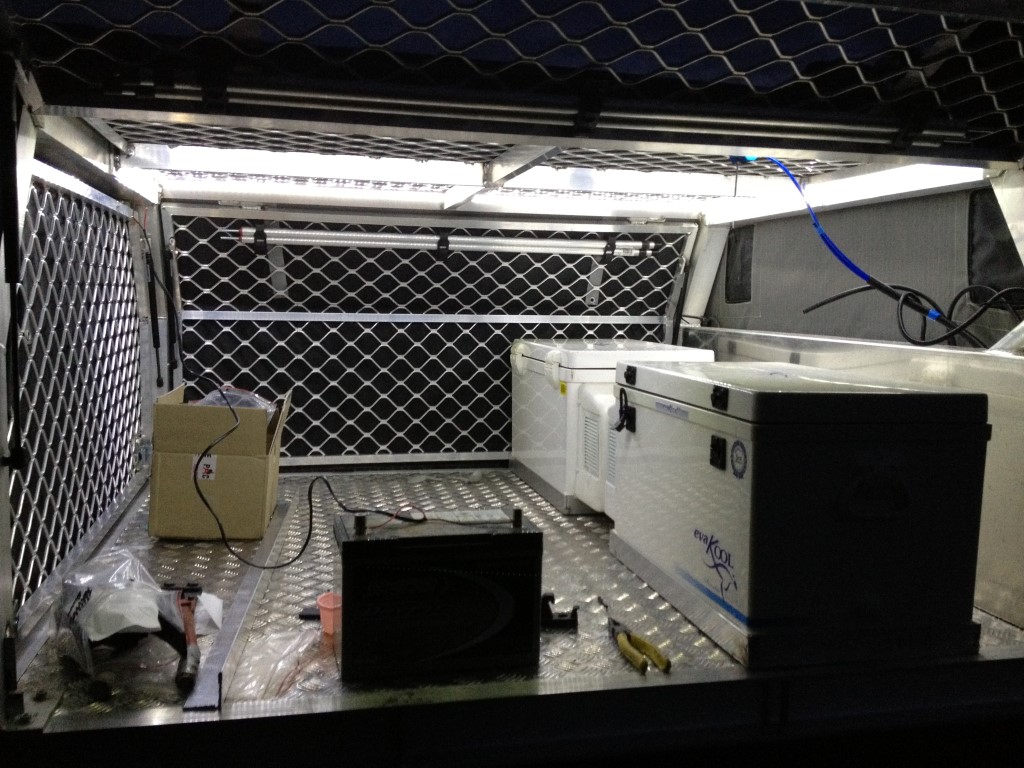
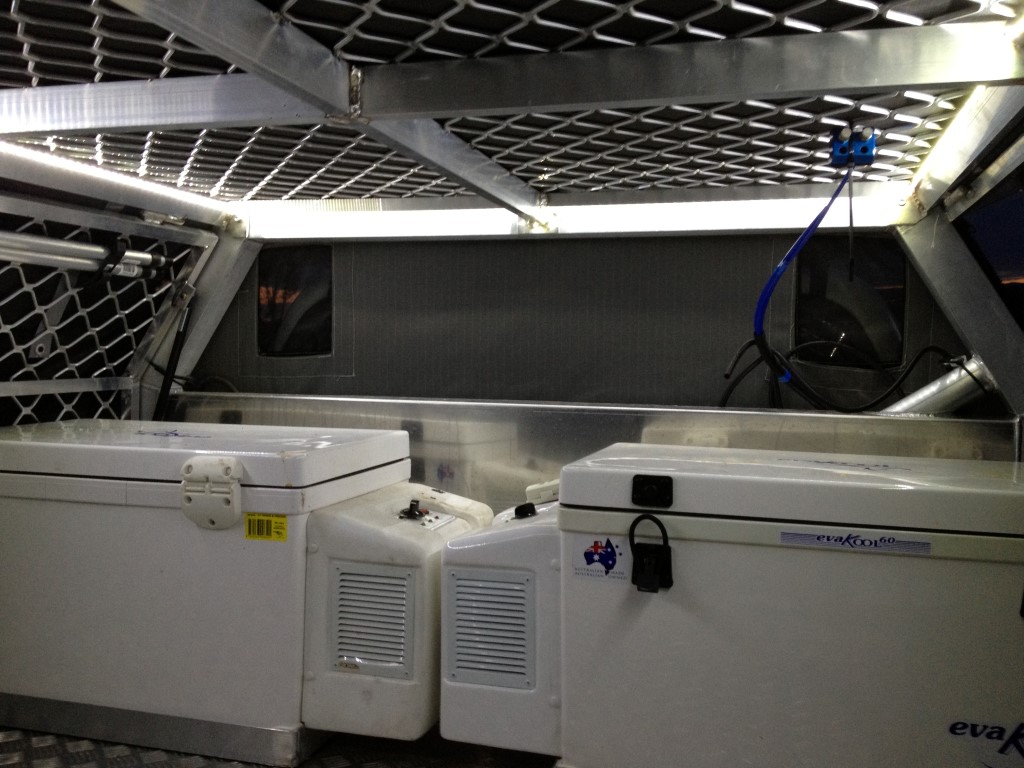
here you can see the water tank that is part of the headboard. it should hold approx 70lts when full to the brim.
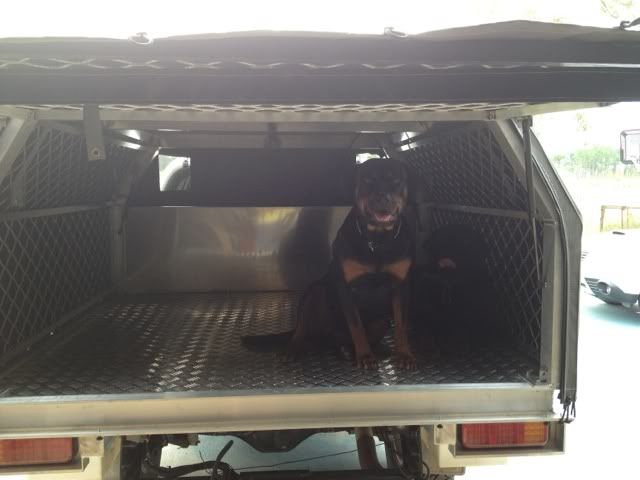
the dogs love the new tray. now they can come with me where ever i go.
I still have a few little jobs to do with the tray like install handles/locks for the mesh doors (did that today, but will post pics a little later), fab up a new electrical box to go on top of the water tank to put all my fuses/relays/electrical connections etc, drill and weld in solid dowel in the outside C channel for tie points, install side and rear clearance lights, weld in mesh to the headboard and finish the main filler cap/neck for the factory tank so that it matches the new Aux tank. hopefully will be able to get this done by the end of next weekend.
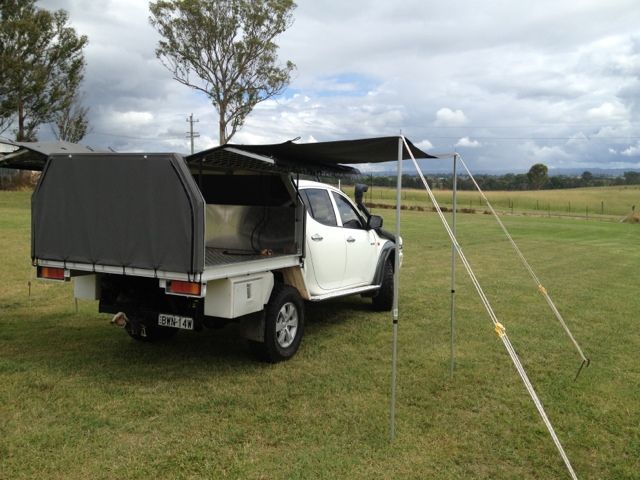
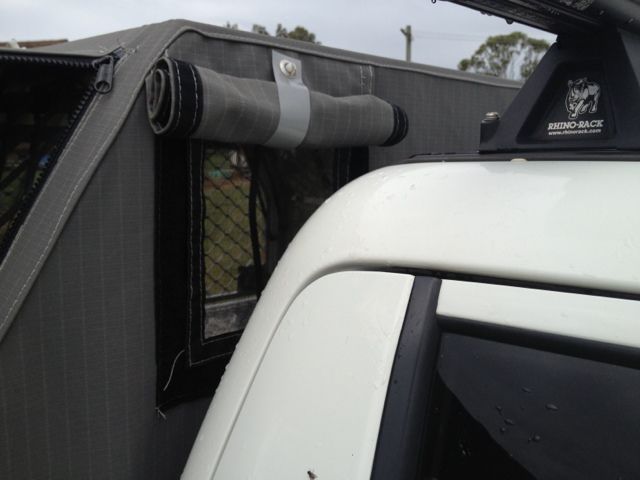
next thing done was the Canvas Canopy. this was another thing that i researched for ever, spoke to so many manufacturers etc but I ended up going with "Wallaby Track Canvas" at Springwood. funnily enough his name was chris also. lol.
after talking with him a few times, I felt confident that he knew what he was doing and knew exactly what i wanted, and i wasnt dissapointed when i went to pick it up from him. As we came around the corner and i saw it parked in the street in all is dark grey canvas glory i was absolutely stoked.

it doesnt look like much there as it hasnt got the bungs attached. I had to drill and tap them so i could use screws rather than rivets, as the bungs are on the underside of the outside C channel, and you would see the tops of the rivets which i didnt want, so i told him to leave them off and i will do it when i got home.
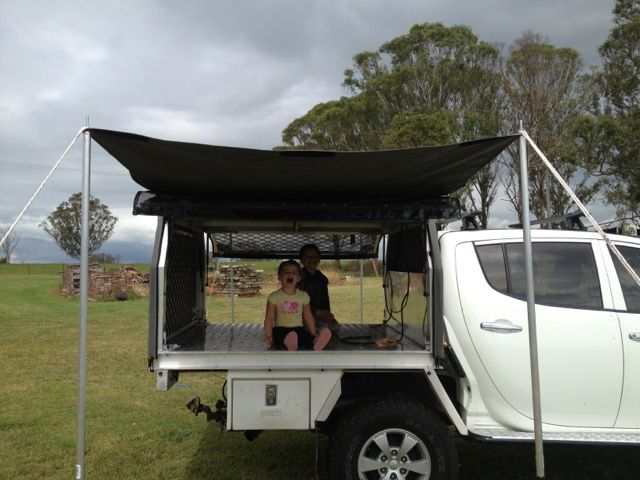
the Canvas canopy has a full bug mesh interior which is also zipped, so i can sleep inside the canopy with the awnings open, doors closed and not get eaten by mozzies. there is an awning on both sides of the tray that is folded up underneath the main door and held up by velcro so it isnt in the way at all during normal day to day use.
i dont have any photos of the canvas all set up yet as i have been too busy working on the little odds and ends of the tray. i will get some good photos this week and update this thread as i think there is enough to digest for now.
cheers
chris