Tim007's ML GLS Build

Want to show off what you've done to your rig? or have a custom project to show? Post it up here!

Tim007's ML GLS Build

Postby Tim007 on Mon Aug 19, 2013 10:33 pm

Well I have been a member on here for a while and thanks to this forum I have been able to build a rig I am pretty proud of. What started off as a purchase that was only meant to be a tow vehicle has resulted in me selling my beloved HSV Clubby and devoting my energy on building a tourer that would take the family to new and interesting places.

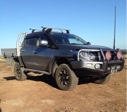
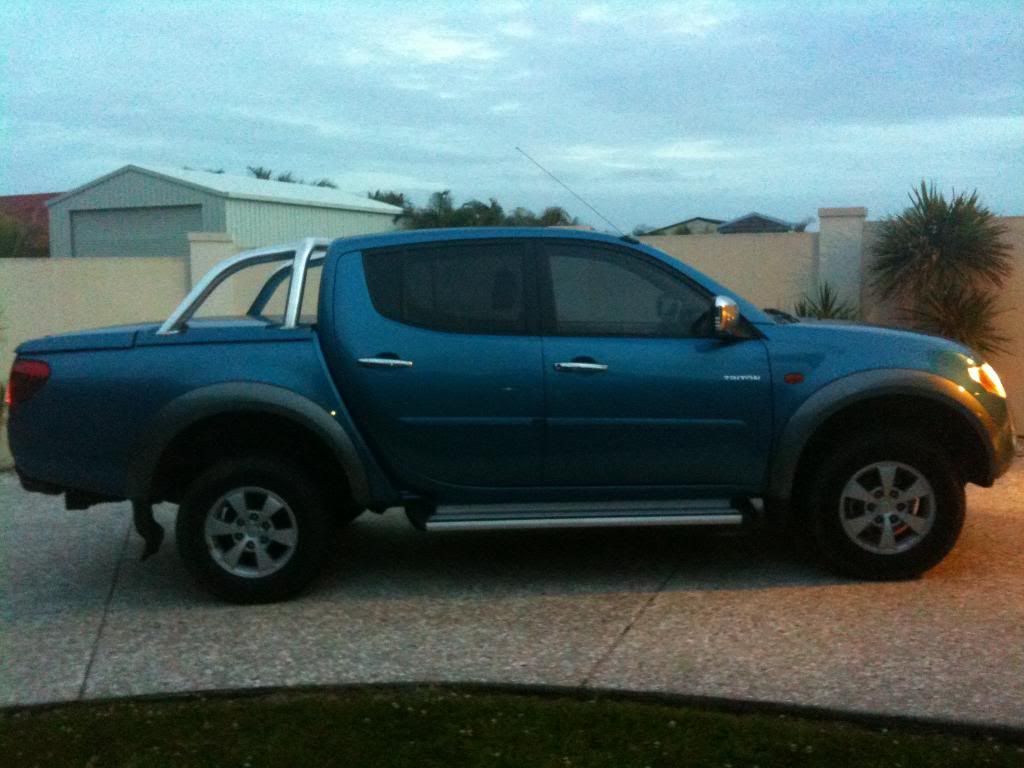
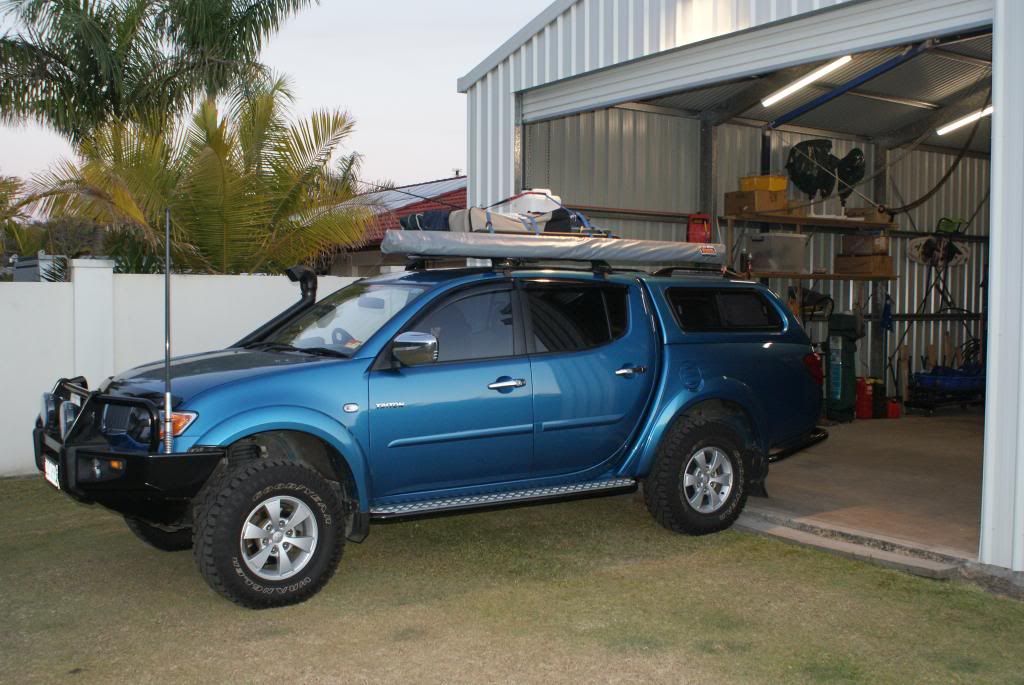
Here is where we started. Stock as a rock GLS
Click to view larger picture

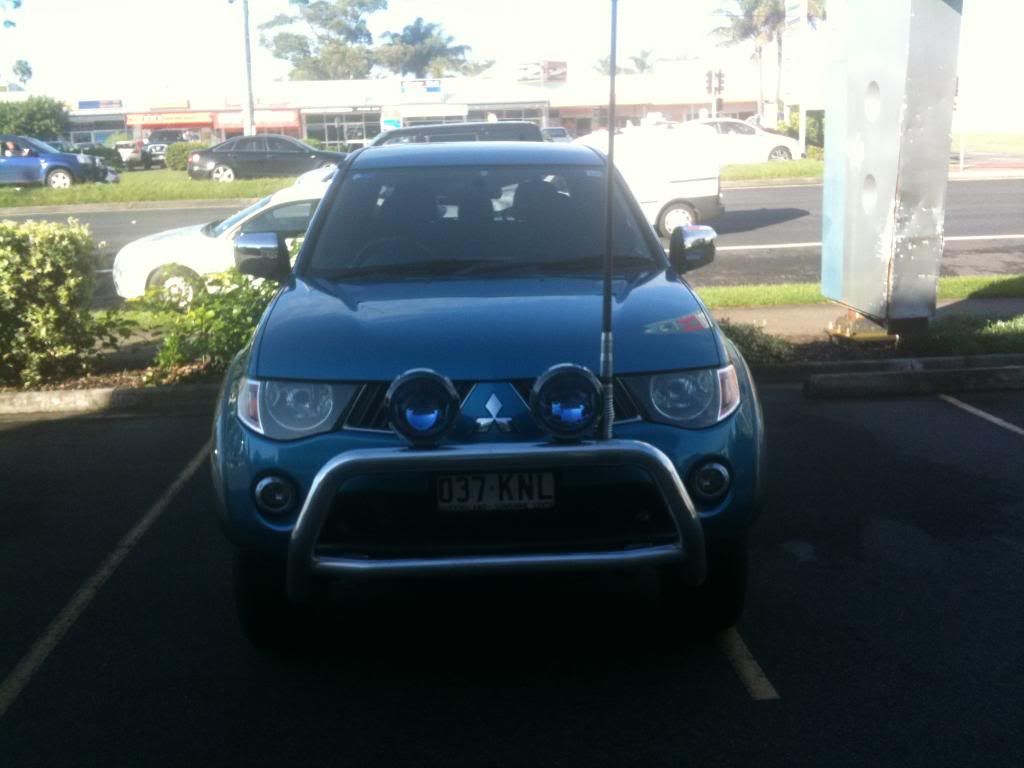
First mods after I went to the 4x4 show in Brissy. Pretty average I threw in a UHF, Oricom.. Rookie mistake. A GME Aerial and a set of spotties. THE BUG HAD BITTEN HARD!!!
Click to view larger picture

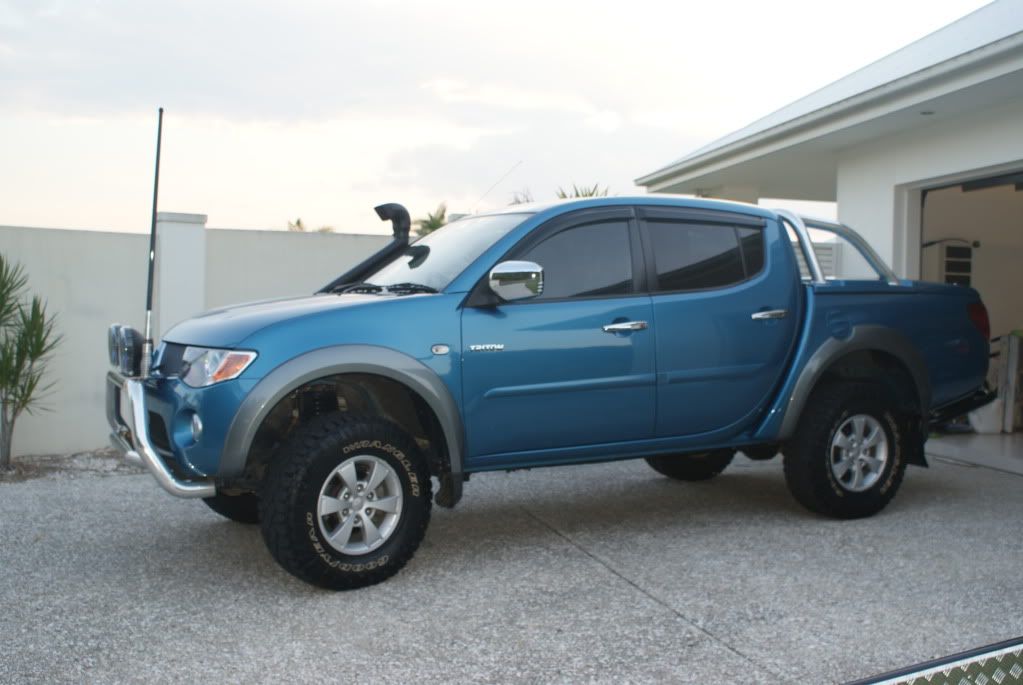
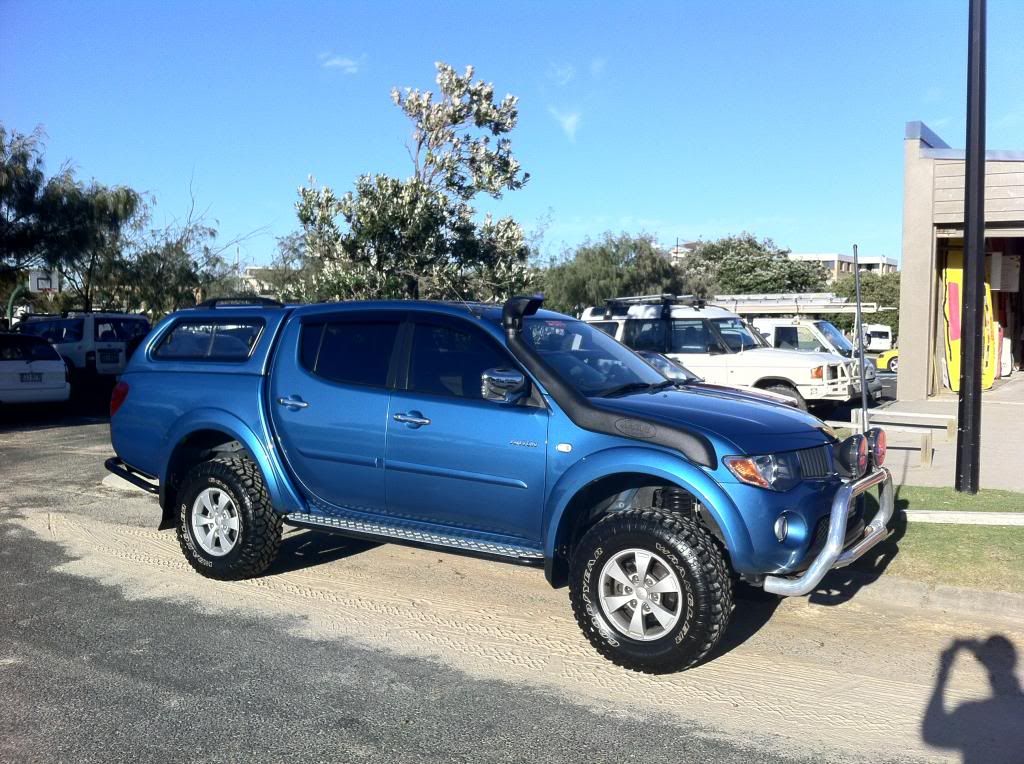
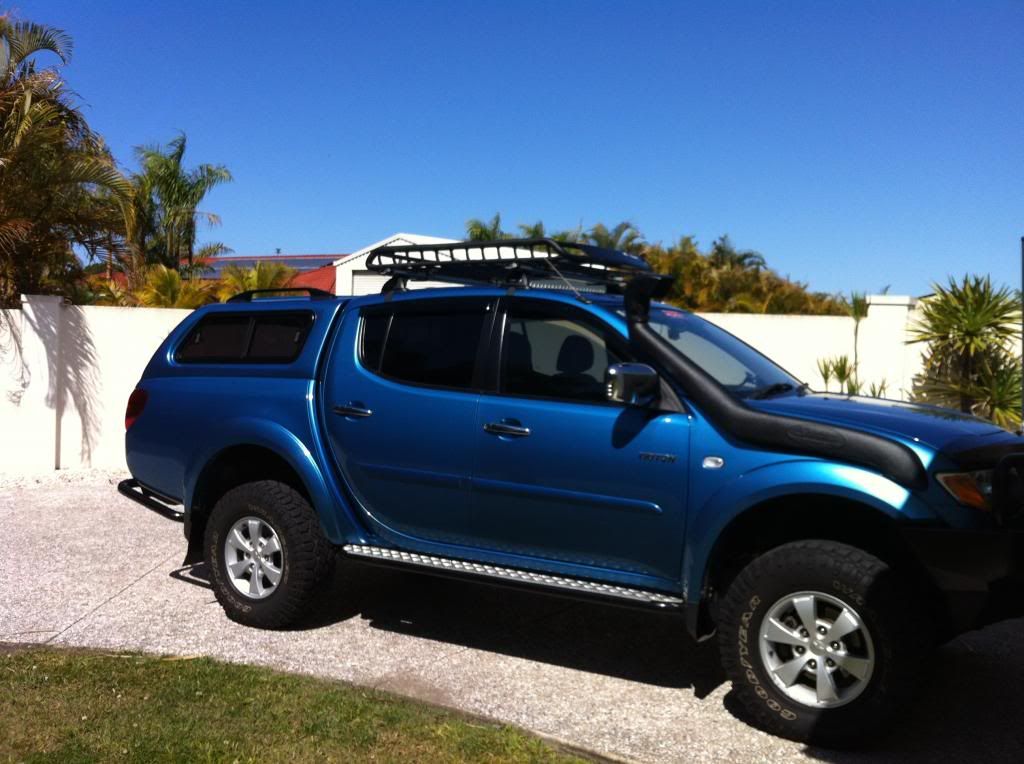
Keen to get some decent rubber on the rims I went with an EFS 2" lift and a set of 32" Goodyear Wrangler Duratracs. I chose the EFS because it was chaep.. Mistake number two and later I will show you why. But the Goodyears have been awesome and at least twice a year they run a buy 3 get one free promo. Not sure Coopers do that.
Click to view larger picture
I was instantly in love. It didn't have 500 horses under the bonnet but it could go to Fraser

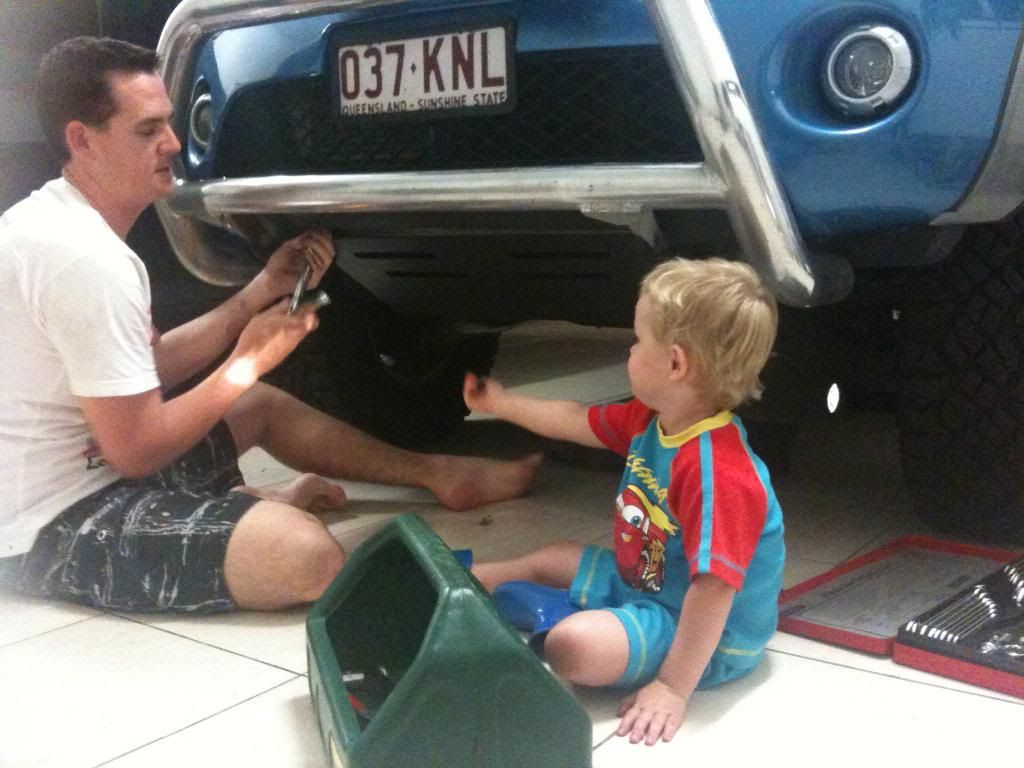
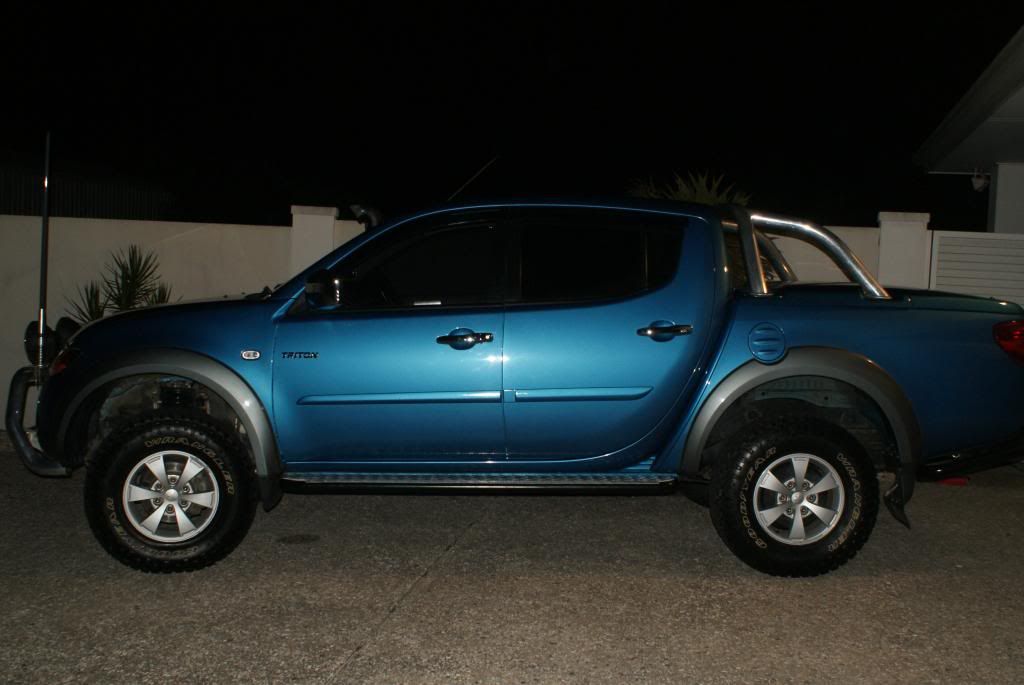
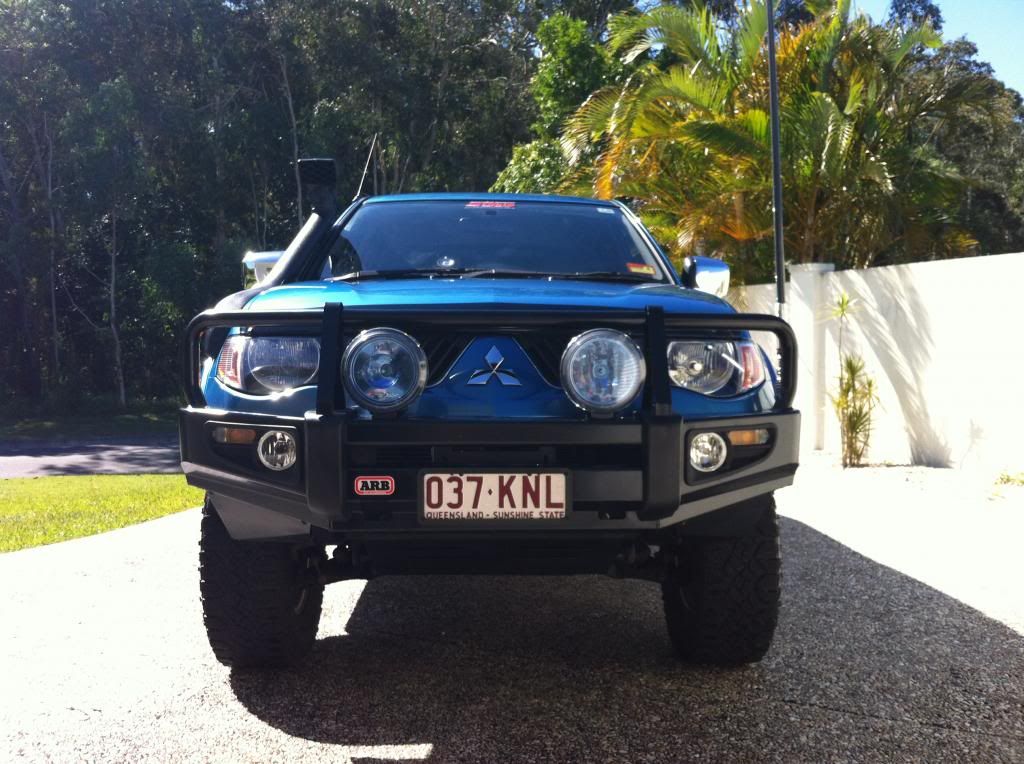
I cruised along for a few months not doing much but soon the need to step it up kicked in again and TJM bash plates were fitted (the Weeman was a great supervisor). I picked up an ARB rear bar brand new from an ARB reseller in North Lakes for $600 on Ebay (yes still in the box) and some TJM side steps. And an Safari Snorkel from ARB Maroochydore
Click to view larger picture
now with steps... :D
Click to view larger picture

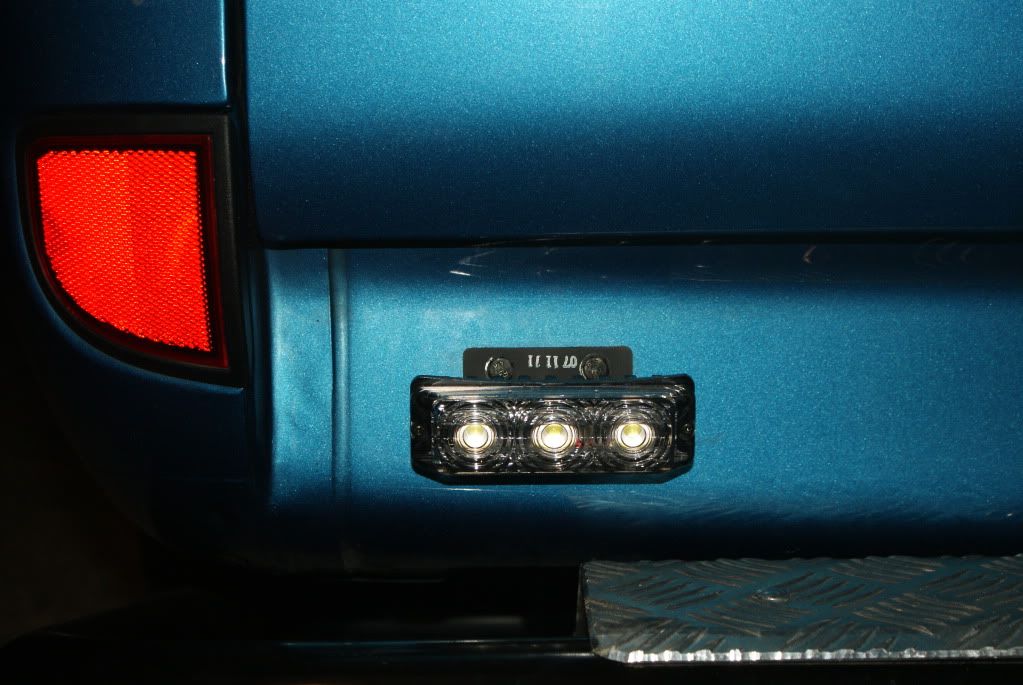
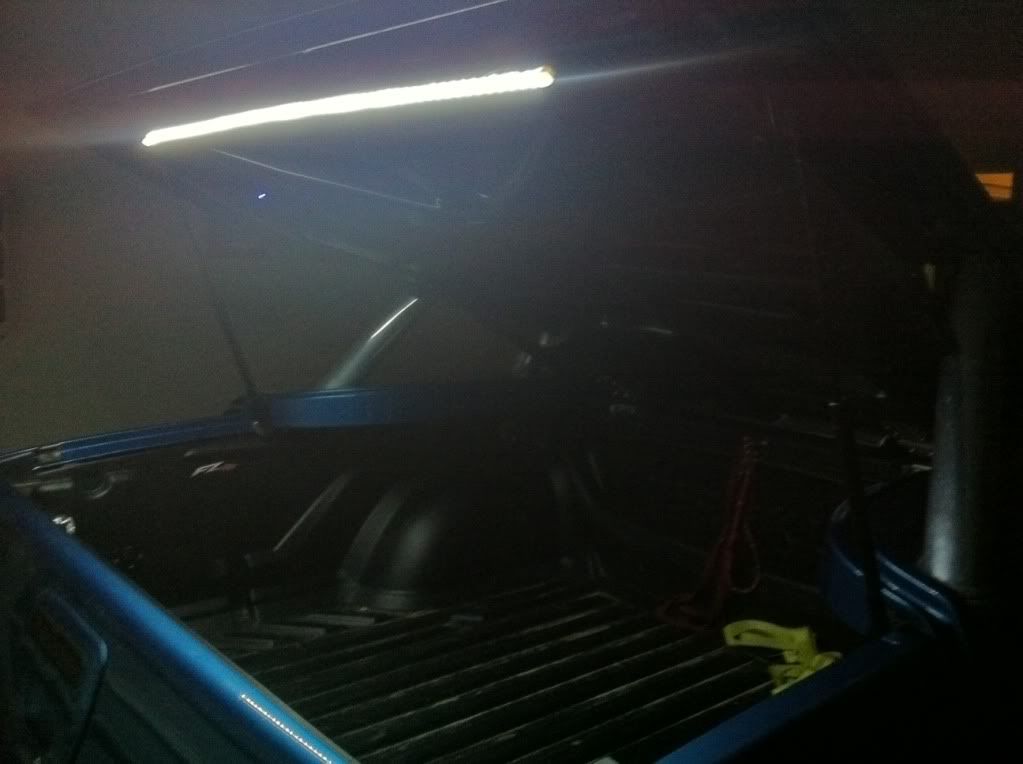
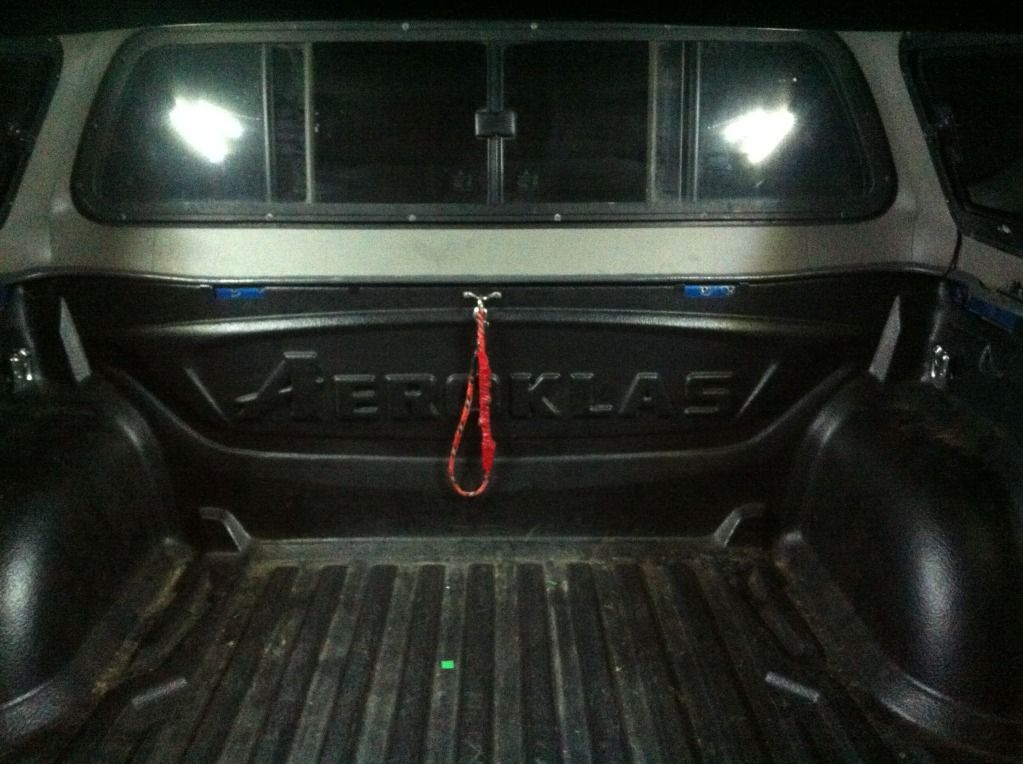
The addition of some more light in the tub and when reversing was required so the tub got an LED strip and the rear got some nice LED's that fit perfect to the holes created when the factory plastic bar came off. The rear lights are on a 3 way rocker switch in the cab. Reverse/OFF/Solid on
Click to view larger picture

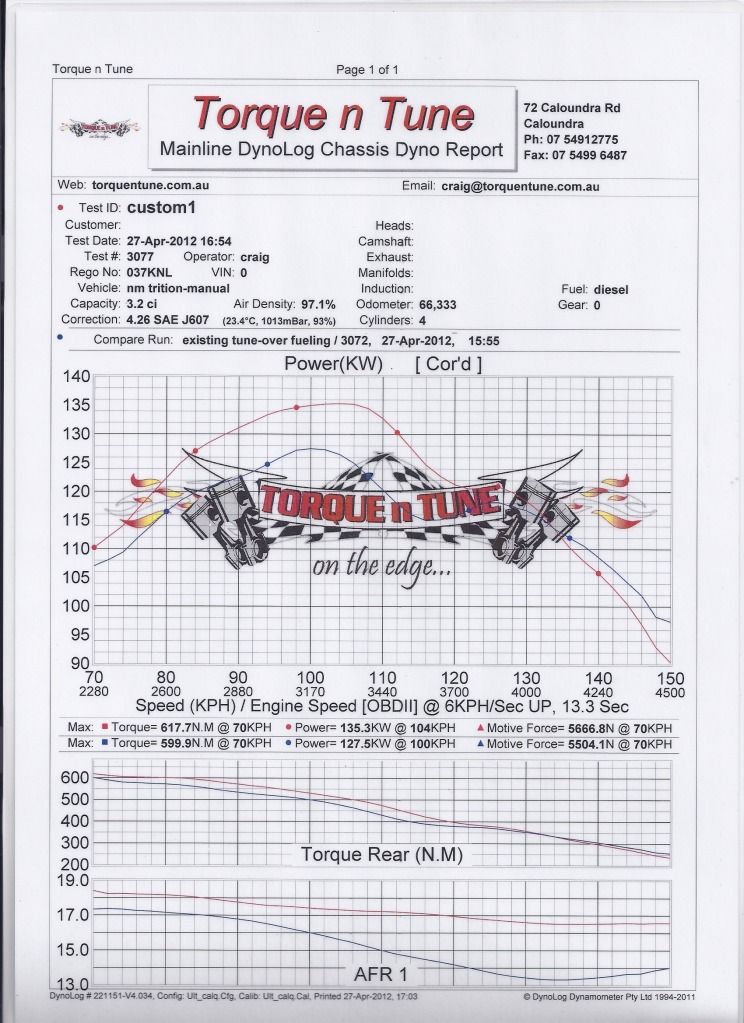
At this stage I was reading alot about the CHIPIT product and thought why not. I had the chip installed and tuned, blank installed and some Autometer Gauges that looked pretty trick. Also a 3" Scotts Rods exhaust and 3"inch dump went on the same day. Completely new truck came back.. :D 8-)
Click to view larger picture

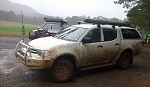
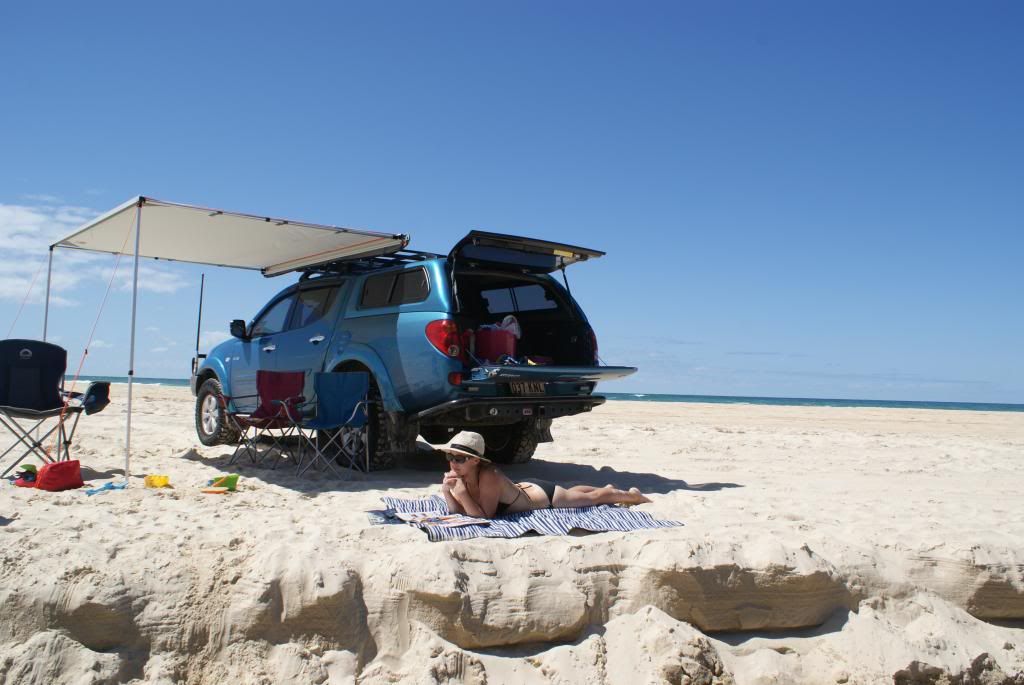
Now it was time for the canopy. I was not keen to buy new as the Mrs was starting to ask a bit about how much this was costing and when it would end. I told her $2 and walked away. :? Funny enough she never asked again. So after searching eBay for a while I settled on a white genuine canopy that I picked up for $500. It need a respray to match which was perfect because so did my flares..I was very chuffed with the outcome for under $900.
Click to view larger picture
window tint on the canopy followed very shortly after
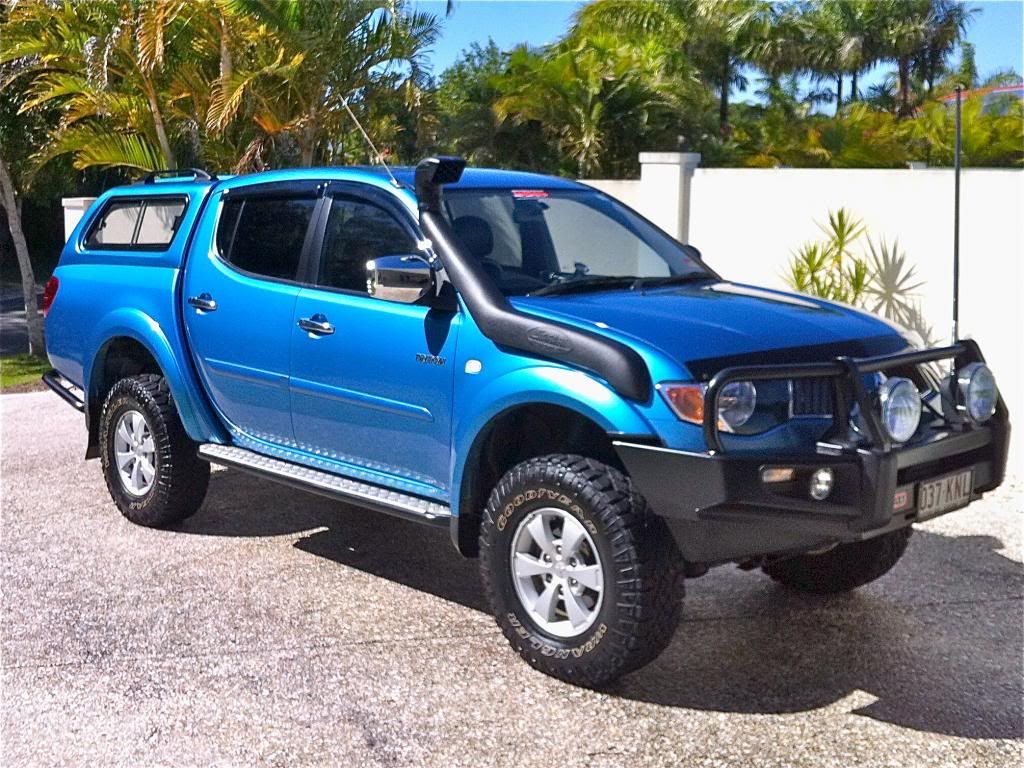
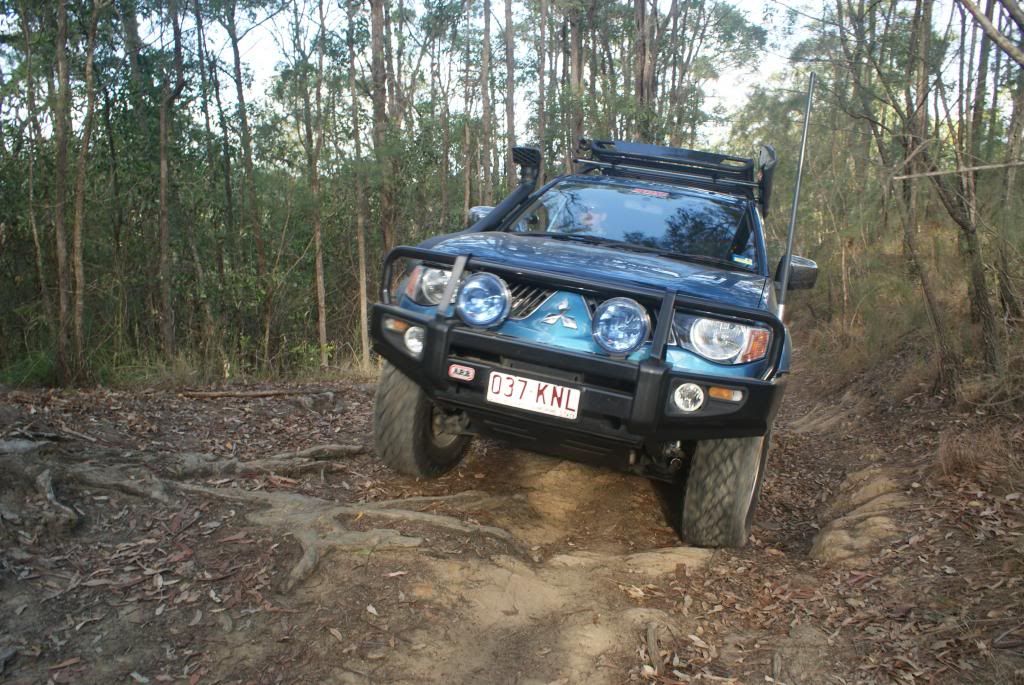
The bar was the next pick and after really umming and ahhing over the T13 TJM bar and ARB Deluxe it came down to price and ARB did a great deal. I am still not sure which one it the better bar but you can only carry one I guess. I decided to stay with black as it matched the rest of the bar work, fit in with truck and wouldn't be so worried about it chipping
Click to view larger picture

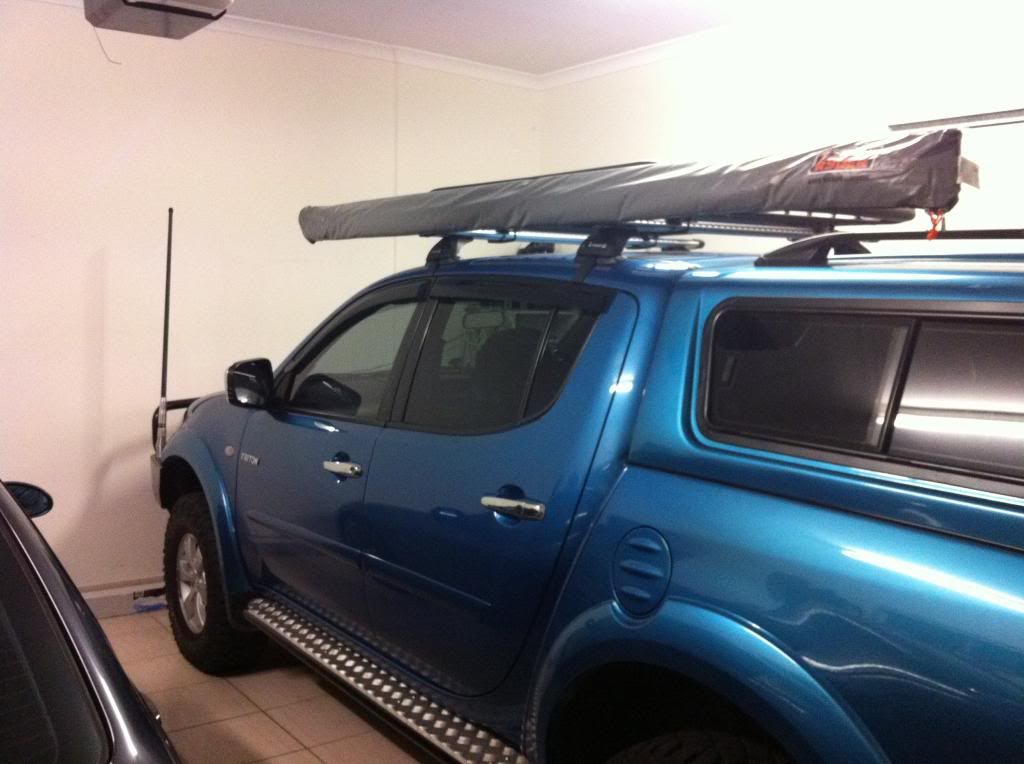
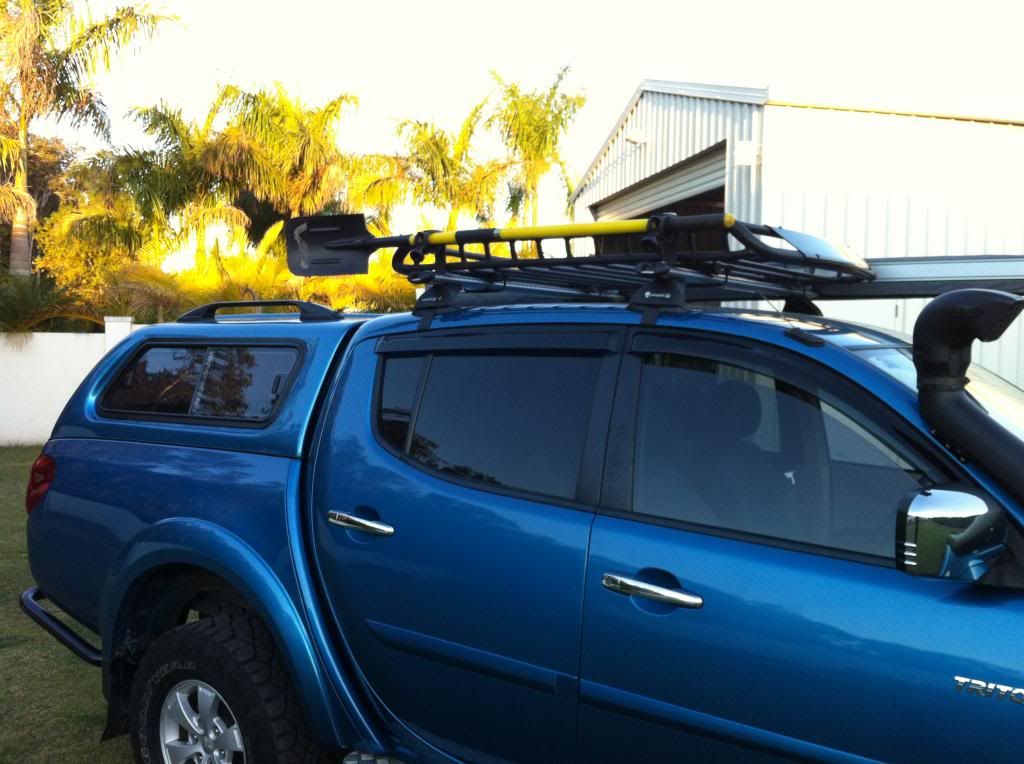
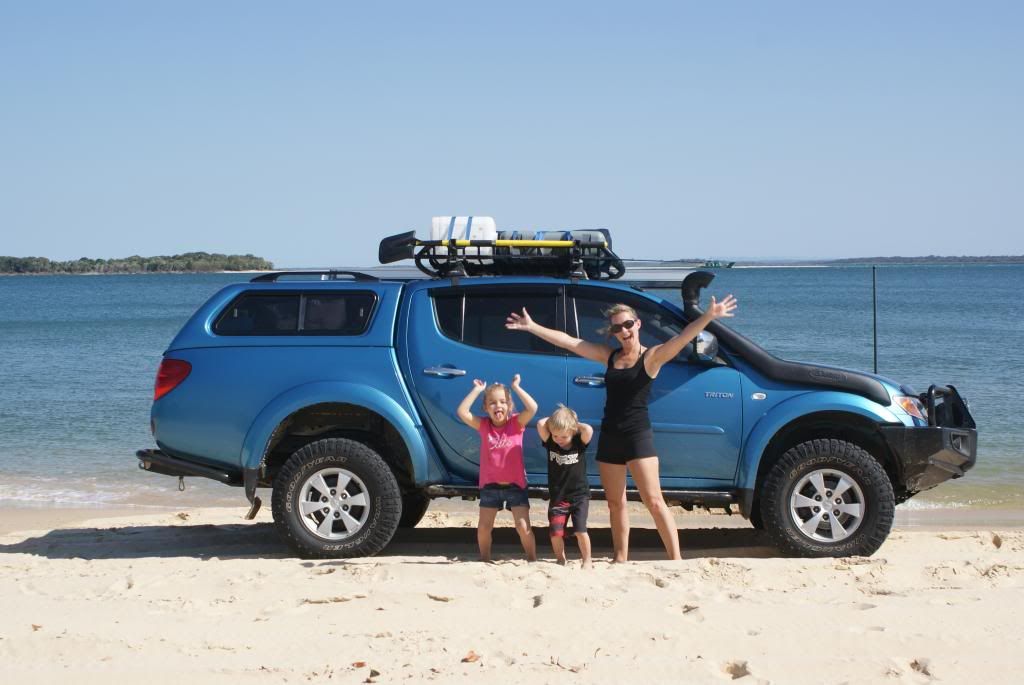
After watching a 4x4 action DVD on Fraser Island I was determined to get there as soon as possible. I also knew with a wife and two kids space was premium. So with that I looked through eBay at the specials at super cheap. In one weekend I managed to grab a cage for $100, Whisper Trade racks 50% off, a bargain on an awning and a shovel and high lift holder from ARB. 8-) 8-) Looking cool and ready for Fraser
Click to view larger picture
Packed and ready to hit Fraser for the first time :D
Click to view larger picture
We have arrived 8-) 8-)
Click to view larger picture

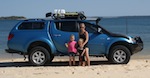
Here is my lovely wife at Elli Creek agreeing this was the best $2 I have ever spent.
Click to view larger picture

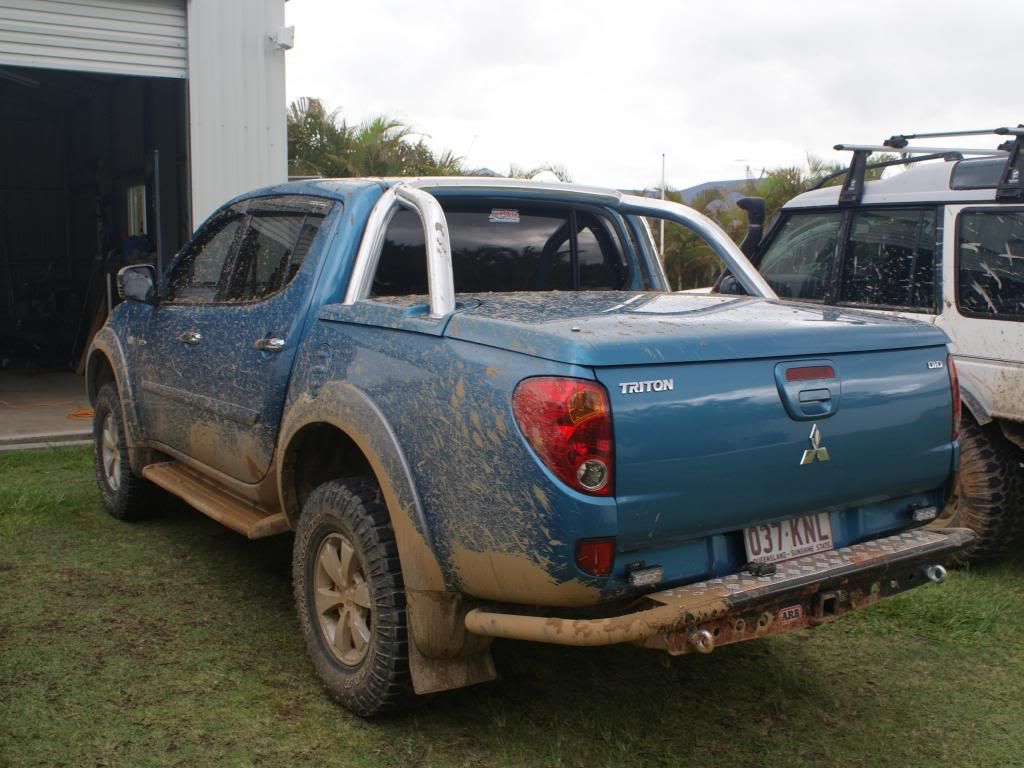
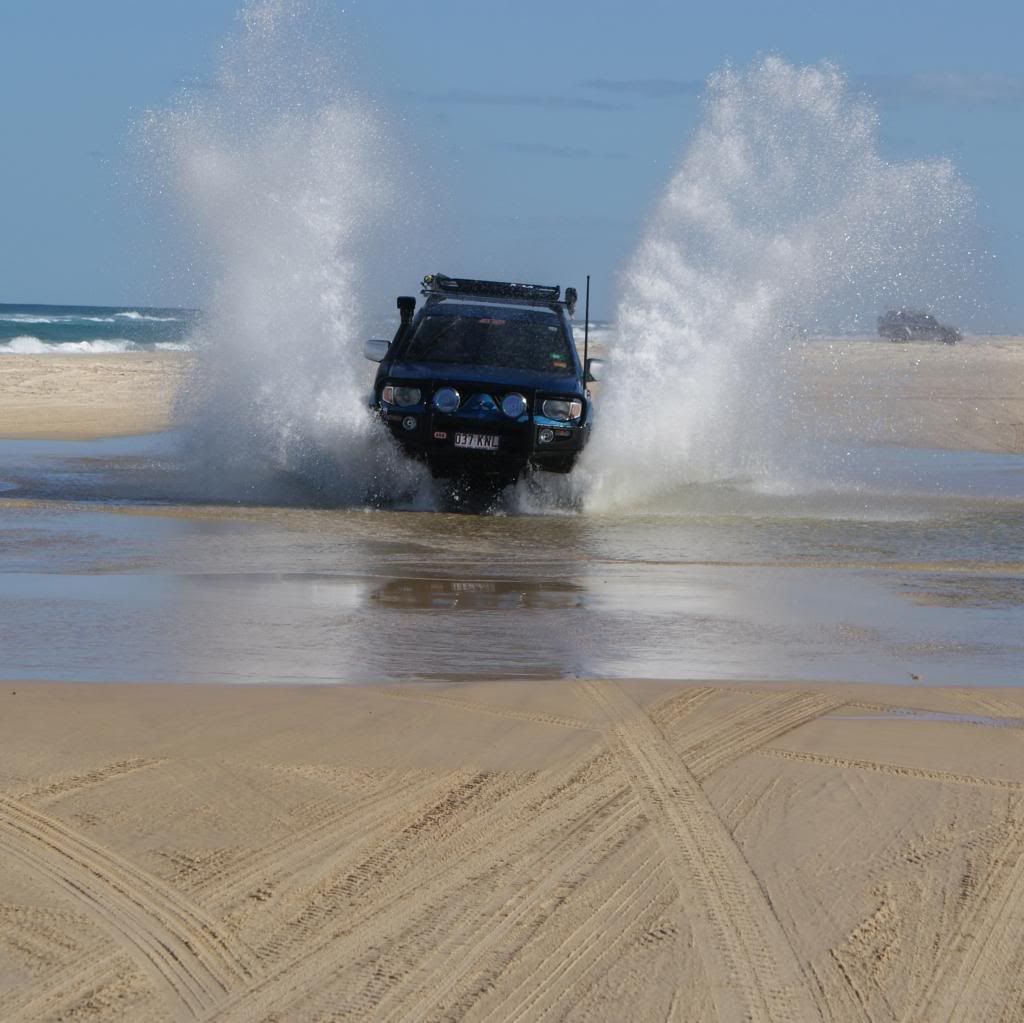
Time for a wash before getting back to camp.
Click to view larger picture

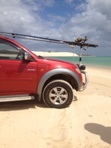
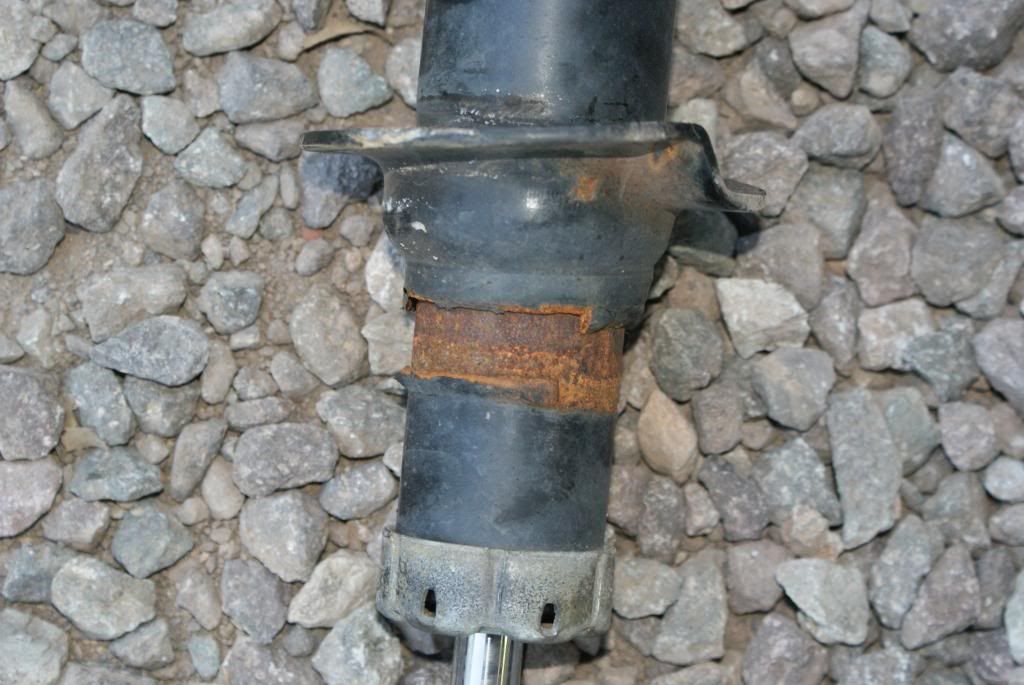
Now this was our first trip to Fraser and we loved it. We have been every year since for the past 2 years. The only thing that killed it and you would remember me mentioning the EFS error was what happened to my reasonably new shock on our way over Indian head. The thing that pissed me the most was this was the second one to do it.
Click to view larger picture
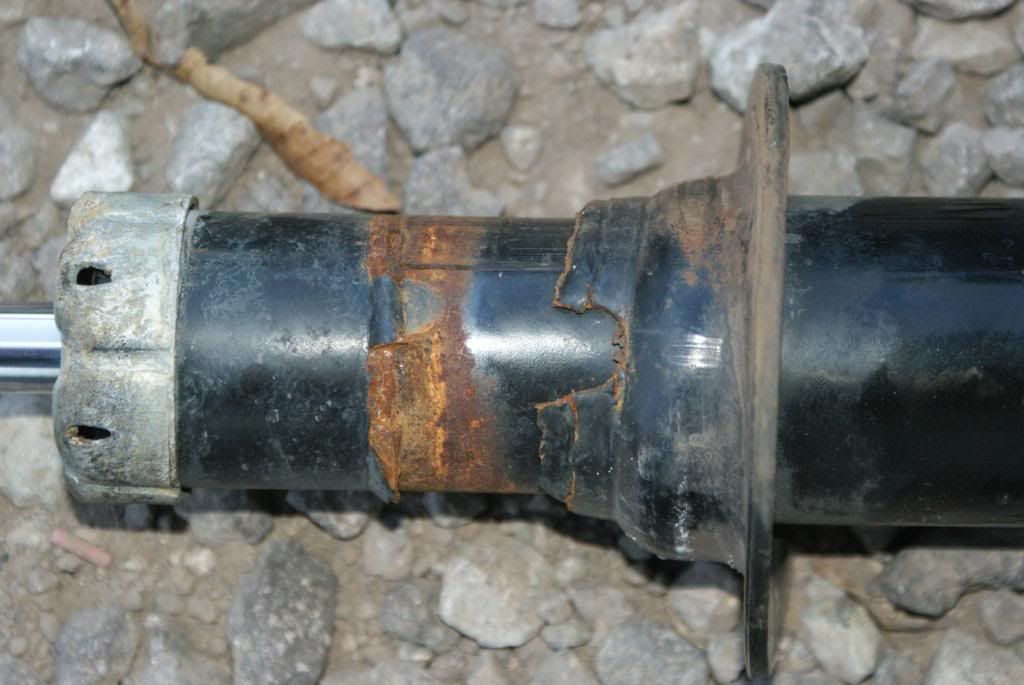
completely busted away due to a dodgy weld
Click to view larger picture
I now run a 2' Ultimate kit. No dramas and love it :) :) ;)

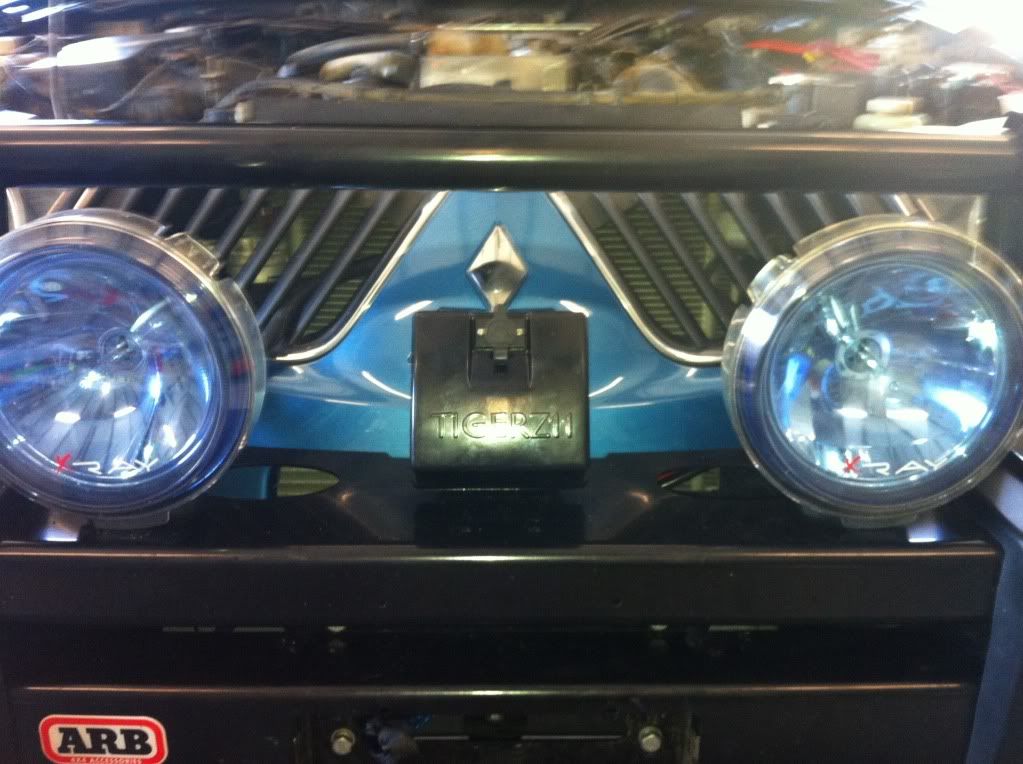
After Fraser I realised the fridge had to be set up different but I didn't want to lose the whole tub to draws so I cam up with this compromise which works awesome. Also threw in some HID upgrades to the spotties and the driving lights.
Click to view larger picture
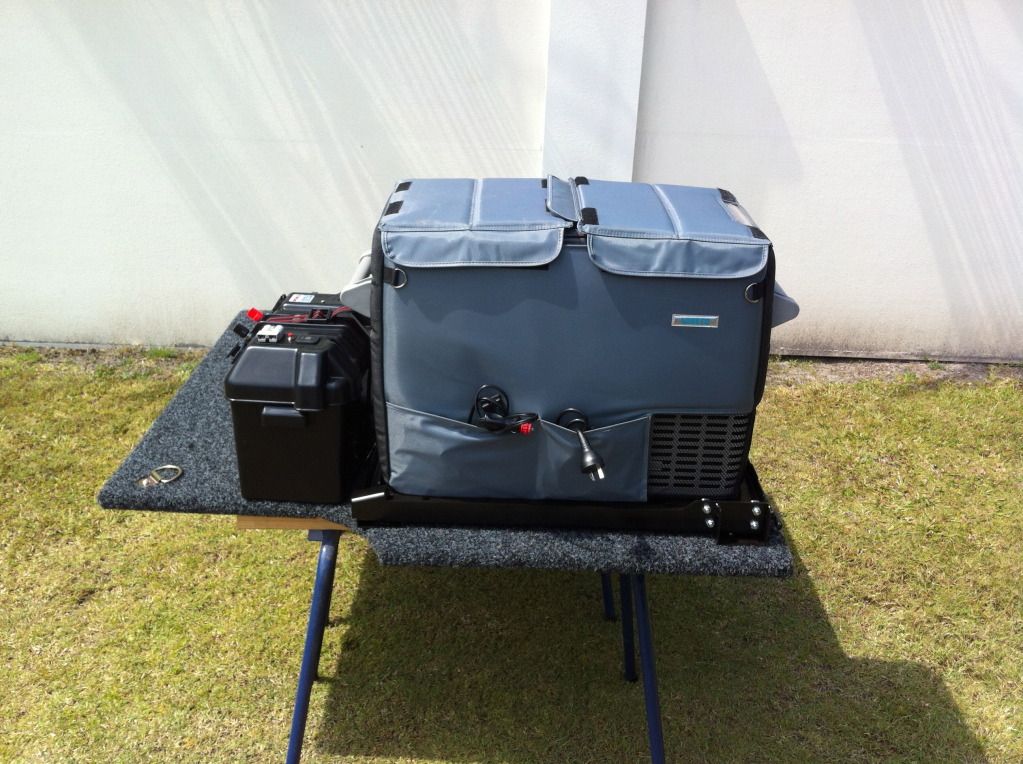
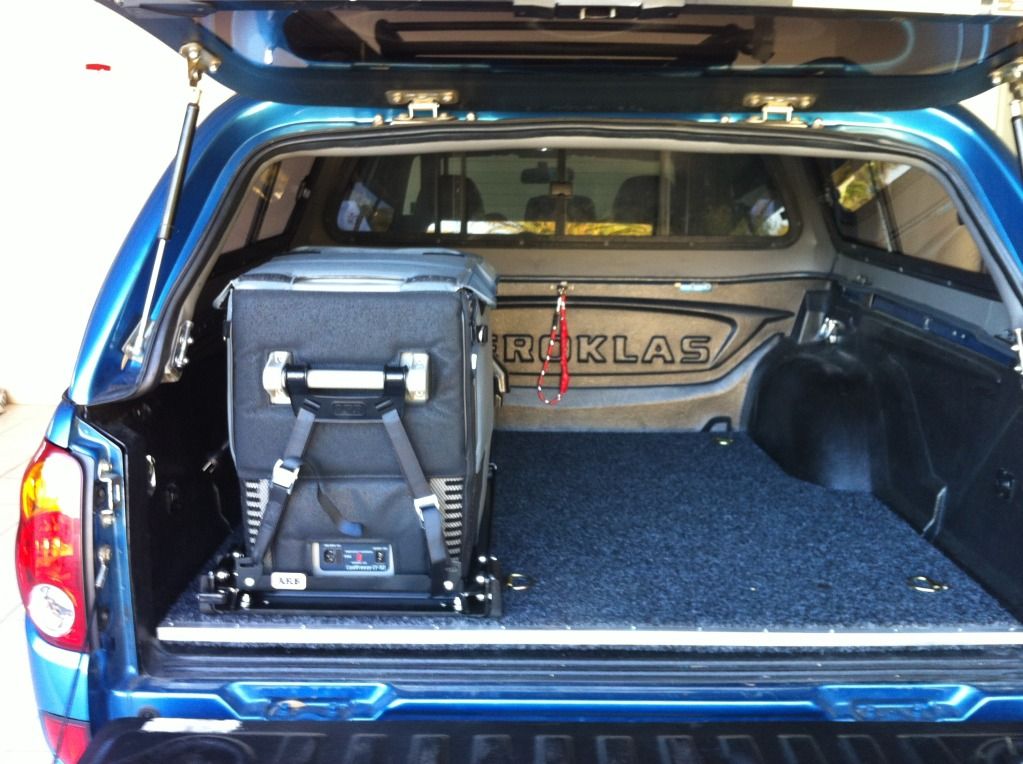
this set up allows me to take the dual battery system out and leave it at camp with fridge if needed. Also the slide comes out with 4 bolts anchored to t-nuts on the under side of the board. I love it. Also threw in some new LED light strips.
Click to view larger picture

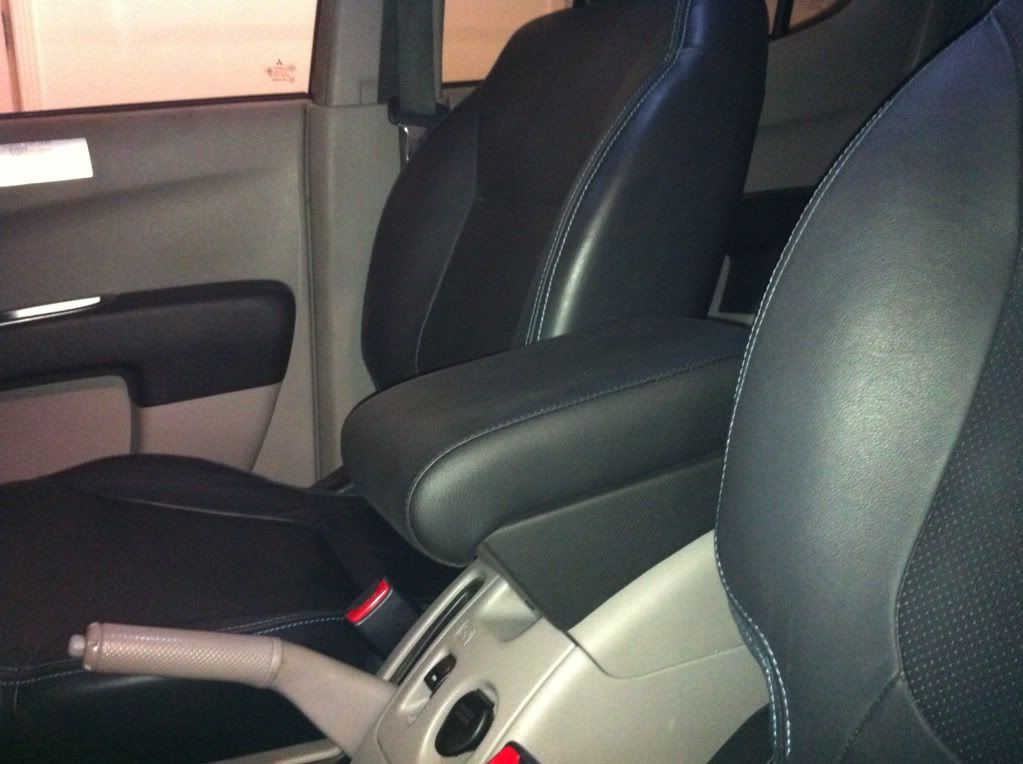
The provent installation was next along with the centre console armrest. This has to be one of the best things I have put in the rig. It is priceless.
Click to view larger picture
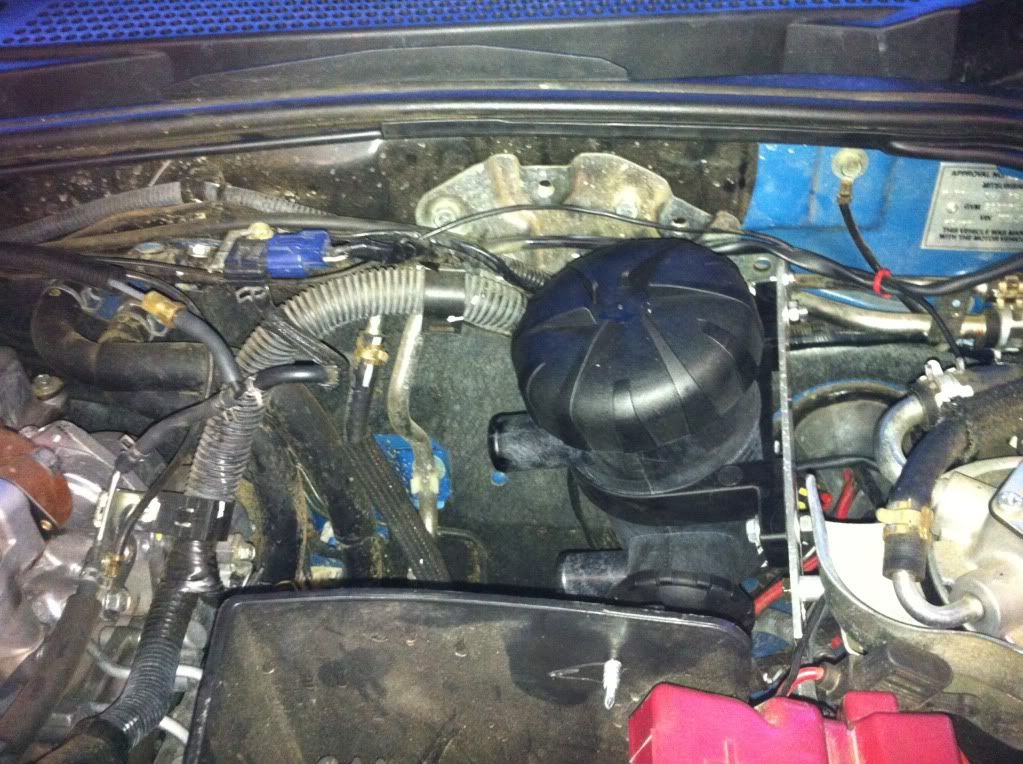
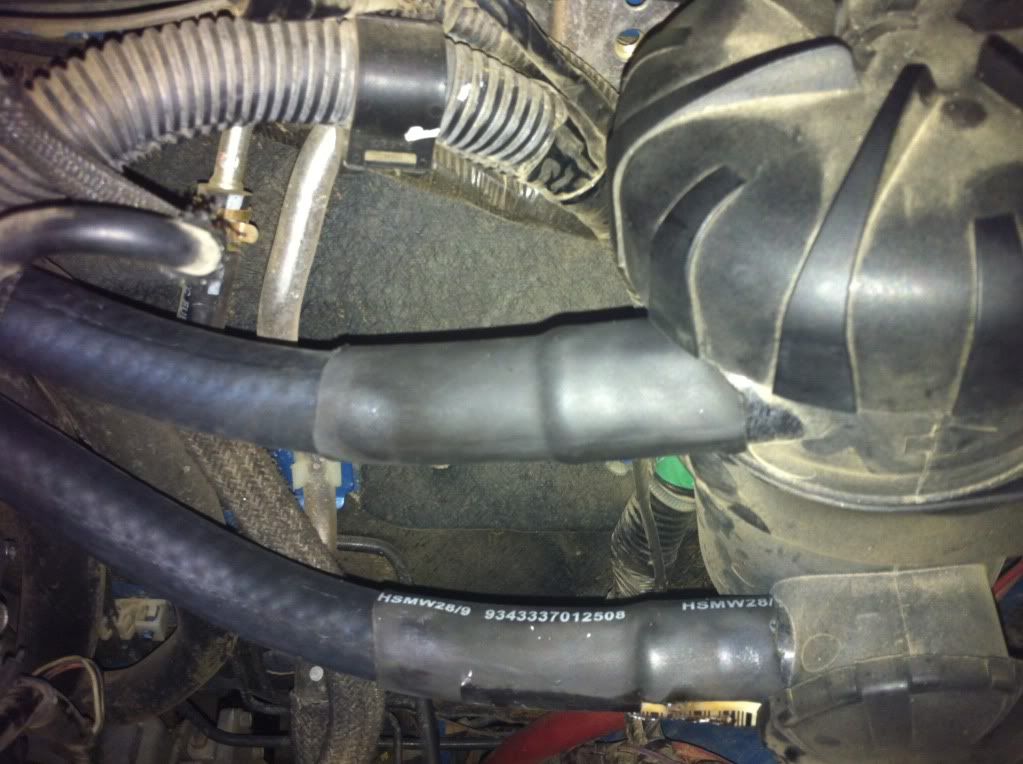
I used epoxy heat shrink and inserted the 5/8 hose into the hold instead of having more connections. Worked well.
Click to view larger picture
Get one!!!
Click to view larger picture

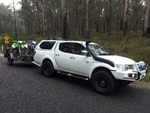
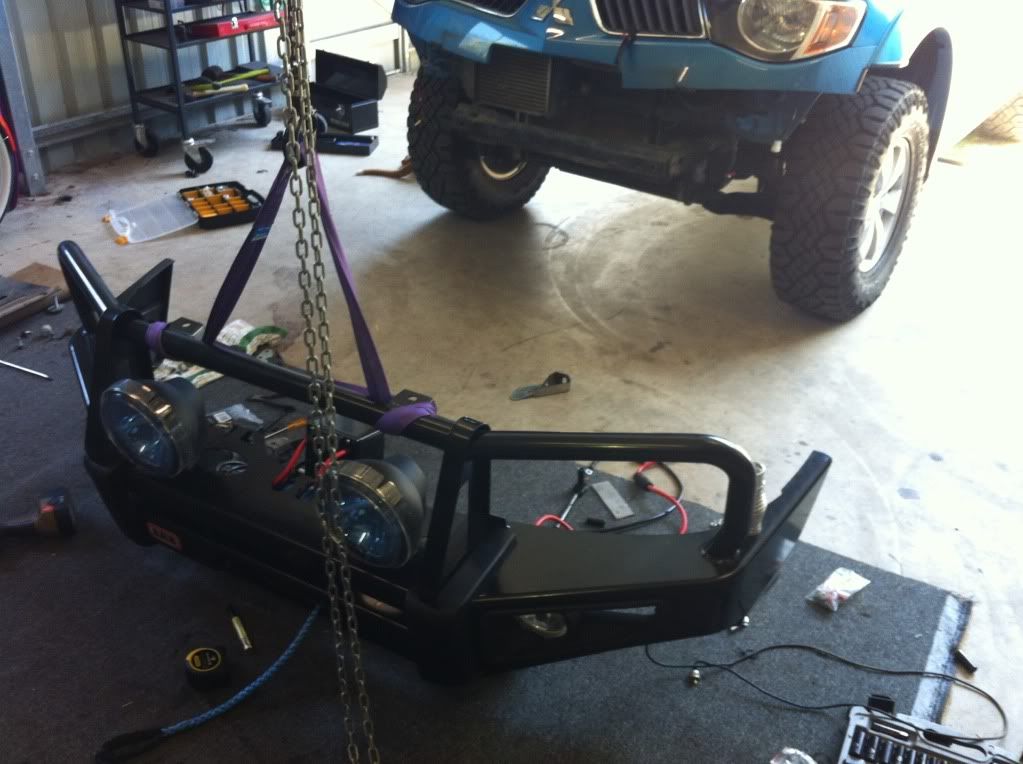
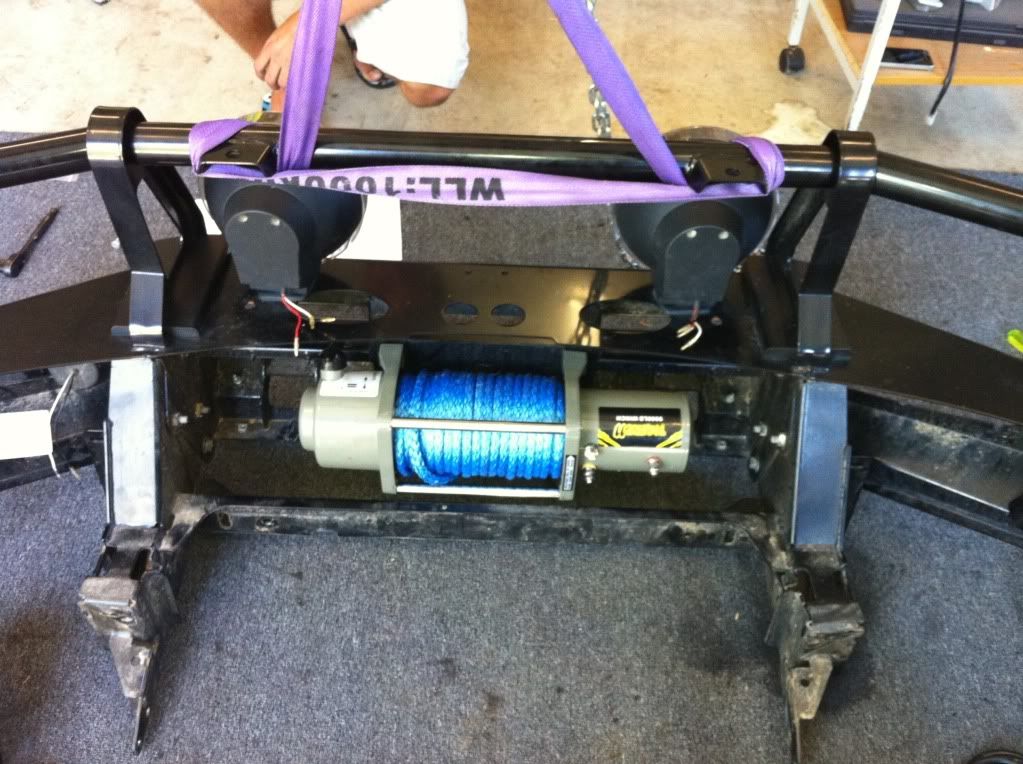
The next addition was a winch thanks to my lovely wife. I had a mate come around and we knocked it over in the shed in no time. I have had to use it twice and does the trick for me. More importantly as my wife pointed out the blue rope matches the truck :roll: :? :lol:
The gantry system in my shed came in handy
Click to view larger picture

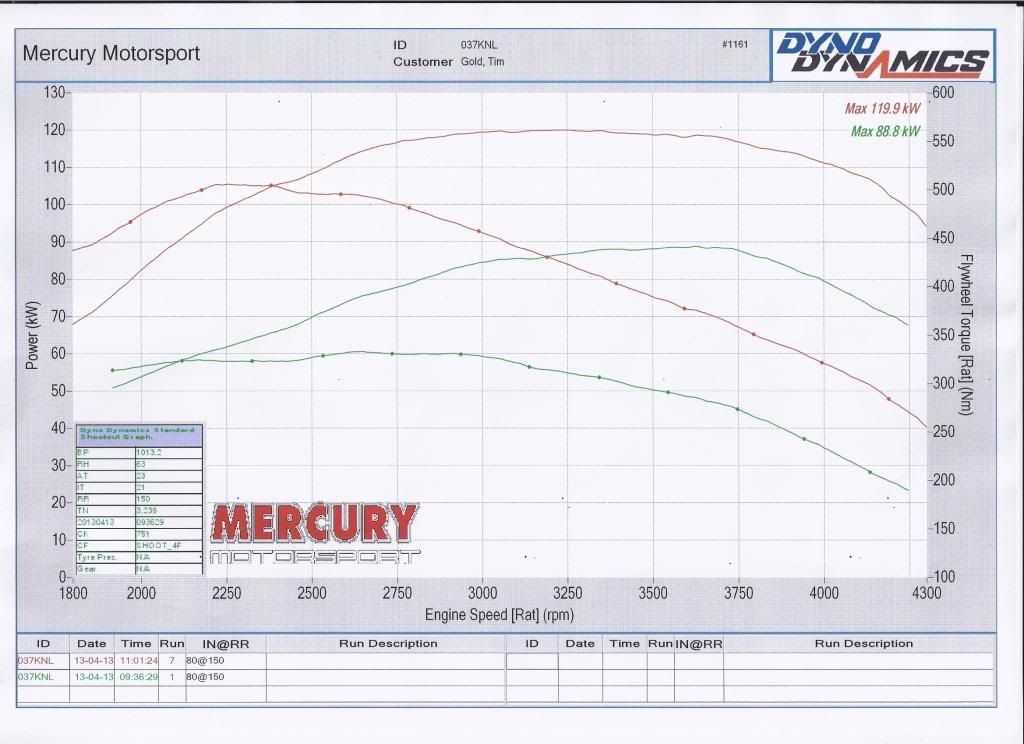
At this stage I had been becoming more frustrated by the ongoing issues with my chips (I had been through 4 faulty ones) and decided to try something new. I dropped the car down to Mercury Motorsports and had an ECUtek tune done. It cost a bit but is worth it. No more dramas and so much reliability back
Click to view larger picture

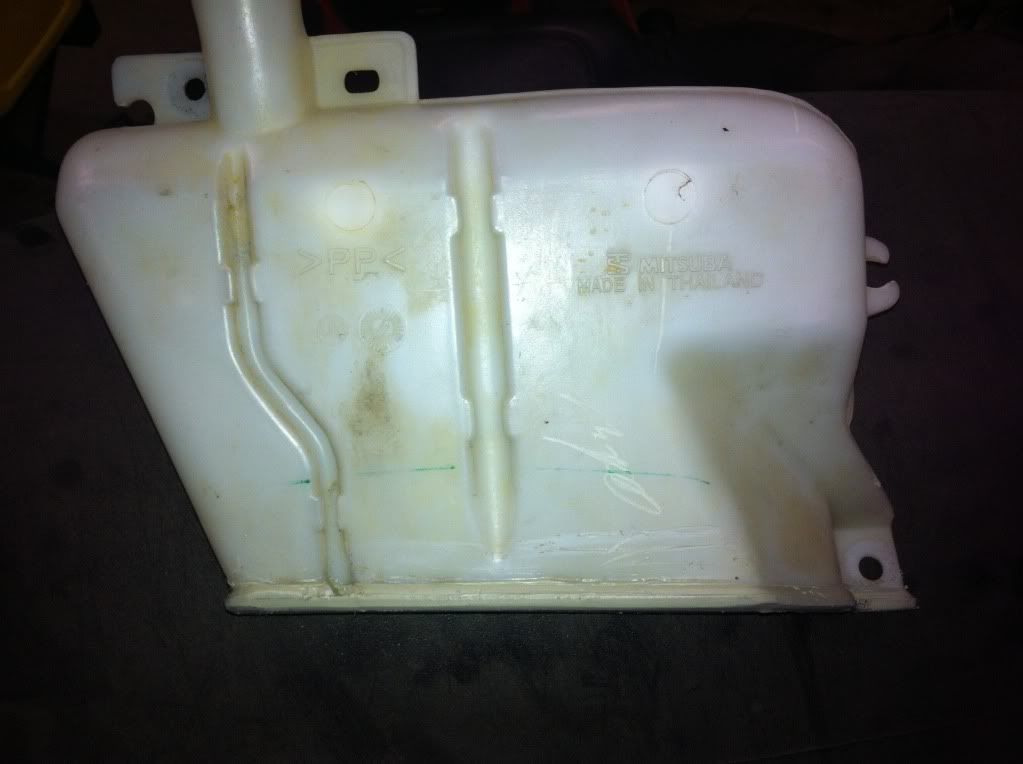
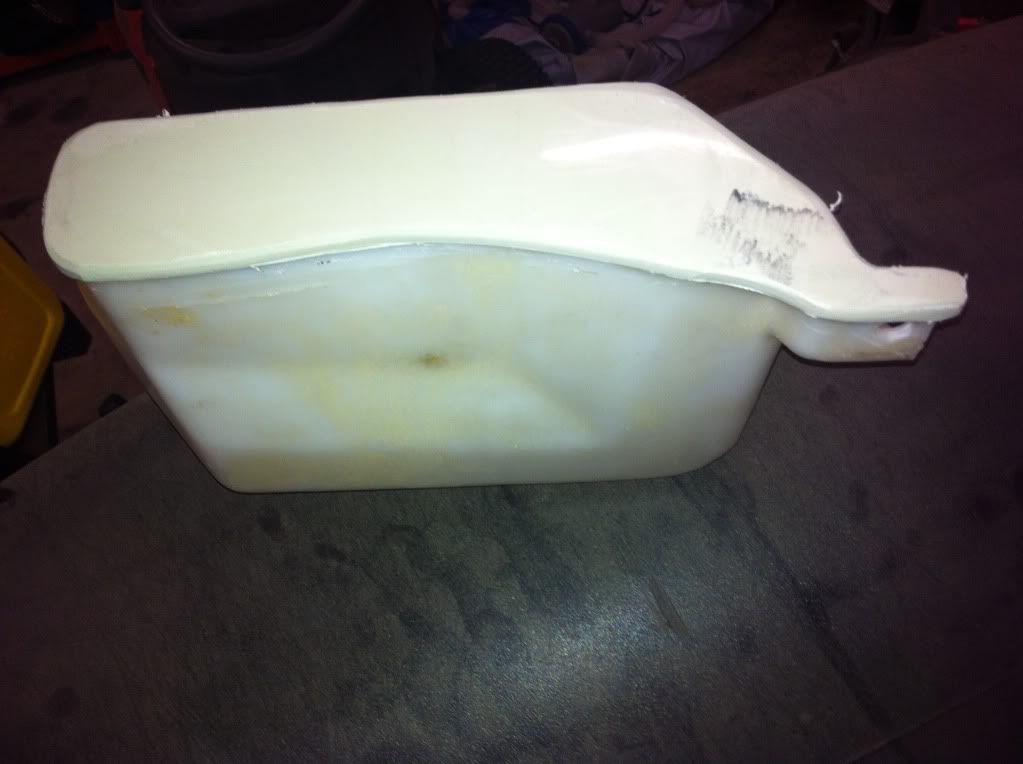
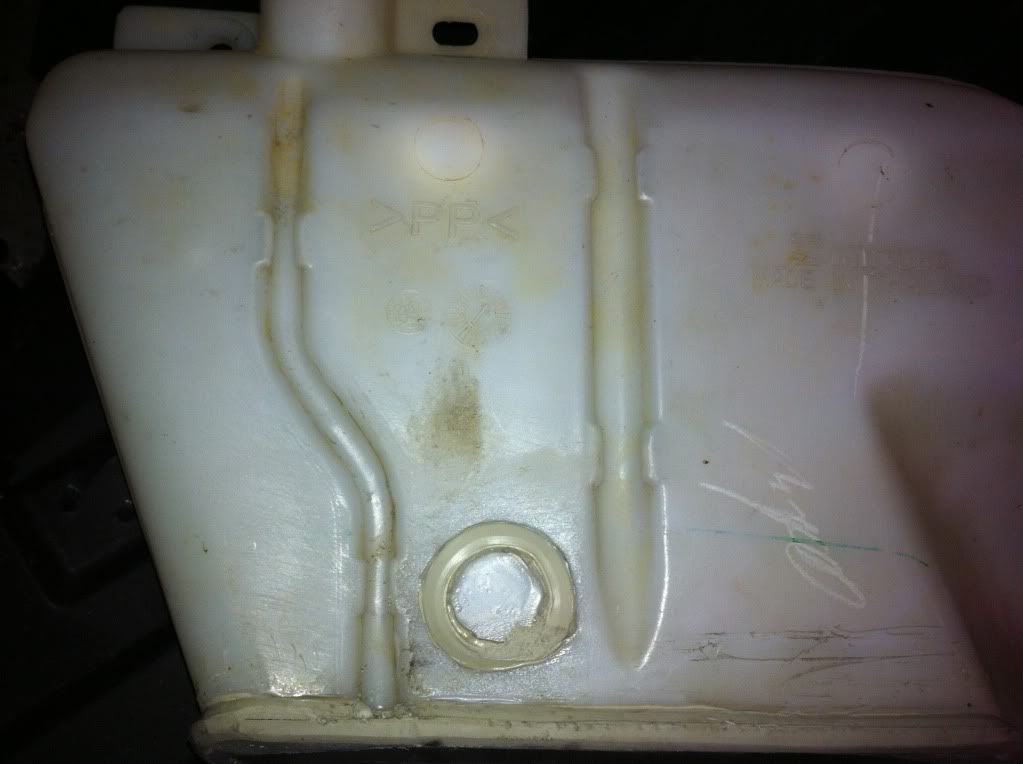
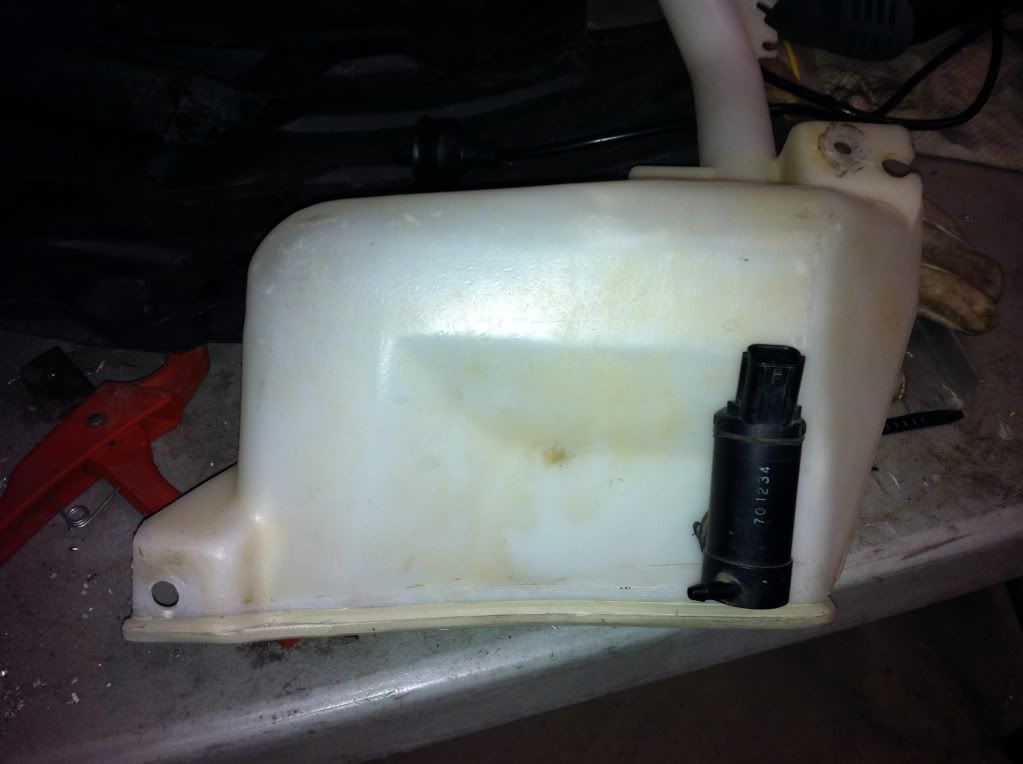
Not one to stop I was growing more annoyed with the bloddy bull bar wings that ARB put on the bar so I decided to take them off and cut down the water bottle. Once that was done some new plates were made up and installed.
Click to view larger picture
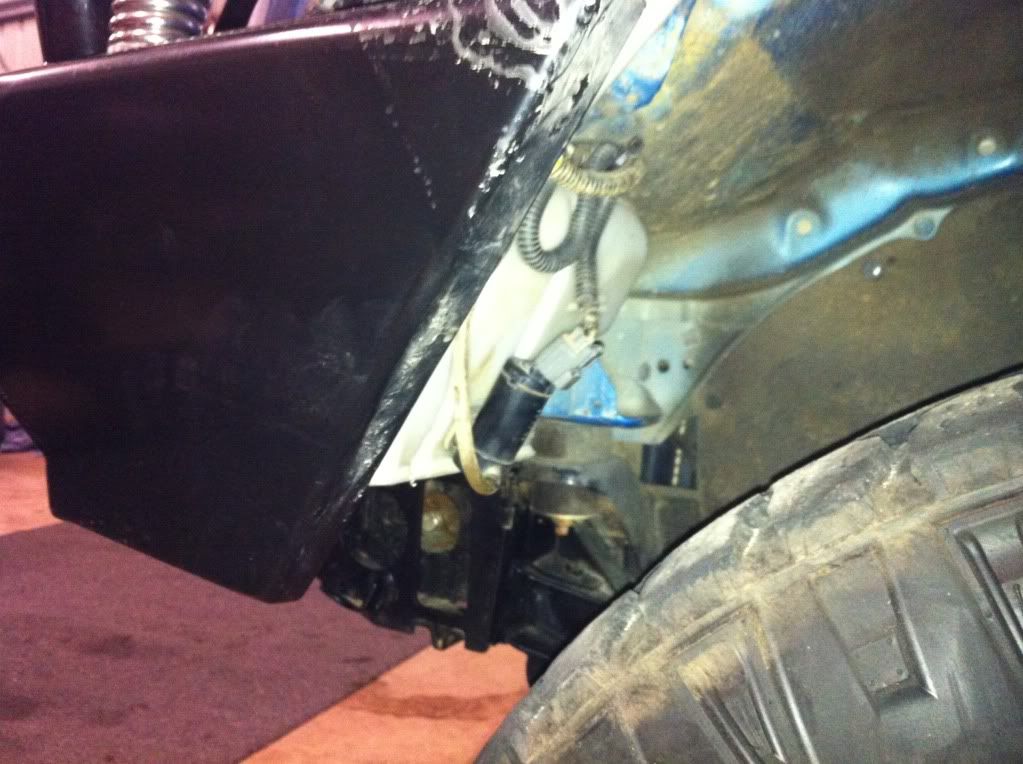
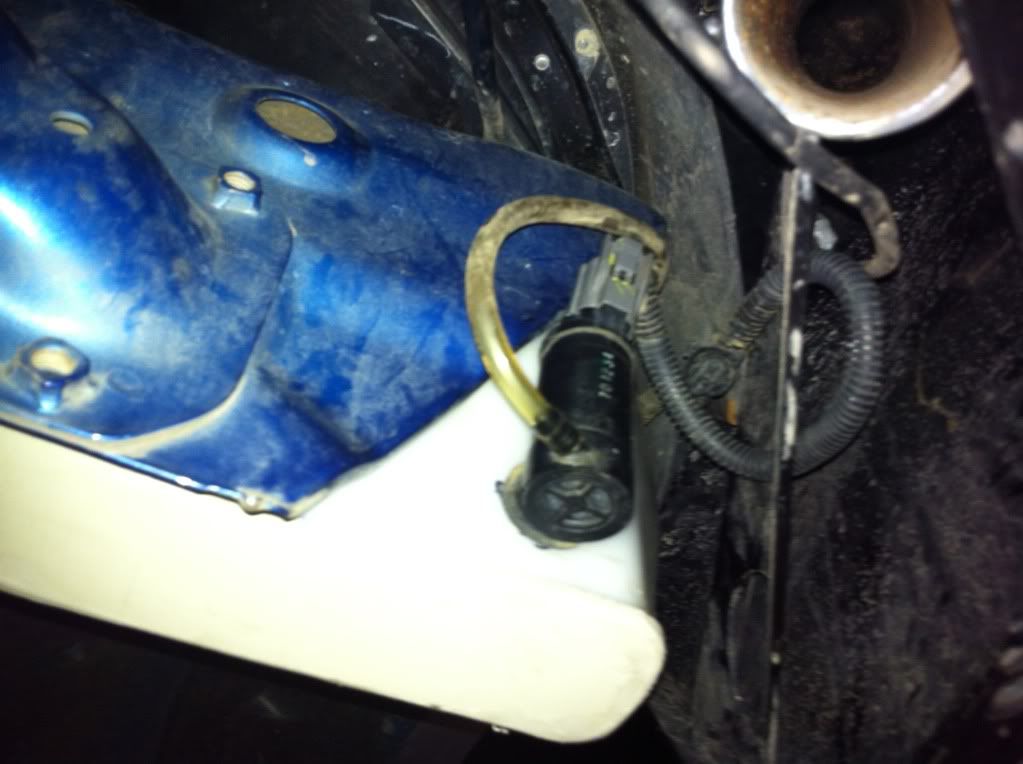
I made a mistake here and put the pump on the wrong side. It looked great until the wheel arch cover would not go back on. I patched the hole and tried again. Success
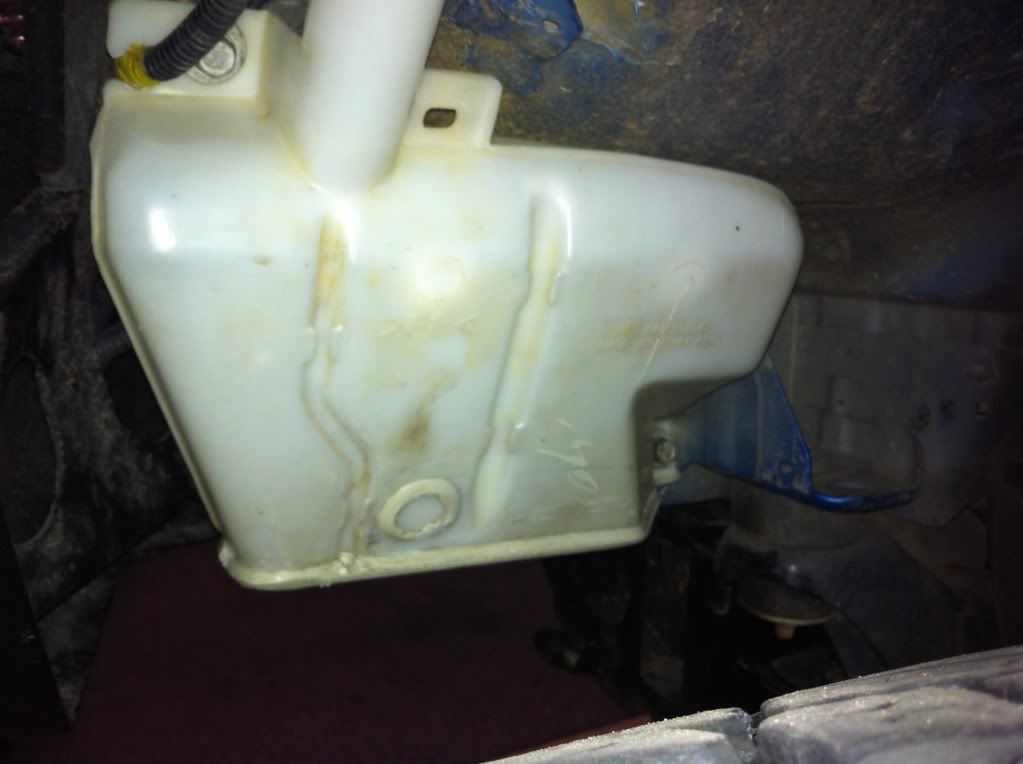
 :D :D
Click to view larger picture
from the under side
Click to view larger picture
Here are the plates installed. Approach angels are better and it looks tougher
Click to view larger picture

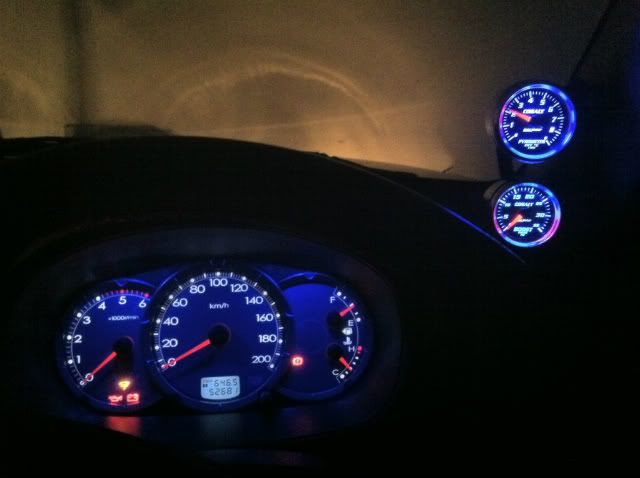
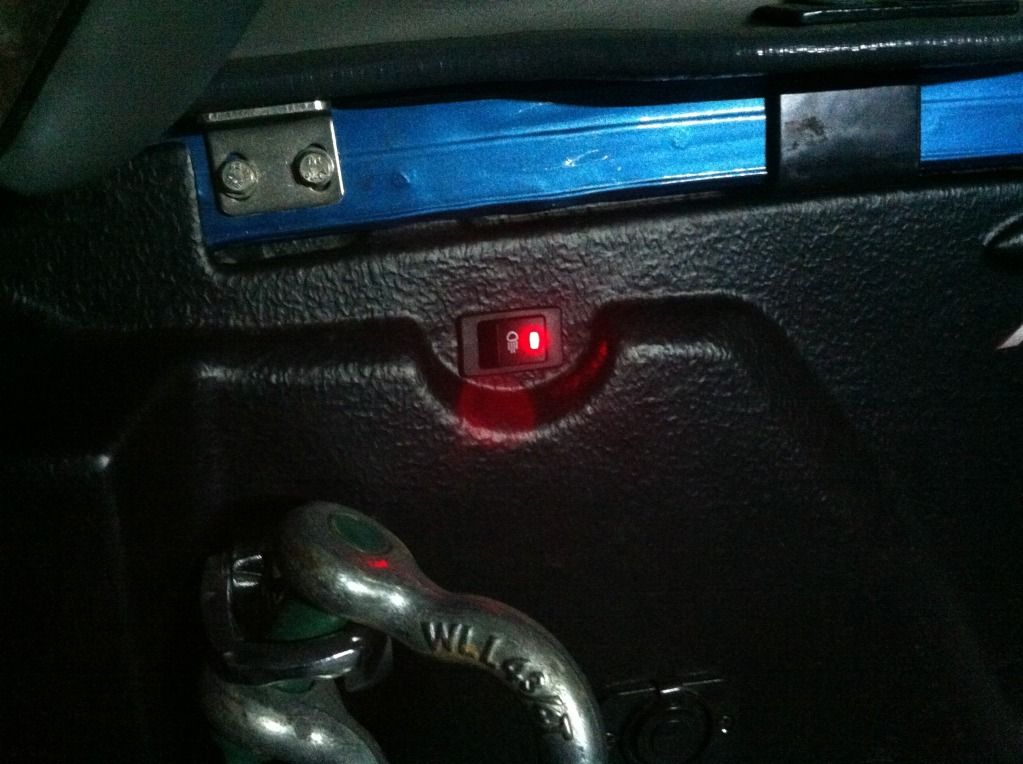
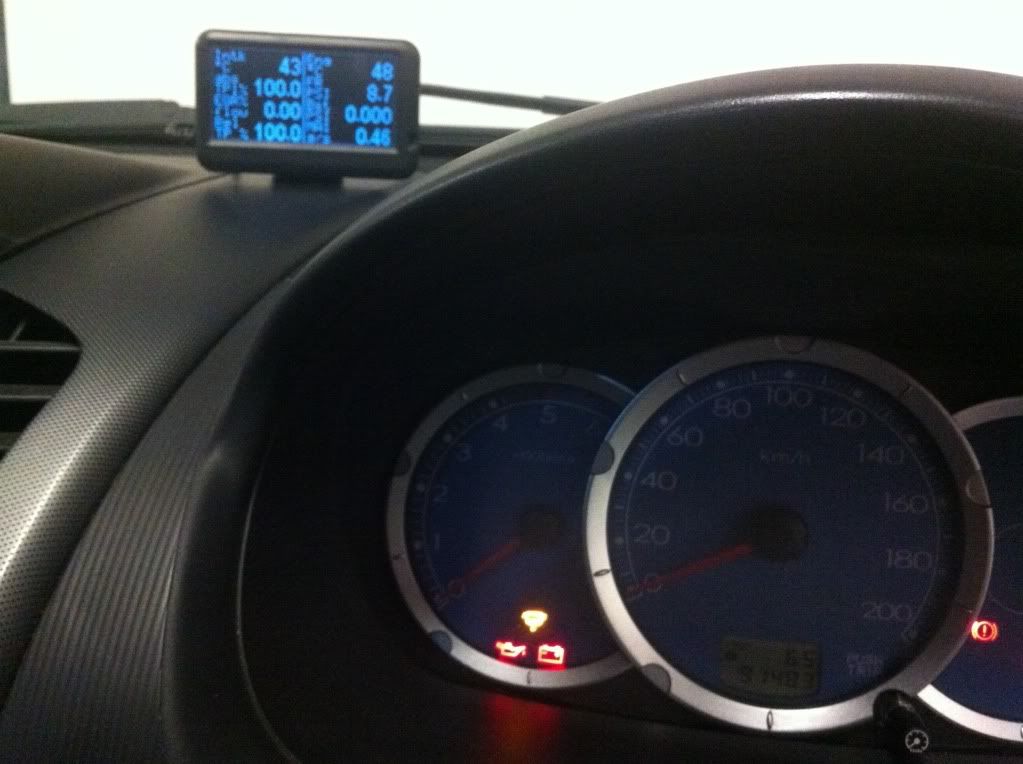
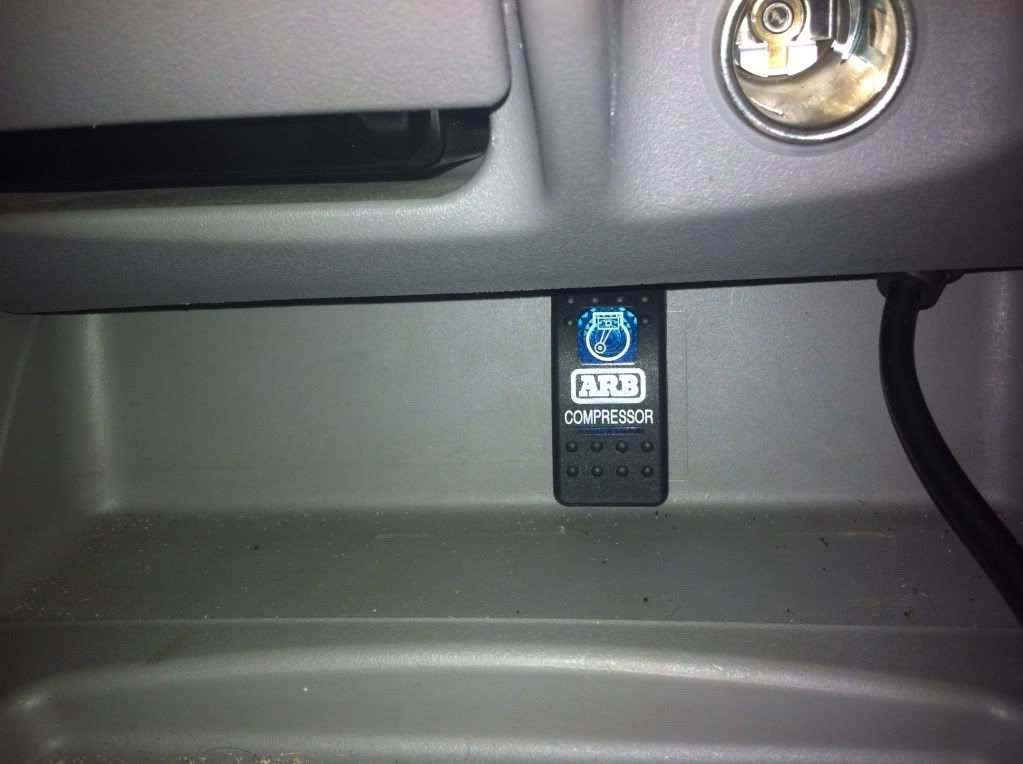
I have also installed the ARB compressor under the passenger seat. I found it really easy to get to and stayed out of the dust. The switch sits nicely under the ash tray waiting for a couple of friends and a new pioneer nav system. The ultra gauge has been a worthy investment and sits nicely up the back a bit with the cable running down the back of the dash
Click to view larger picture
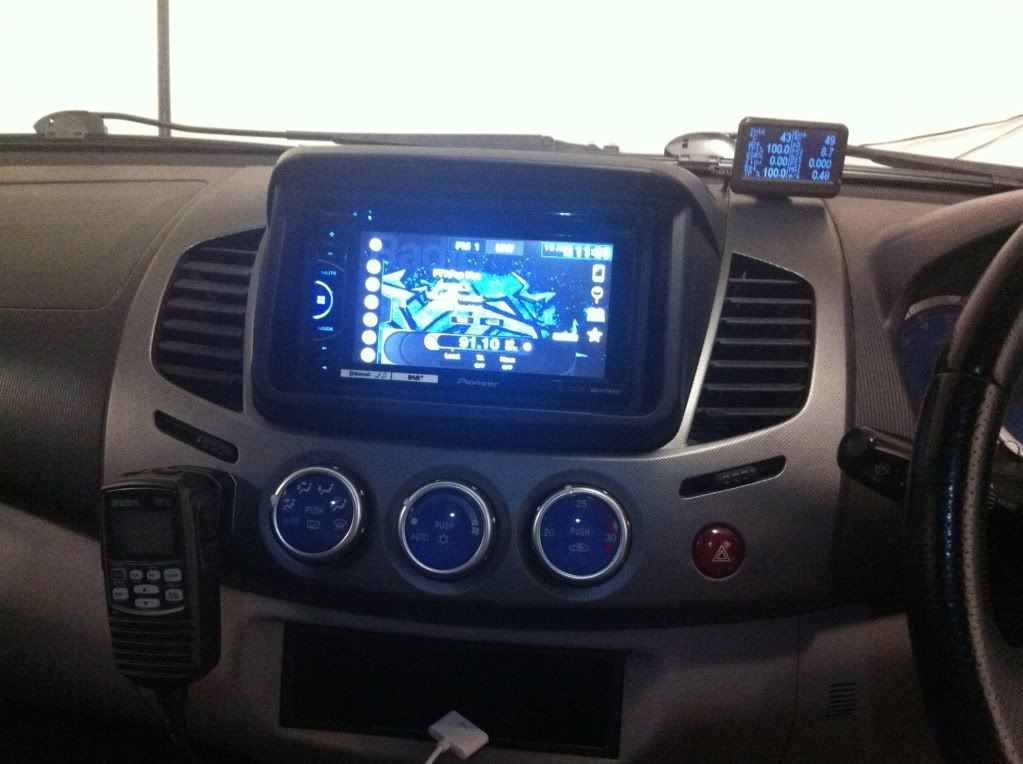
also the Oricom I mentioned earlier was swapped out for a Uniden 7760 which is awesome
Click to view larger picture
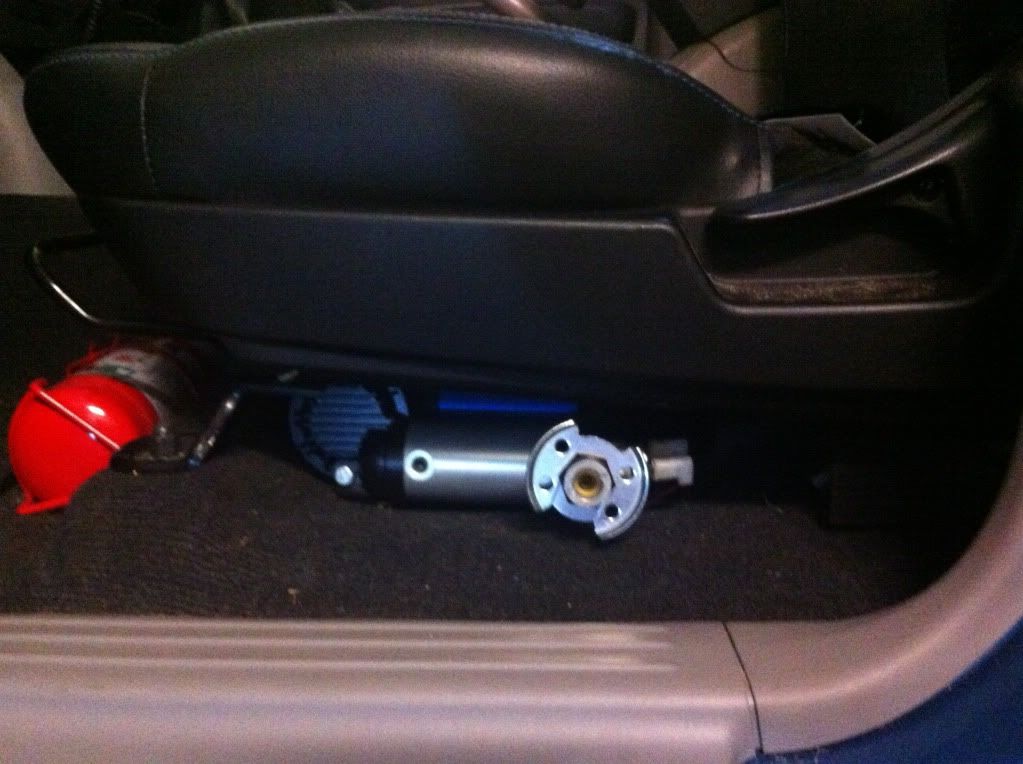
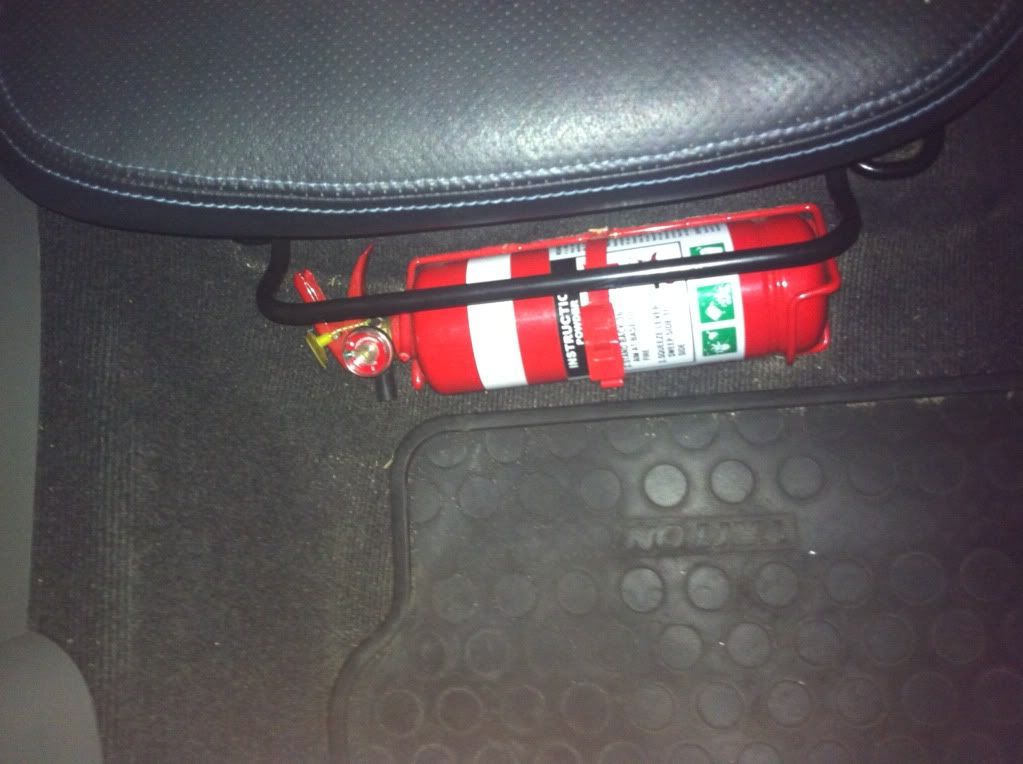
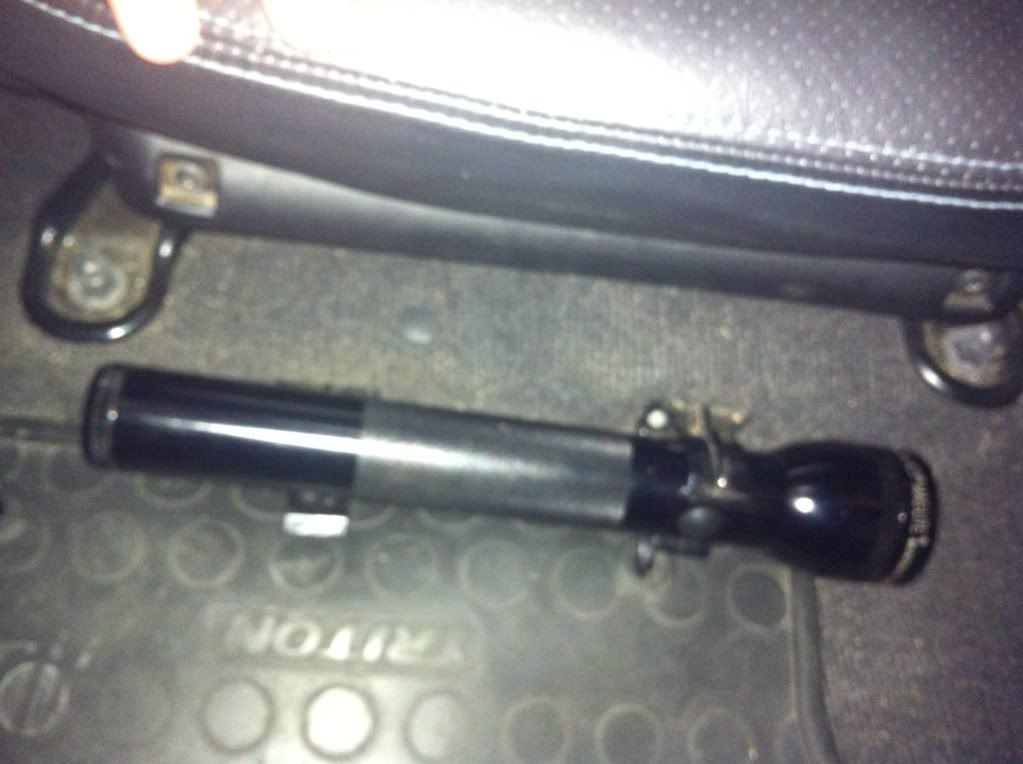
Fire extinguisher and LED Maglite round out the cab
Click to view larger picture

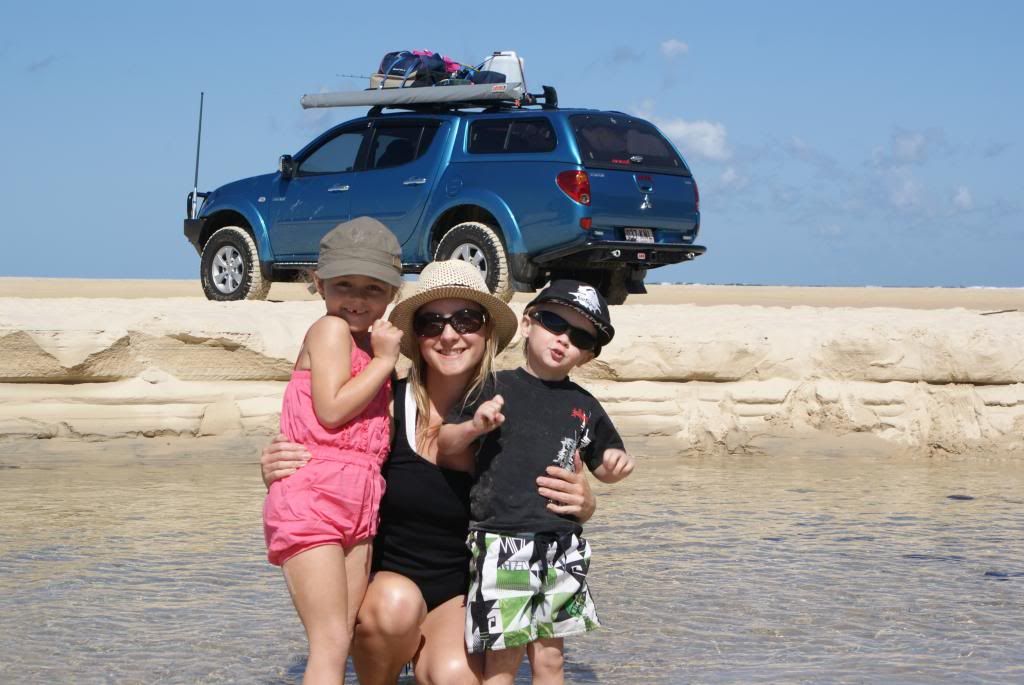
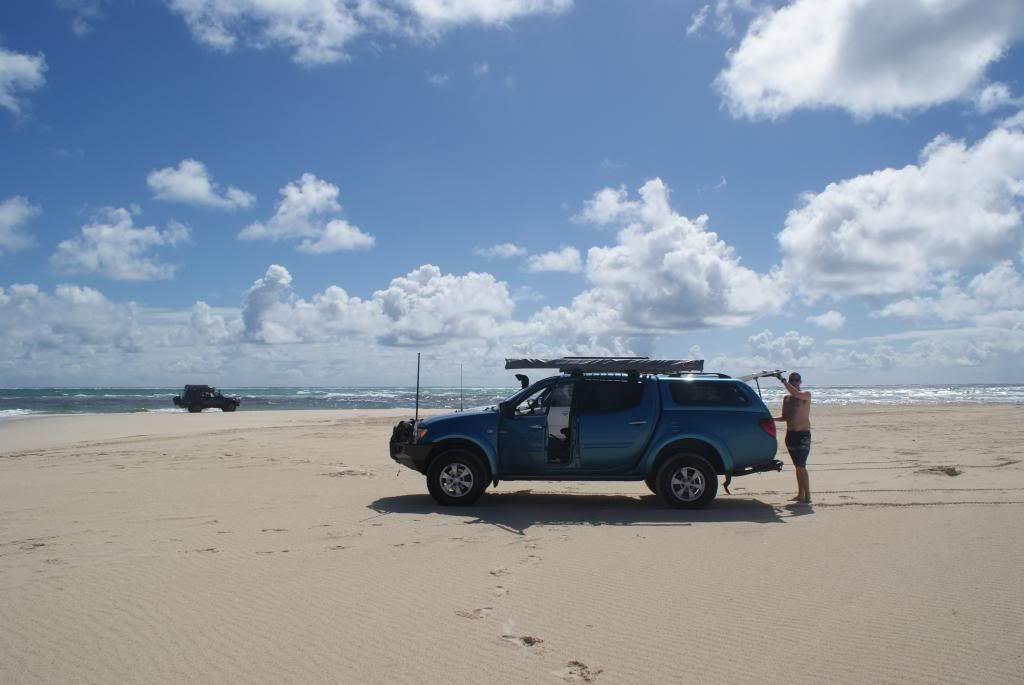
Well I hope you like it so far. Plenty more to come I am sure. And last few pics are for me why it is all worth it.
Click to view larger picture
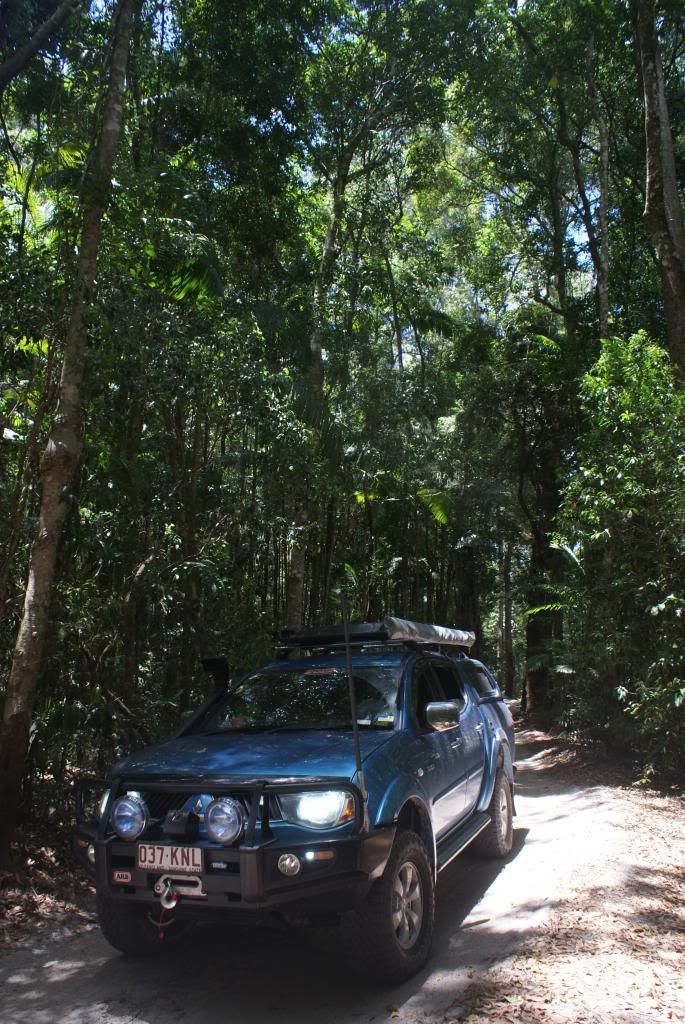
Sandy Cape - Fraser Island
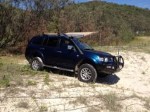
Click to view larger picture
Beerwah
Click to view larger picture
The Family
Click to view larger picture
Keen to get amongst it!!
User avatar
Tim007
 
Posts: 471
Joined: Sat Dec 25, 2010 10:51 pm
Location: Sunshine Coast QLD


Re: Tim007's ML GLS Build

Postby tony222@bigpond.com on Tue Aug 20, 2013 4:51 am

What a great build mate well done and might I add the best $2 investment ever :lol:
Your triton looks awesome and with all the bells and whistles
And great photos as well ,

Cheers
Tony
tony222@bigpond.com
 
Posts: 144
Joined: Thu Feb 02, 2012 5:14 pm
Location: North rocks n.s.w

Re: Tim007's ML GLS Build

Postby TheWall on Tue Aug 20, 2013 5:20 am

Looks good Tim. Thanks for all the hints and tips for my Challenger.

Matt
User avatar
TheWall
 
Posts: 589
Joined: Thu Feb 07, 2013 1:22 pm
Location: Sunshine Coast

Re: Tim007's ML GLS Build

Postby Bigbirdalx on Tue Aug 20, 2013 9:19 am

Anymore pics of wifey ;) hahaha
what winch did u run with? Looks like tigerz?
If im posting, im either on the toilet, at work or both
User avatar
Bigbirdalx
 
Posts: 677
Joined: Tue Oct 30, 2012 7:19 am
Location: northside of brisbane

Re: Tim007's ML GLS Build

Postby Tim007 on Tue Aug 20, 2013 9:38 am

tony222@bigpond.com wrote:What a great build mate well done and might I add the best $2 investment ever :lol:
Your triton looks awesome and with all the bells and whistles
And great photos as well ,

Cheers
Tony

thanks Tony.

I owe a lot to the ideas of others who have supported the forum with their build threads.
Keen to get amongst it!!
User avatar
Tim007
 
Posts: 471
Joined: Sat Dec 25, 2010 10:51 pm
Location: Sunshine Coast QLD

Re: Tim007's ML GLS Build

Postby Tim007 on Tue Aug 20, 2013 9:38 am

TheWall wrote:Looks good Tim. Thanks for all the hints and tips for my Challenger.

Matt

My pleasure mate. Now you need to get some decent rubber and get out and use it with me. :D
Keen to get amongst it!!
User avatar
Tim007
 
Posts: 471
Joined: Sat Dec 25, 2010 10:51 pm
Location: Sunshine Coast QLD

Re: Tim007's ML GLS Build

Postby Tim007 on Tue Aug 20, 2013 9:40 am

Bigbirdalx wrote:Anymore pics of wifey ;) hahaha
what winch did u run with? Looks like tigerz?

Yeah mate it is a Tigerz11 9000lb. Plenty more pics but I think they will stay off line. :)
Keen to get amongst it!!
User avatar
Tim007
 
Posts: 471
Joined: Sat Dec 25, 2010 10:51 pm
Location: Sunshine Coast QLD

Re: Tim007's ML GLS Build

Postby DocBassett on Tue Aug 20, 2013 9:54 am

This is a great build up mate. Well done.
DocBassett
 

Re: Tim007's ML GLS Build

Postby mIwoo on Tue Aug 20, 2013 10:09 am

I reckon thats about one of the better trucks on here thats for sure. The blue doesnt do it for me, but yeah! Nice truck! Fraser... nice. Im planning a trip there next year myself. Should be fun.
1130 BARRA - 850 Murray Cod - 640 Dusky - 445 Aus BASS - 585 Yellow-belly - 440 Redfin
User avatar
mIwoo
 
Posts: 765
Joined: Tue Aug 09, 2011 10:26 pm
Location: Wagga

Re: Tim007's ML GLS Build

Postby Dunga71 on Tue Aug 20, 2013 12:40 pm

Truck is looking great mate,heading back to fraser in 4 weeks with 2 other families cant wait,we have the 3 sites at cooloolio creek and a tinny so should be fun times :D
Believe all ya see and half what ya hear
User avatar
Dunga71
 
Posts: 1255
Joined: Fri Jul 22, 2011 11:25 am
Location: Sale victoria

Re: Tim007's ML GLS Build

Postby Tim007 on Tue Aug 20, 2013 1:17 pm

Dunga71 wrote:Truck is looking great mate,heading back to fraser in 4 weeks with 2 other families cant wait,we have the 3 sites at cooloolio creek and a tinny so should be fun times :D

The Taylor will be running for sure then. I had the chance to go up with some mates in 3 weeks but work commitments have held me back. Make sure you post heaps of picks.
Keen to get amongst it!!
User avatar
Tim007
 
Posts: 471
Joined: Sat Dec 25, 2010 10:51 pm
Location: Sunshine Coast QLD

Re: Tim007's ML GLS Build

Postby mad992 on Tue Aug 20, 2013 6:17 pm

hi tim,

mate great build ,lovely family what more do you want looking good i say :D see ya round the coast
mad992
 

Re: Tim007's ML GLS Build

Postby 1 Nathan on Tue Aug 20, 2013 7:17 pm

Sic truck mate wot is ya rack ( rolla)?
User avatar
1 Nathan
 
Posts: 154
Joined: Sat Jul 07, 2012 10:29 am
Location: Boonah

Re: Tim007's ML GLS Build

Postby Tim007 on Tue Aug 20, 2013 8:23 pm

1 Nathan wrote:Sic truck mate wot is ya rack ( rolla)?

Cheers mate. Yep it is a ROLA. I saved the search into eBay and was just patient and eventually one came up for $100 not too far. Heaps came up further away so they seem to pop up quite regularly.
Keen to get amongst it!!
User avatar
Tim007
 
Posts: 471
Joined: Sat Dec 25, 2010 10:51 pm
Location: Sunshine Coast QLD

Re: Tim007's ML GLS Build

Postby 3084me on Sun Aug 25, 2013 4:29 pm

Great build you've done there, where did you get the centre console armrest from or did you make it.
3084me
 
Posts: 8
Joined: Sat Jun 08, 2013 12:22 am
Location: Kapiti, NZ

Re: Tim007's ML GLS Build

Postby Tim007 on Sun Aug 25, 2013 6:06 pm

3084me wrote:Great build you've done there, where did you get the centre console armrest from or did you make it.

Thanks, The armrest came straight off ebay mate. They come out of the UK and it got here pretty quickly.
Keen to get amongst it!!
User avatar
Tim007
 
Posts: 471
Joined: Sat Dec 25, 2010 10:51 pm
Location: Sunshine Coast QLD

Re: Tim007's ML GLS Build

Postby Lunny on Tue Aug 27, 2013 6:08 am

Looking good mate, nice looking rig, will have to keep an eye out for you on he coast as I'm a sales rep in that region
Lunny
User avatar
Lunny
 
Posts: 1708
Joined: Mon Mar 11, 2013 5:39 pm
Location: North Brisbane, QLD

Re: Tim007's ML GLS Build

Postby Duck on Tue Aug 27, 2013 8:14 am

Nice work mate, truck looks great & great to see that the whole family enjoys it. The tiles in your shed are nicer than the tiles in my house :lol: So what is next for the beast ? apart from fluffy nice for the mirror I think its tricked out. 8-) Thanks to the funding of the HSV :lol: :lol: Stop talking about Fraser it makes it hard for me to concentrate at work....AAAHHHHH FRASER :mrgreen:
Life is what happens while you are busy making plans........
User avatar
Duck
 
Posts: 2001
Joined: Tue Feb 14, 2012 3:48 pm
Location: North Side Of Brisbane

Re: Tim007's ML GLS Build

Postby fez on Sun Dec 29, 2013 1:45 pm

very nice build mate. one day i will get to Fraser

Ian
QLD & NT Technical manager for Suzuki Marine
fez
 
Posts: 103
Joined: Sat Oct 29, 2011 5:35 am
Location: ipswich

Re: Tim007's ML GLS Build

Postby Palmer90 on Sun Dec 29, 2013 5:16 pm

Nice build man.. Where did you get the reverse lights from and the side steps from. Keep the pictures coming.
Palmer90
 
Posts: 10
Joined: Wed Jan 23, 2013 9:59 pm

Re: Tim007's ML GLS Build

Postby Tim007 on Mon Dec 30, 2013 11:23 am

Palmer90 wrote:Nice build man.. Where did you get the reverse lights from and the side steps from. Keep the pictures coming.

Hi Mate,

the lights are from ARB in Maroochydore. They are good but in hindsight I would have purchased ones just a bit bigger. The steps are TJM. I wasn't keen on bush bars and they did them with out. I was told they don't make them any more like that and you have to buy the bush bars but it would be worth asking the question.
Keen to get amongst it!!
User avatar
Tim007
 
Posts: 471
Joined: Sat Dec 25, 2010 10:51 pm
Location: Sunshine Coast QLD

Re: Tim007's ML GLS Build

Postby MICK_ on Sun Jan 05, 2014 10:21 pm

Great build mate.

Family looked like they enjoyed the Fraser run.

:D
2011 GLXR 4x4 TD - AUTO

ARB Bullbar
ARB Rearbar
ARB Brushbars
ARB Roof Basket
BushSkinz
Scotts 3" Pipe
Safari Snorkel
Tray Back
Foxwing Awning
UHF
Averger Winch(Rope)
Red Arc Dual Battery + Monitor
Rear Locker
17" Steelies
Mickey T MTZ
User avatar
MICK_
 
Posts: 42
Joined: Mon Nov 21, 2011 11:34 am

Re: Tim007's ML GLS Build

Postby Tim007 on Thu Aug 07, 2014 8:49 pm

So sadly the choice has been made to sell the rig. I am a bit depressed about it but can't really have it sitting around and not being used. New job and new car means the rig is sitting there doing nothing. The irony is that I just finished the tray and installed the 33" light bar. Just cracked 100k km's and packs a clean 3.2 with pretty much every mod so hopefully I can find it a good home.
Keen to get amongst it!!
User avatar
Tim007
 
Posts: 471
Joined: Sat Dec 25, 2010 10:51 pm
Location: Sunshine Coast QLD

Re: Tim007's ML GLS Build

Postby Duck on Fri Aug 08, 2014 9:16 am

Oh well, it's all about the journey. Hopefully you get some descent coin for the beast. I hope your work car is a 4x4 as if it is it will go anywhere, work & hire cars seem unstoppable :D :D

Good luck.
Life is what happens while you are busy making plans........
User avatar
Duck
 
Posts: 2001
Joined: Tue Feb 14, 2012 3:48 pm
Location: North Side Of Brisbane

Re: Tim007's ML GLS Build

Postby dunney on Fri Aug 08, 2014 10:07 am

out of intrest its quite odd that the plug in chip appears to make a lot more power than the ecutek??? did you notice this in real world driving or do you think the plug in chip figures may have been énhanced' somewhat.
User avatar
dunney
 
Posts: 76
Joined: Wed Oct 17, 2012 6:22 pm
Location: port hedland, western australia

Next

Return to Member Build Ups

Who is online

Users browsing this forum: No registered users and 177 guests