Goochie's ML Single Cab
61 posts
• Page 3 of 3 • 1, 2, 3
Re: Goochie's ML Single Cab
![]() by goochie on Sun Apr 14, 2013 10:32 pm
by goochie on Sun Apr 14, 2013 10:32 pm
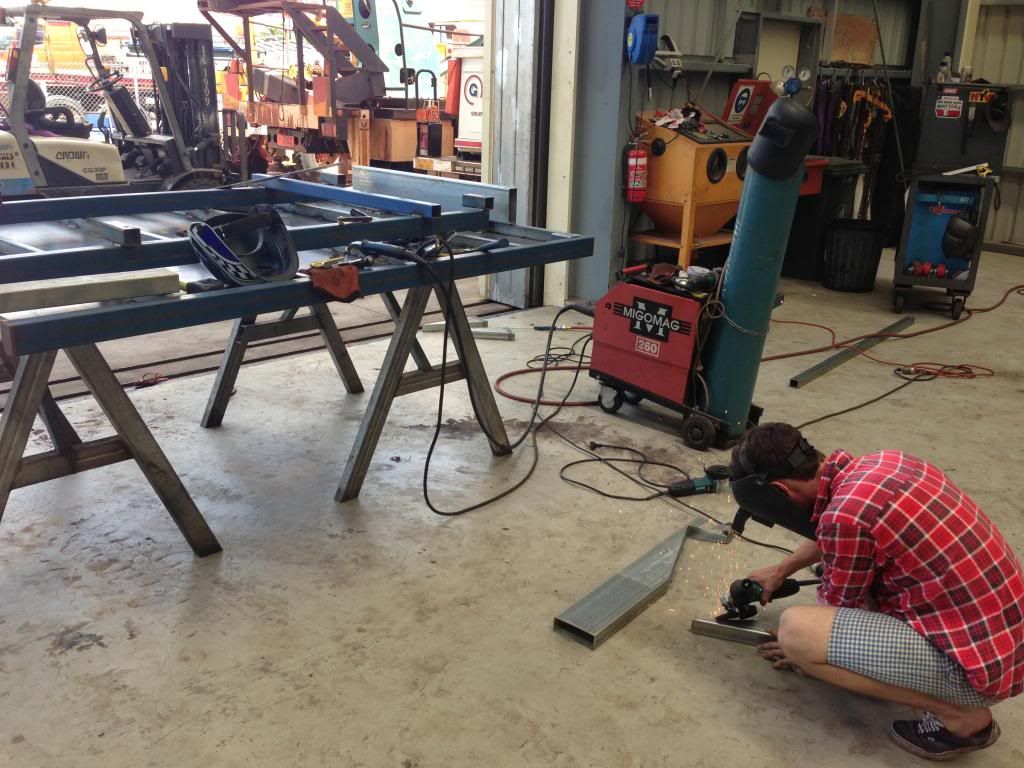
Rightio fellas hope you're all ready for it. Terry has gone under a pretty drastic transformation since the last pic I posted on here, so heres what has happened, and sorry if i miss anything (try to put as many pics as possible. It all started when I decided to pull my ass into gear and get rid of the stupid looking tub and make a steel tray. I'm an apprentice chippy and here in Darwin we work with steel, so I can work with it a bit. Credit to my mate at Total Diesel Services for letting me use his welder and shop.
All I wanted from this was a base to work with, and just getting rid of the tub. So heres what I started with. At this point it was pretty damn illegal to be driving around with ie no tail lights or mud guards or basically anything but luckily I didn't have to go far, and I cable tied some indicator/ brake lights to have at least something. Also, credit to Sime111 for the idea with the back end, tried not to copy too much but it looked to good
  (Not sure how to make pics smaller either, sorry haha)
Base built, starting the back
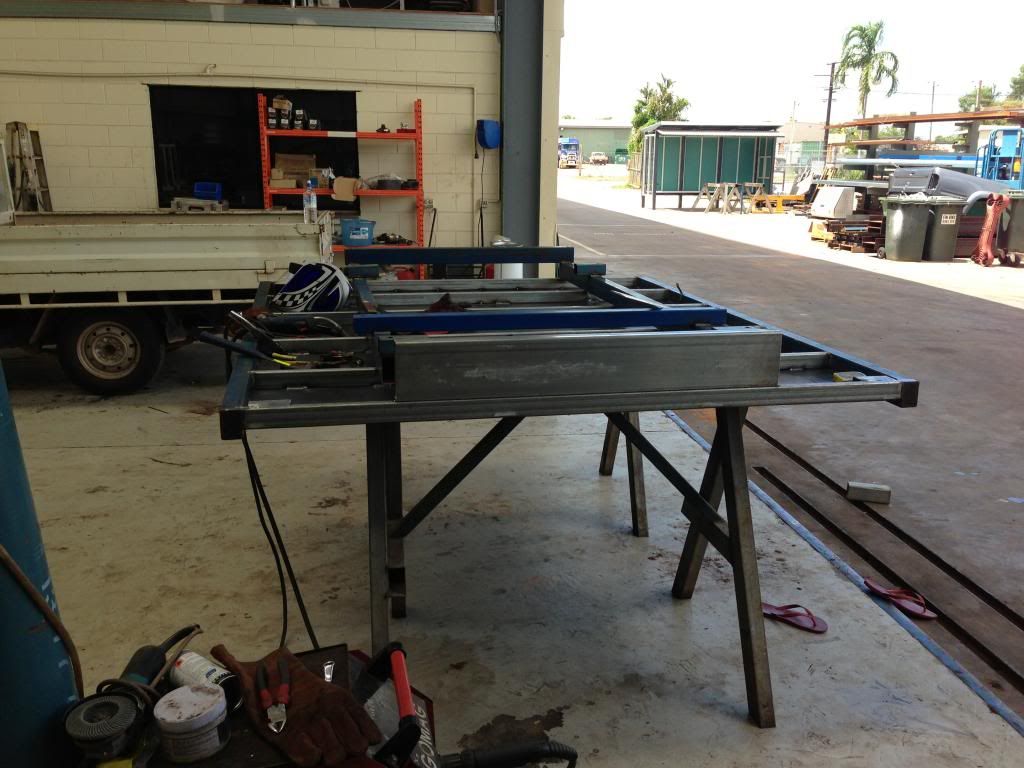
Starting the back section
Grinding and painting
Car nude in the backround.
So with that done, heres what it looked like after about a day and a half
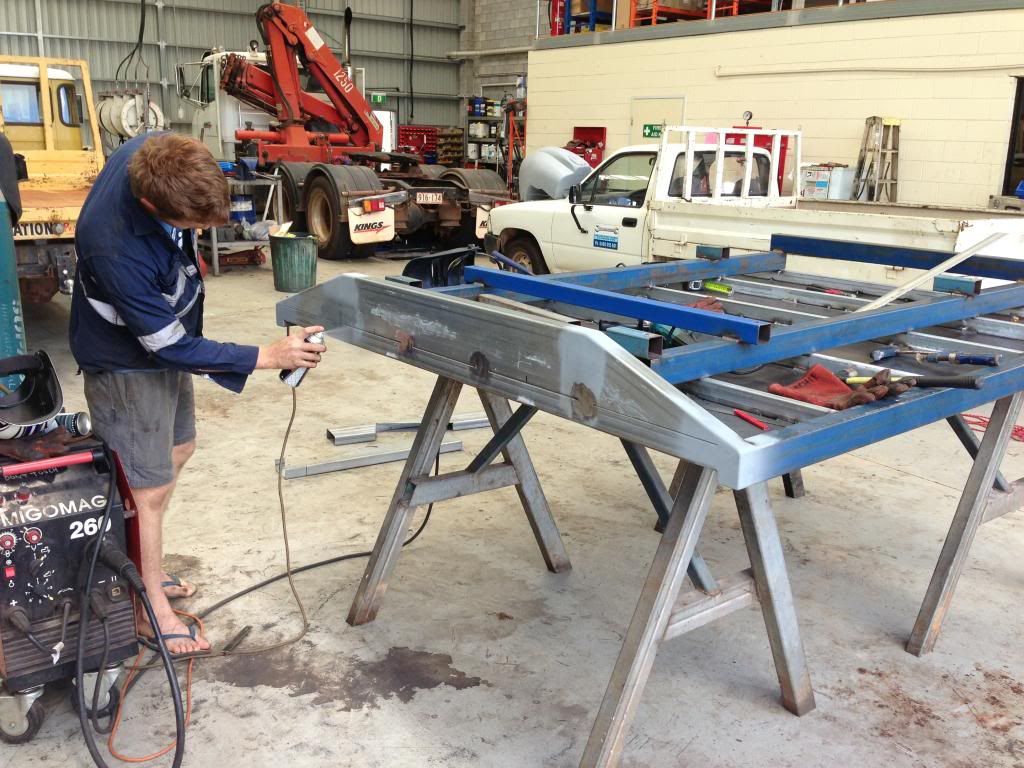
The next break I had from work I had, me and my good mate tackled the head board. I also wanted this to look simple, and just made it out of 3mm 50x50mm RHS. Was a bit of a mission figuring the angles out and took a bit of head scratching, but we got it sorted. And I think it came out alright

Unfortunately, this was the only photo I managed to get, due to the amount of swearing and drinks breaks I took while trying to figure it out lol.
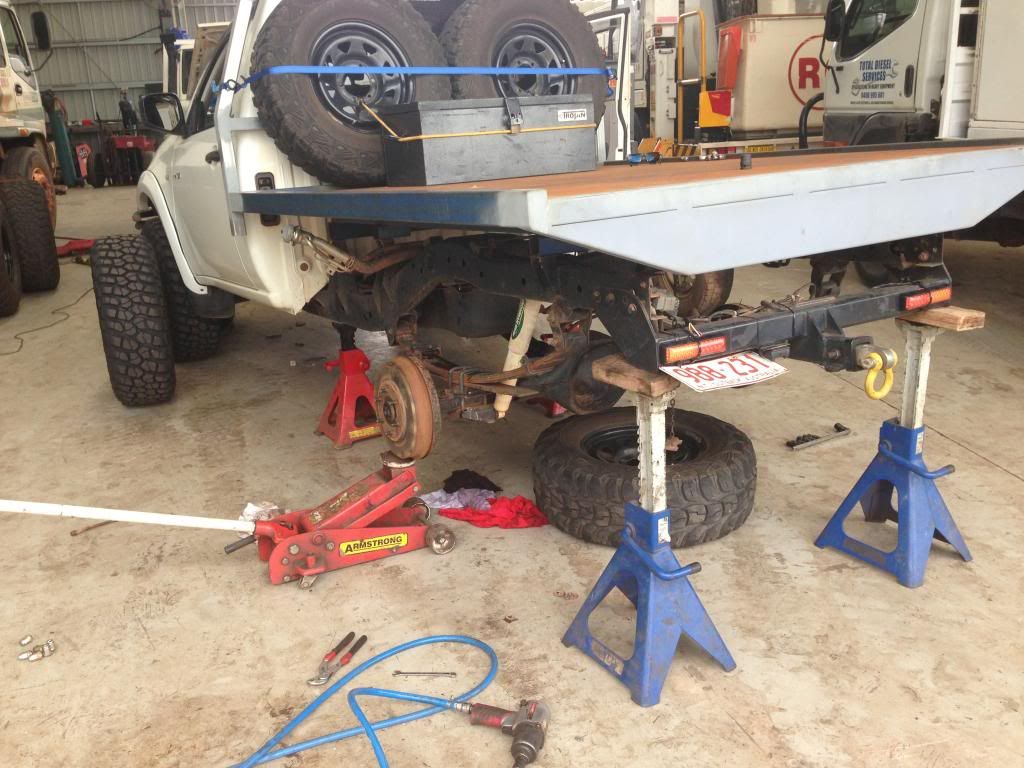
So the tray and car stayed like this for a couple of weeks, and then got the call to say my new Ultimate Suspension had arrived, I was excited. Brendan from Ultimate was great to deal with, and it got here very quickly. So I was straight onto it.
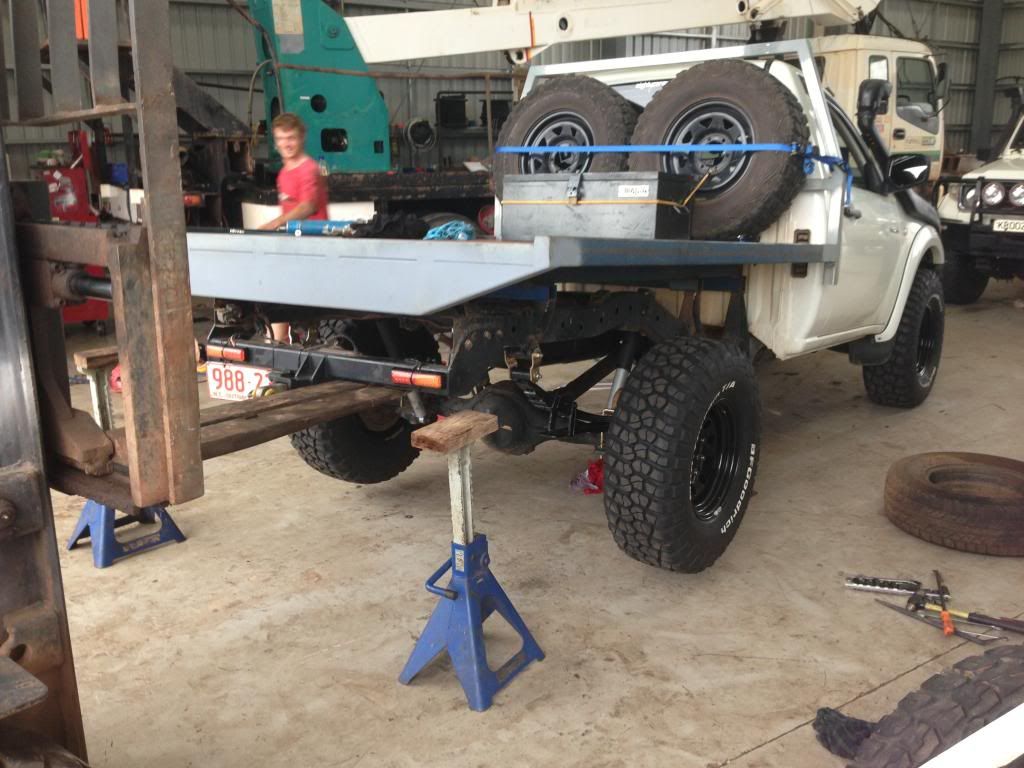
Here it was with front on, and jacked up haha. Wish is stayed this high But I should probably also mention that I picked up 4 new 305/70/R16 BFG Km2 mud terrains on 16" Dynamic? steel rims, with the circle holes and 0 degrees offset. Still a bit of scrubbing but thats due to the back sitting a bit high atm. And I think on the same night I wacked on the aftermarket front flares, came up a treat and made it look heaps tougher.
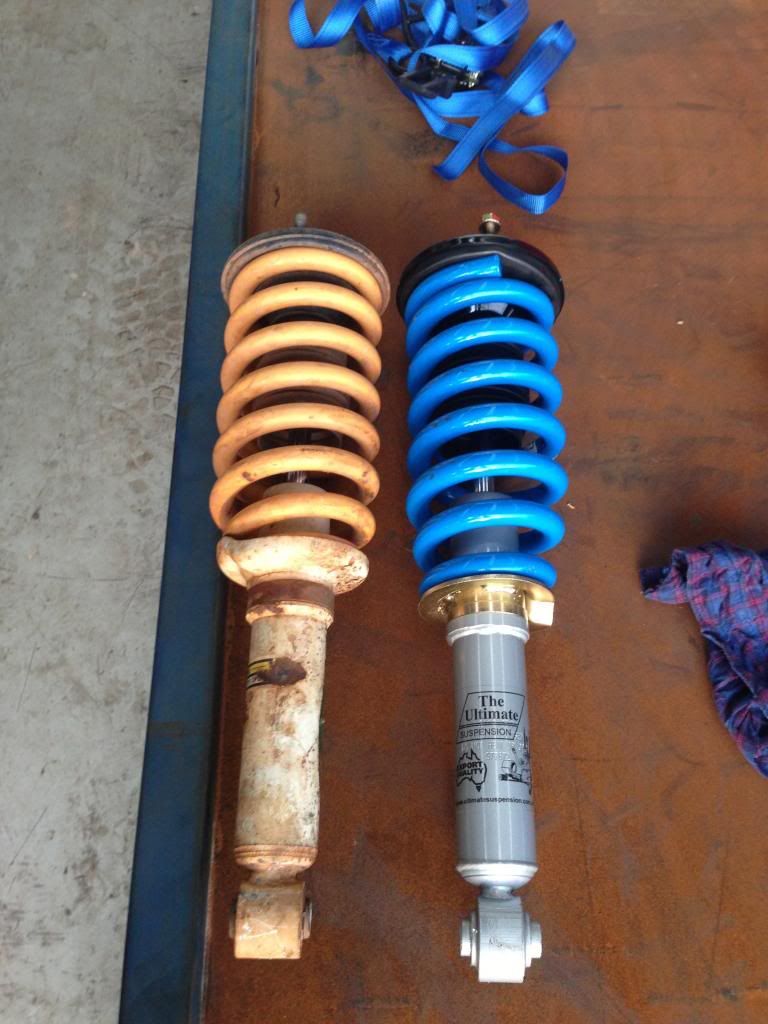
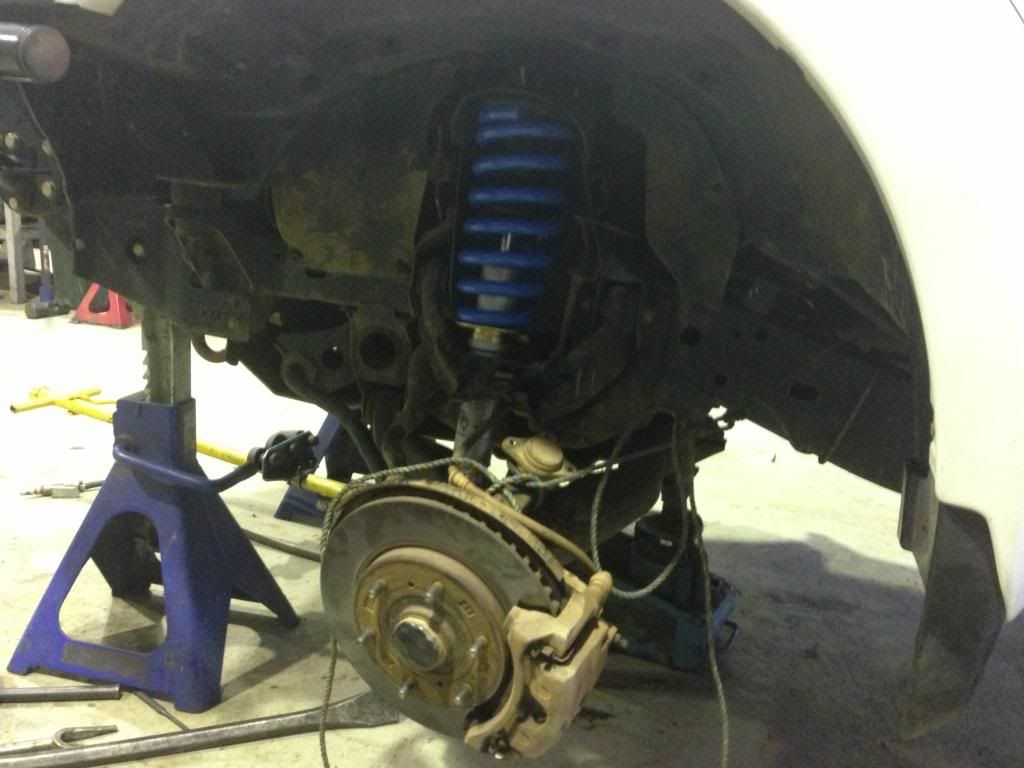
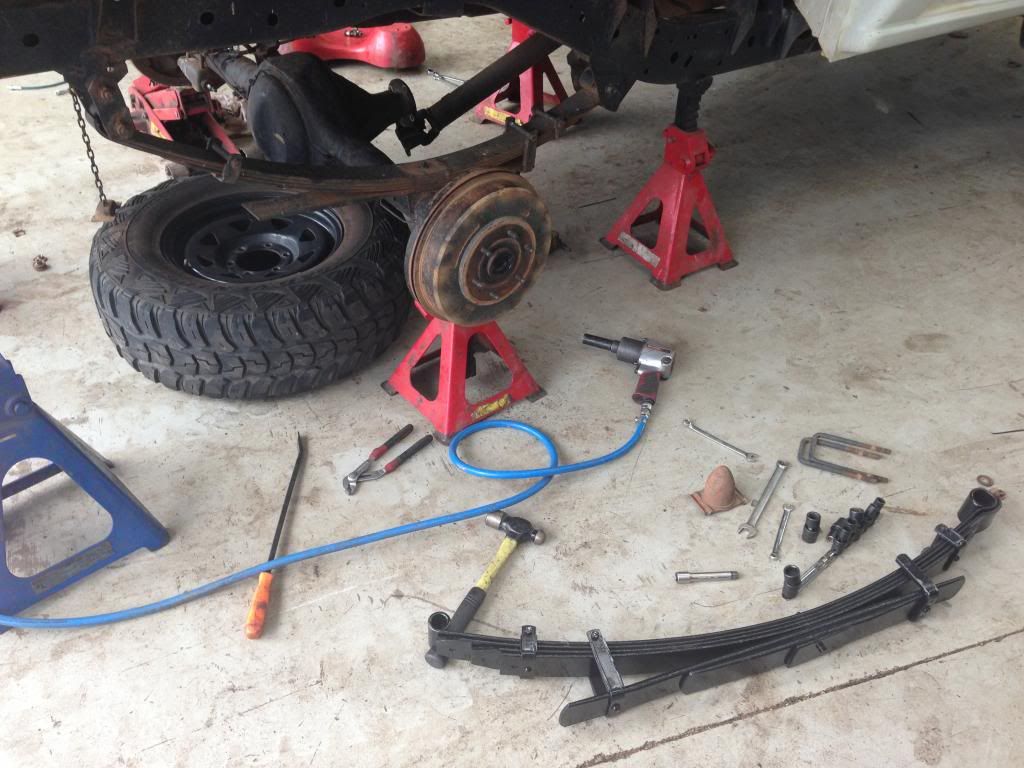
Then it was onto the back, the old Ironman lift I had on there was pretty flogged out from the beating I had given it, so it was definitely time to go.
Makes it a bit easier when you have truck stands lying around haha.
I got onto ripping all the old shit out, started with disconnecting the drive shaft, and un doing all the brake lines and removing the old shocks and springs.
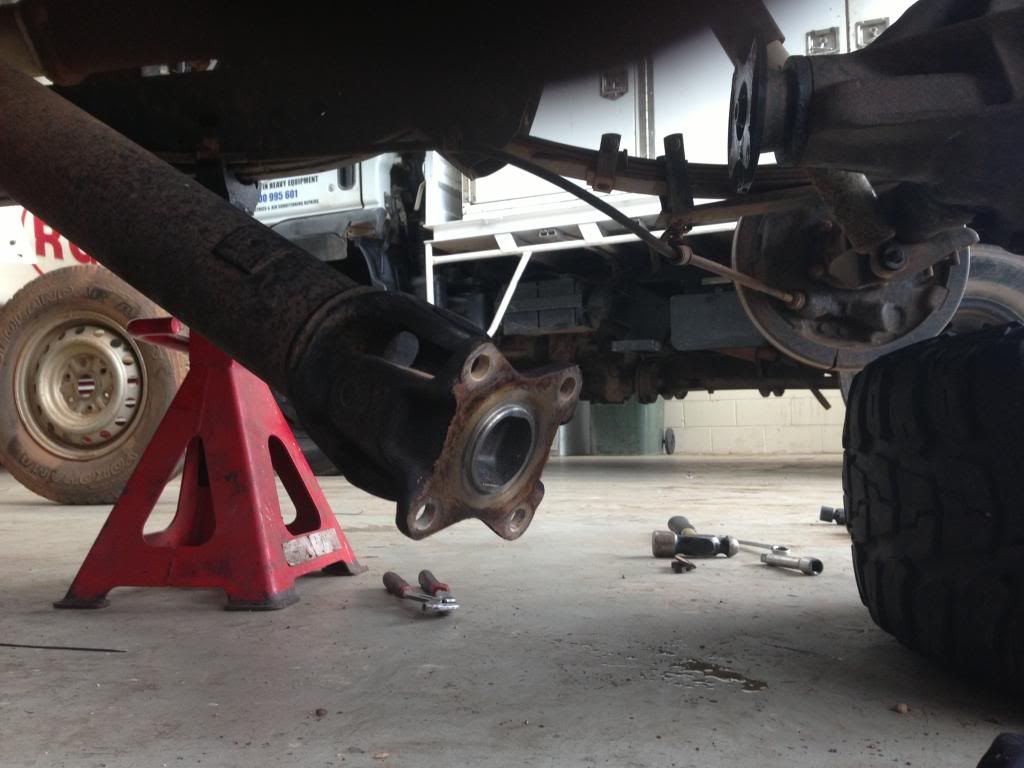
Heres what it came out like.
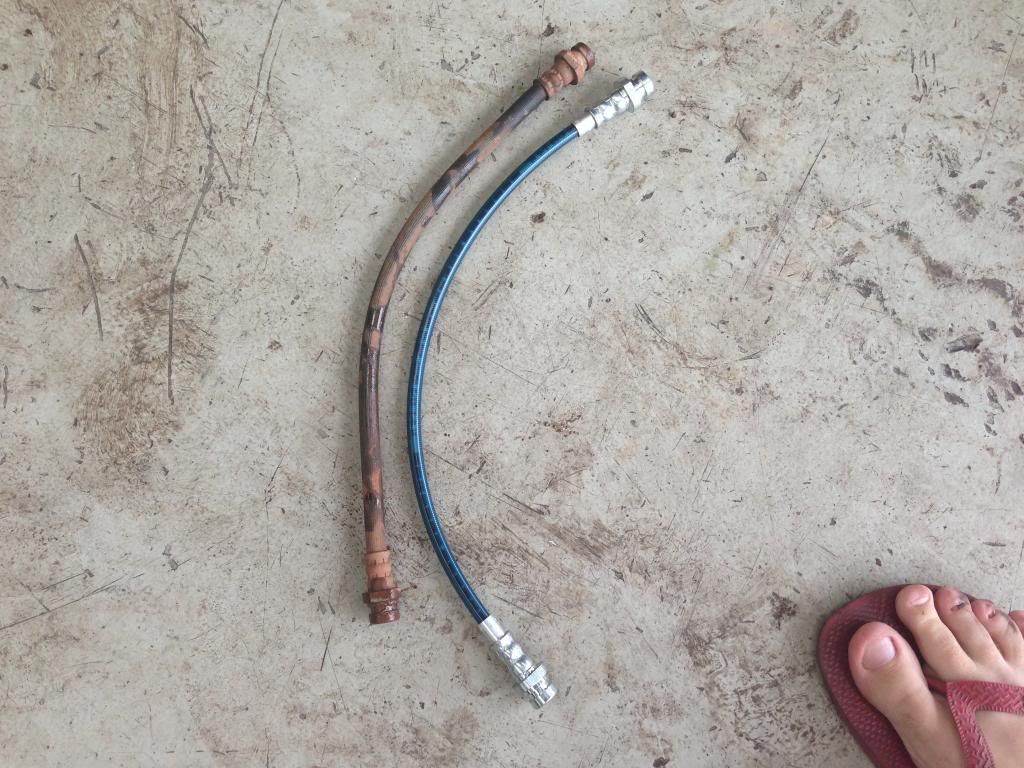
New Vs. Old Brake lines.
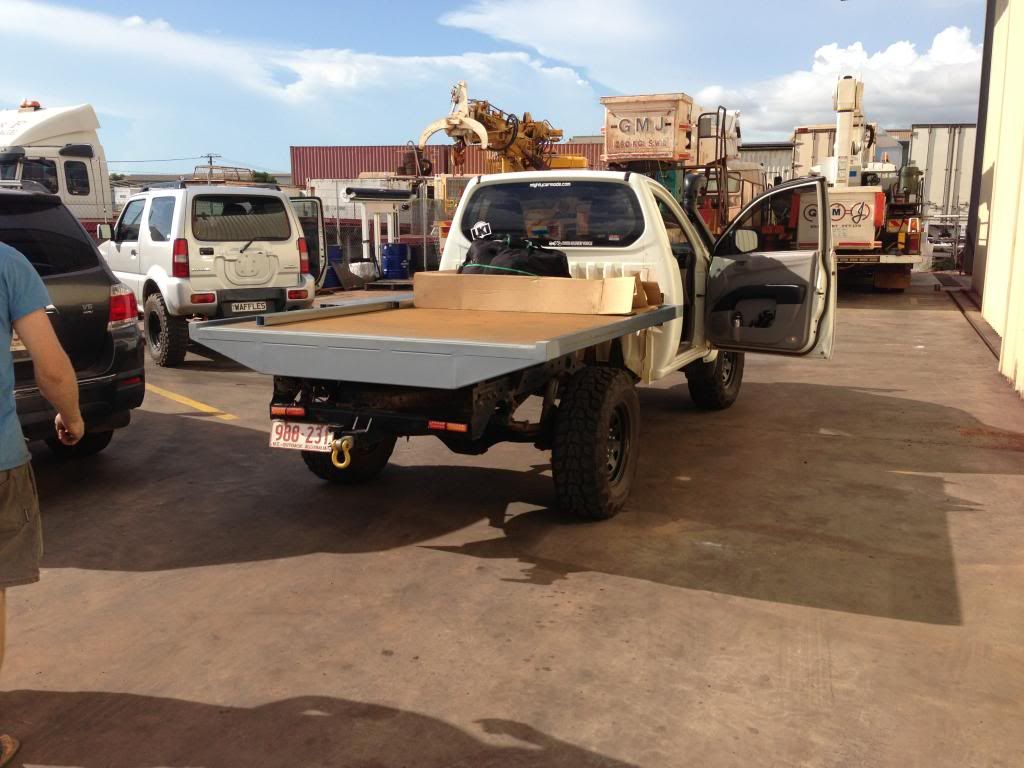
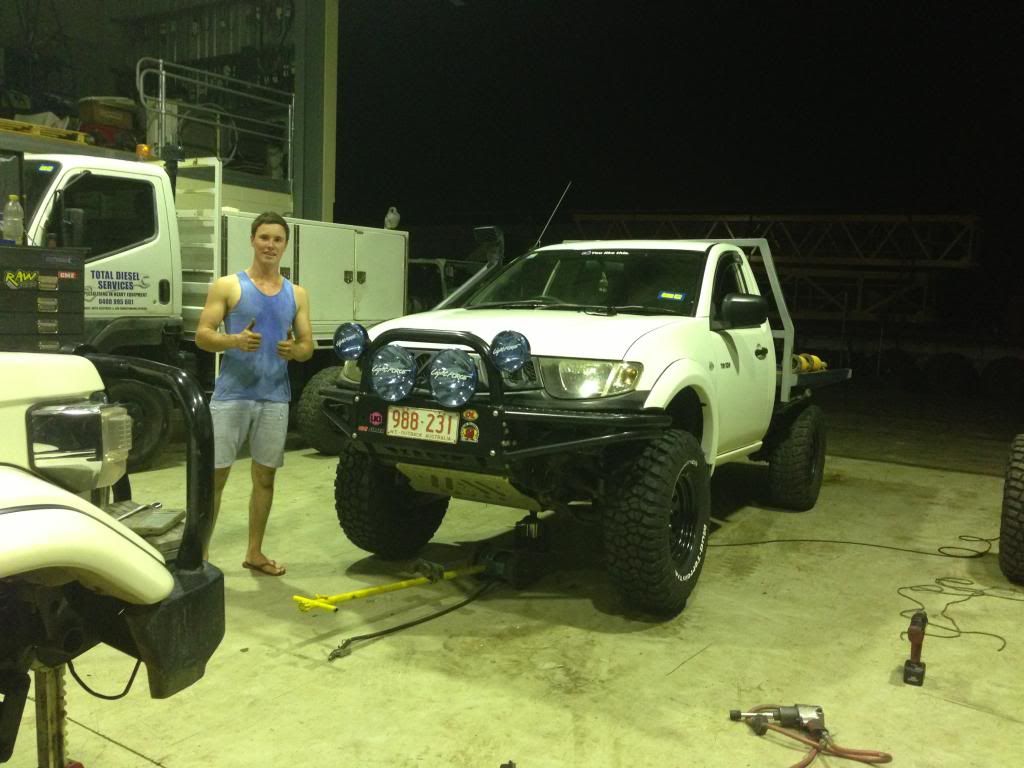
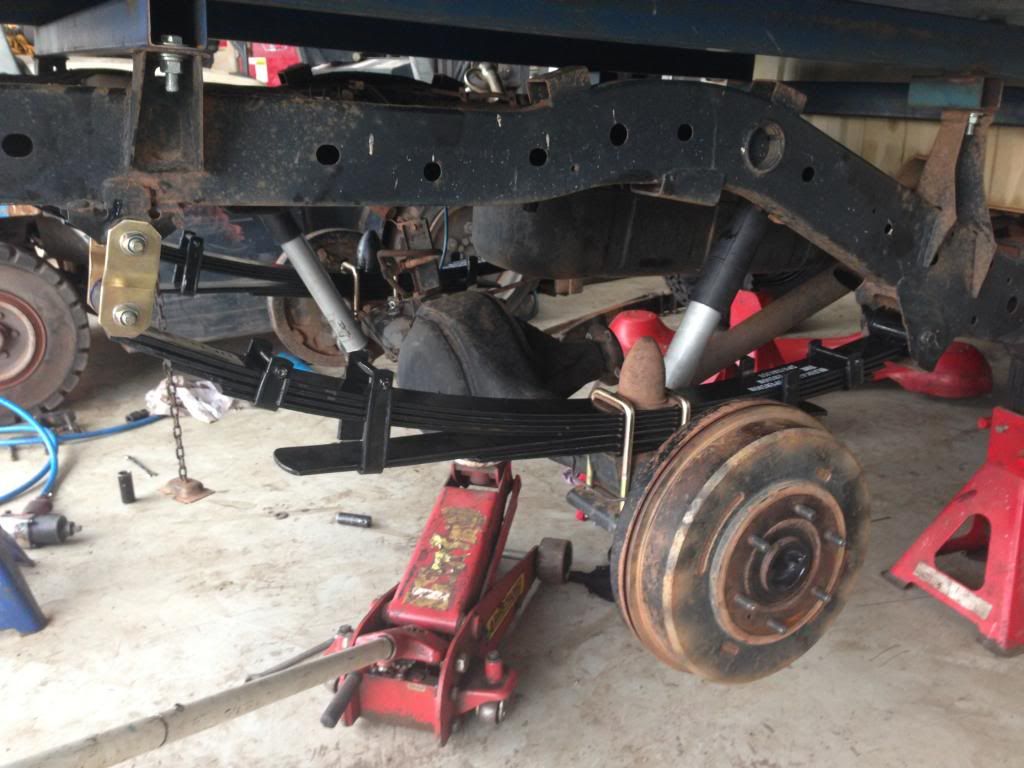
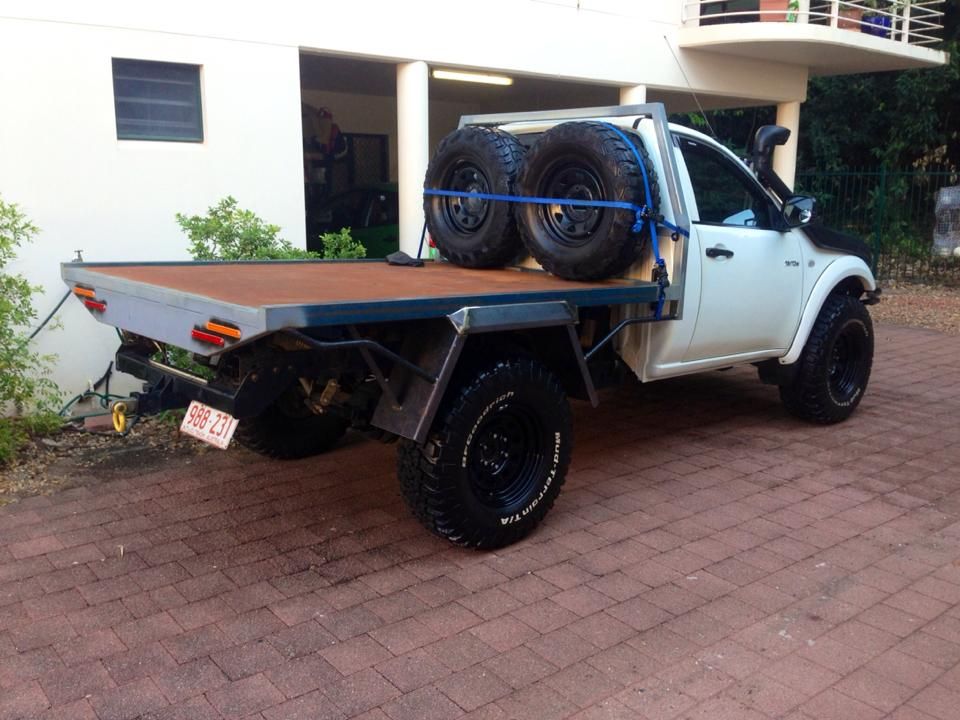
And here it is with all the brake lines, new suspension, and new tyres and rims all on. Makes a difference not being out on site where you can pull off dodgy shit like this haha
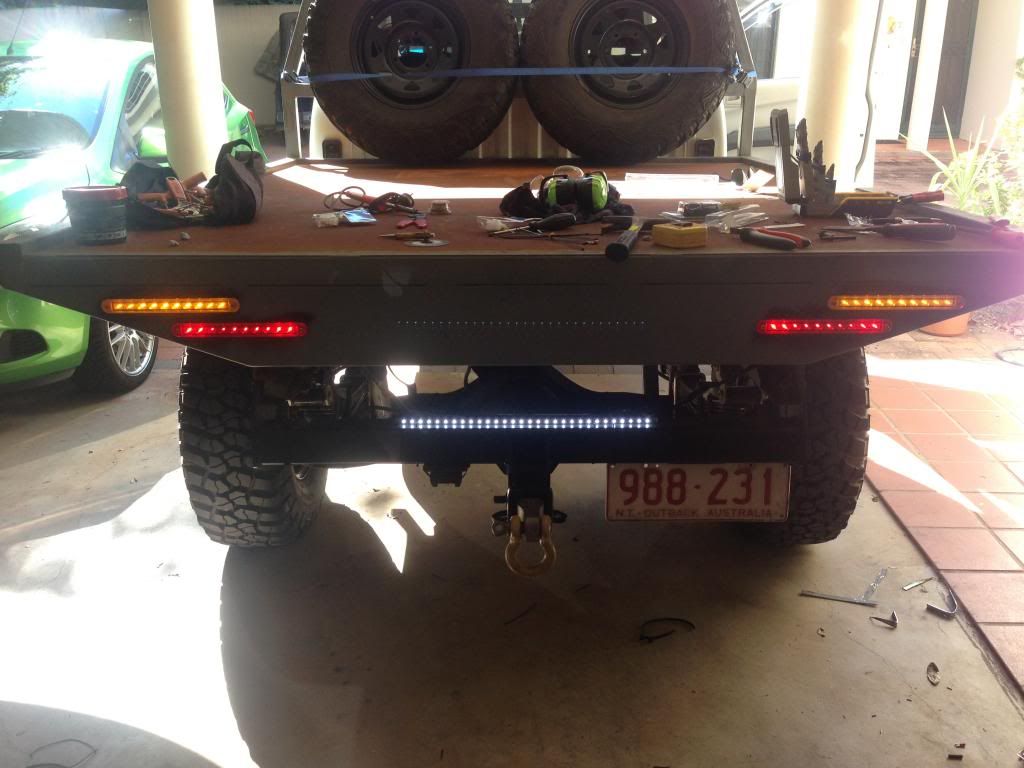
So it stayed like this for a couple of weeks, and no I didn't get pulled up for not having mud guards haha. So this weekend I went and picked up the lights I ordered, and started thinking of how i was gonna put them on. After a lots of measuring and deciding, I took the plunge and started to cut the holes with my grinder, being very careful of course, I just relised I didnt actually get any photos of the holes
But heres what the first side came out like.
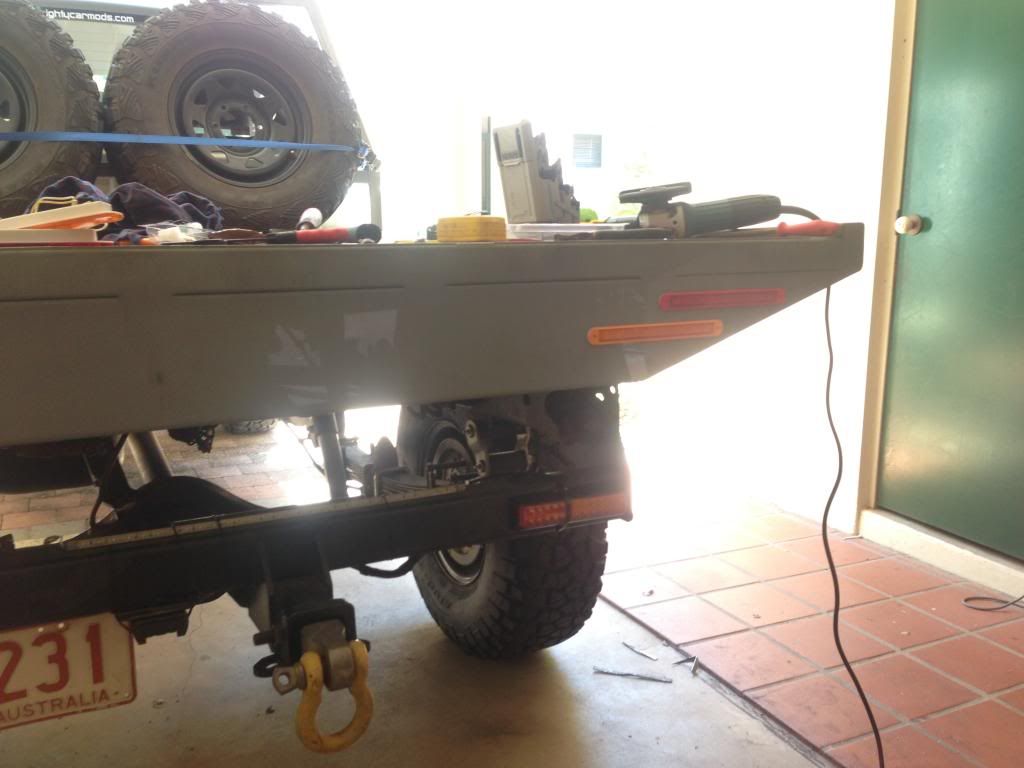
Then I did the second, and got to removing the temporary ones, and quickly wiring the new ones up. I didn't do anything fancy as they have to come off soon anyway for painting. But heres what it came out like, and thats what a $28 doller strip light looks like from Jaycar, needed to let people know I was reversing somehow haha. A proper light will be put on soon.
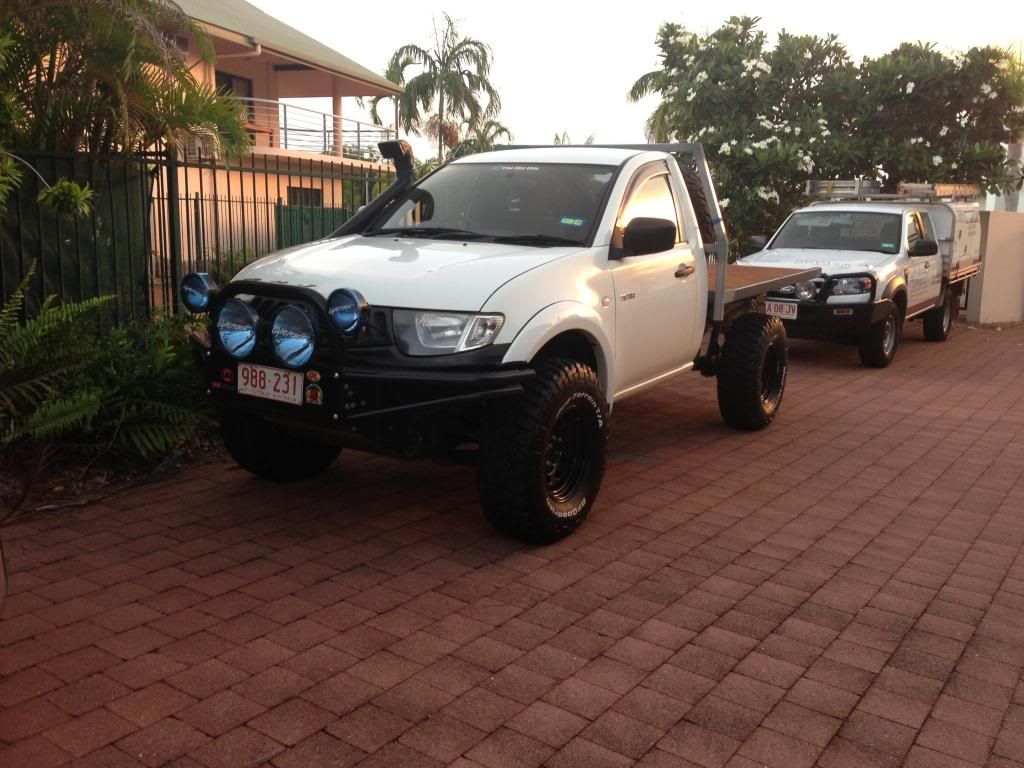
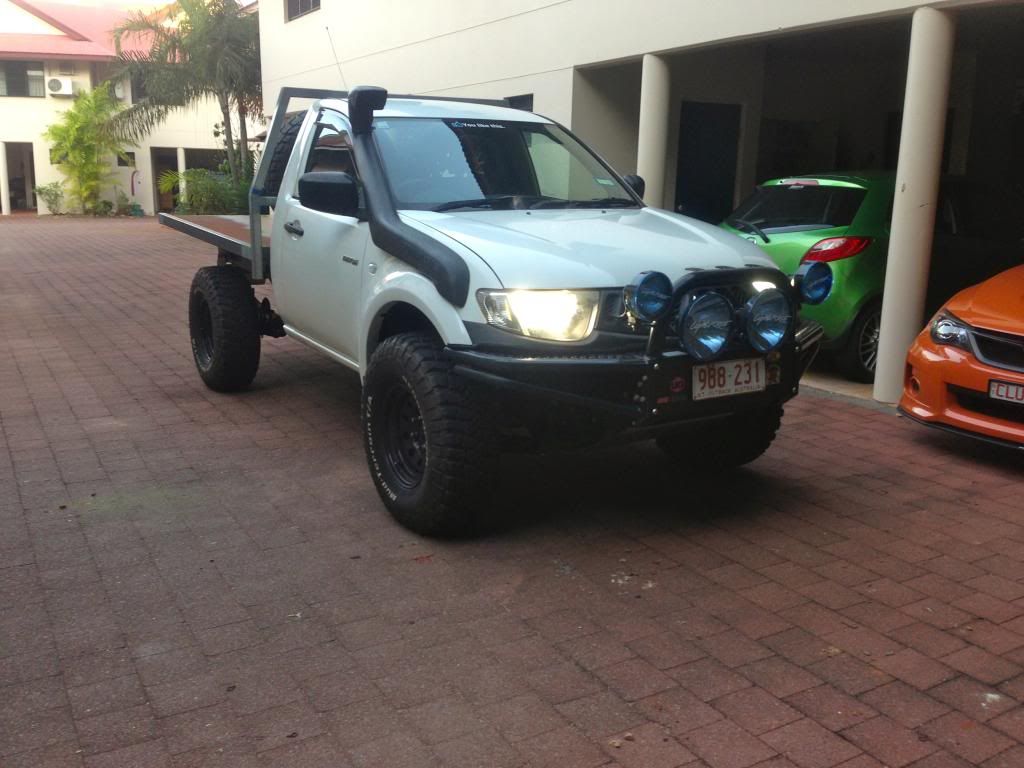
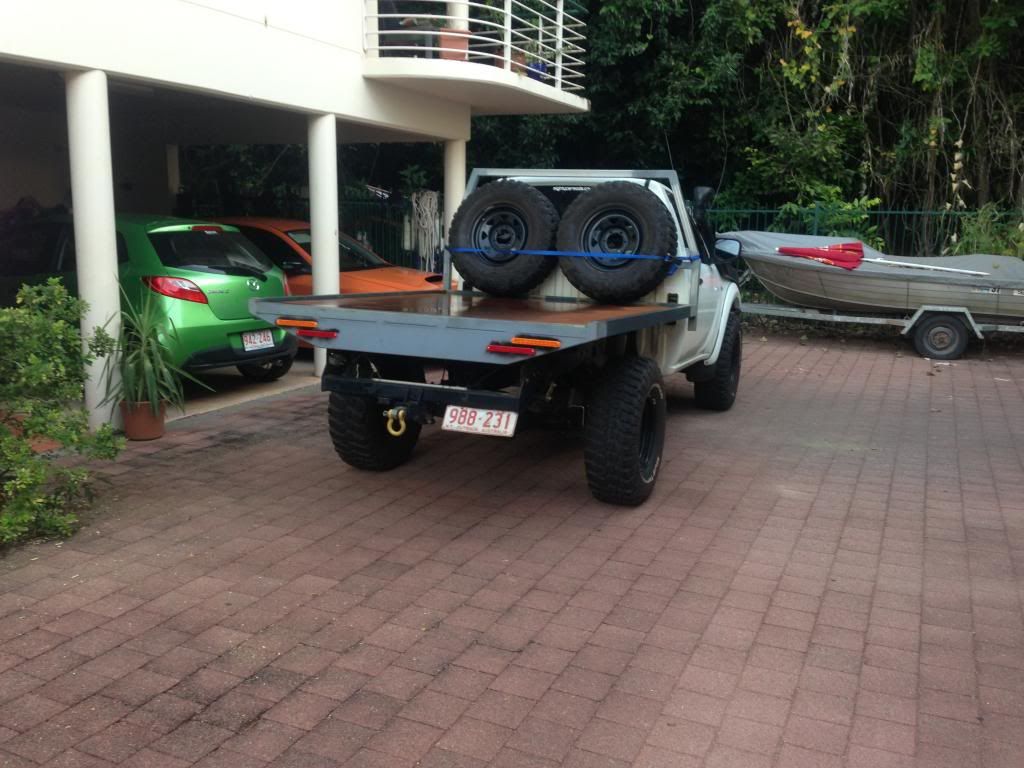
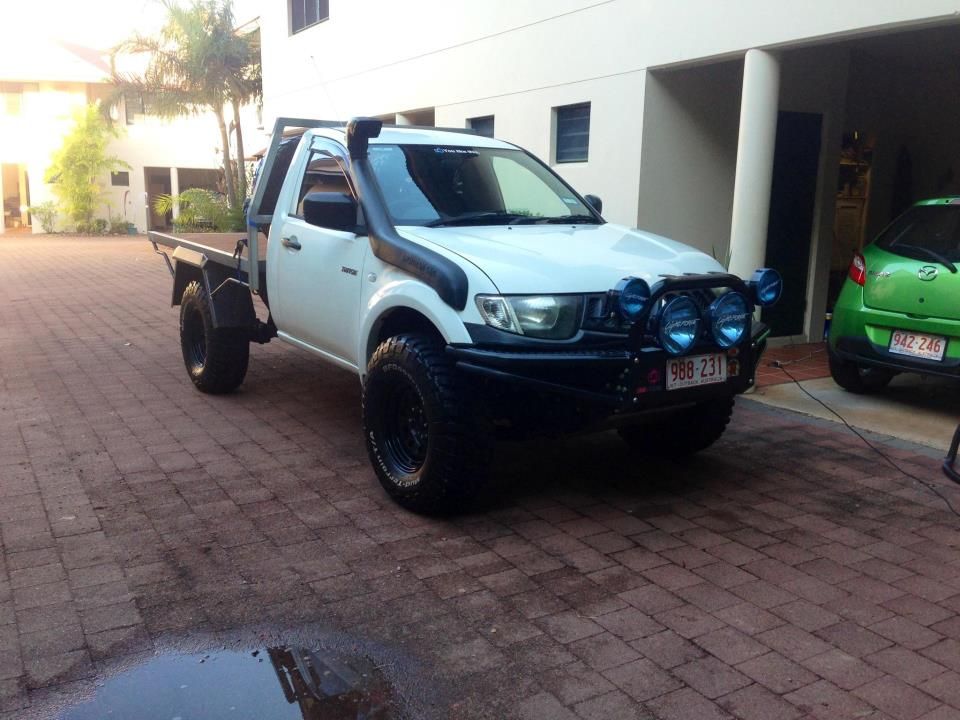
This is what Terry looks like now. In the next couple of weeks, the flares for the tray are getting fabbed and welded on, and the tray will be sand blasted and power coated white.
So this is the end of the epic update haha, I've still got plans to fab an enclosed dog cage style box with opening sides for the back, and a few interior mods. But that will all come in good time.
I feel better now that i've let you all know whats happening haha, thanks for reading fellas.
Goochie.
All I wanted from this was a base to work with, and just getting rid of the tub. So heres what I started with. At this point it was pretty damn illegal to be driving around with ie no tail lights or mud guards or basically anything
Base built, starting the back
Starting the back section
Grinding and painting
Car nude in the backround.
So with that done, heres what it looked like after about a day and a half
The next break I had from work I had, me and my good mate tackled the head board. I also wanted this to look simple, and just made it out of 3mm 50x50mm RHS. Was a bit of a mission figuring the angles out and took a bit of head scratching, but we got it sorted. And I think it came out alright
Unfortunately, this was the only photo I managed to get, due to the amount of swearing and drinks breaks I took while trying to figure it out lol.
So the tray and car stayed like this for a couple of weeks, and then got the call to say my new Ultimate Suspension had arrived, I was excited. Brendan from Ultimate was great to deal with, and it got here very quickly. So I was straight onto it.
Here it was with front on, and jacked up haha. Wish is stayed this high
Then it was onto the back, the old Ironman lift I had on there was pretty flogged out from the beating I had given it, so it was definitely time to go.
Makes it a bit easier when you have truck stands lying around haha.
I got onto ripping all the old shit out, started with disconnecting the drive shaft, and un doing all the brake lines and removing the old shocks and springs.
Heres what it came out like.
New Vs. Old Brake lines.
And here it is with all the brake lines, new suspension, and new tyres and rims all on. Makes a difference not being out on site where you can pull off dodgy shit like this haha
So it stayed like this for a couple of weeks, and no I didn't get pulled up for not having mud guards haha. So this weekend I went and picked up the lights I ordered, and started thinking of how i was gonna put them on. After a lots of measuring and deciding, I took the plunge and started to cut the holes with my grinder, being very careful of course, I just relised I didnt actually get any photos of the holes
But heres what the first side came out like.
Then I did the second, and got to removing the temporary ones, and quickly wiring the new ones up. I didn't do anything fancy as they have to come off soon anyway for painting. But heres what it came out like, and thats what a $28 doller strip light looks like from Jaycar, needed to let people know I was reversing somehow haha. A proper light will be put on soon.
This is what Terry looks like now. In the next couple of weeks, the flares for the tray are getting fabbed and welded on, and the tray will be sand blasted and power coated white.
So this is the end of the epic update haha, I've still got plans to fab an enclosed dog cage style box with opening sides for the back, and a few interior mods. But that will all come in good time.
I feel better now that i've let you all know whats happening haha, thanks for reading fellas.
Goochie.
07 ML Triton, 2" Lift, 33's, Snorkel, XROX, Spotties, 3" Exhaust, CHIPIT Chip. Waddup!
-
goochie - Posts: 54
- Joined: Thu Jul 28, 2011 7:01 pm
- Location: Darwin, NT
Re: Goochie's ML Single Cab
![]() by NickTriton on Mon Apr 15, 2013 5:47 pm
by NickTriton on Mon Apr 15, 2013 5:47 pm
Mint. How's the difference in suspension?
-

NickTriton - Posts: 112
- Joined: Fri Jun 08, 2012 6:07 pm
- Location: S.E.Q
Re: Goochie's ML Single Cab
![]() by Sky Miner on Mon Apr 15, 2013 6:42 pm
by Sky Miner on Mon Apr 15, 2013 6:42 pm
Territory Tuff Trucks.......sweeeet 
Ever noticed if somebody is driving slower than you is an idiot,
and anyone going faster than you is also an idiot?
and anyone going faster than you is also an idiot?
- Sky Miner
- Posts: 1486
- Joined: Fri Sep 30, 2011 7:32 pm
- Location: Darwin N.T
Re: Goochie's ML Single Cab
![]() by ultimate on Mon Apr 15, 2013 6:54 pm
by ultimate on Mon Apr 15, 2013 6:54 pm
Looks awesome mate! Great work
The Team at
Australian Ultimate Suspension Pty. Ltd
Phone: +612 9618 7674
http://www.ultimatesuspension.com.au YouTube Facebook
Designers, Manufacturers and Installers of performance aftermarket suspension for Cars, Trucks and 4wds
Australian Ultimate Suspension Pty. Ltd
Phone: +612 9618 7674
http://www.ultimatesuspension.com.au YouTube Facebook
Designers, Manufacturers and Installers of performance aftermarket suspension for Cars, Trucks and 4wds
-
ultimate - Posts: 2380
- Joined: Tue Oct 06, 2009 12:43 pm
Re: Goochie's ML Single Cab
![]() by goochie on Mon Apr 15, 2013 8:24 pm
by goochie on Mon Apr 15, 2013 8:24 pm
Thanks fellas, NickTriton the suspension difference is massive, so much better, much better ride and handling all round, totally worth it. Thanks Brendan, hopefully that drive shaft spacer comes in soon for you guys too, so I can get my hands on one! Haha
Still so much I wanna do though
Still so much I wanna do though
07 ML Triton, 2" Lift, 33's, Snorkel, XROX, Spotties, 3" Exhaust, CHIPIT Chip. Waddup!
-
goochie - Posts: 54
- Joined: Thu Jul 28, 2011 7:01 pm
- Location: Darwin, NT
Re: Goochie's ML Single Cab
![]() by goochie on Thu May 30, 2013 8:29 pm
by goochie on Thu May 30, 2013 8:29 pm
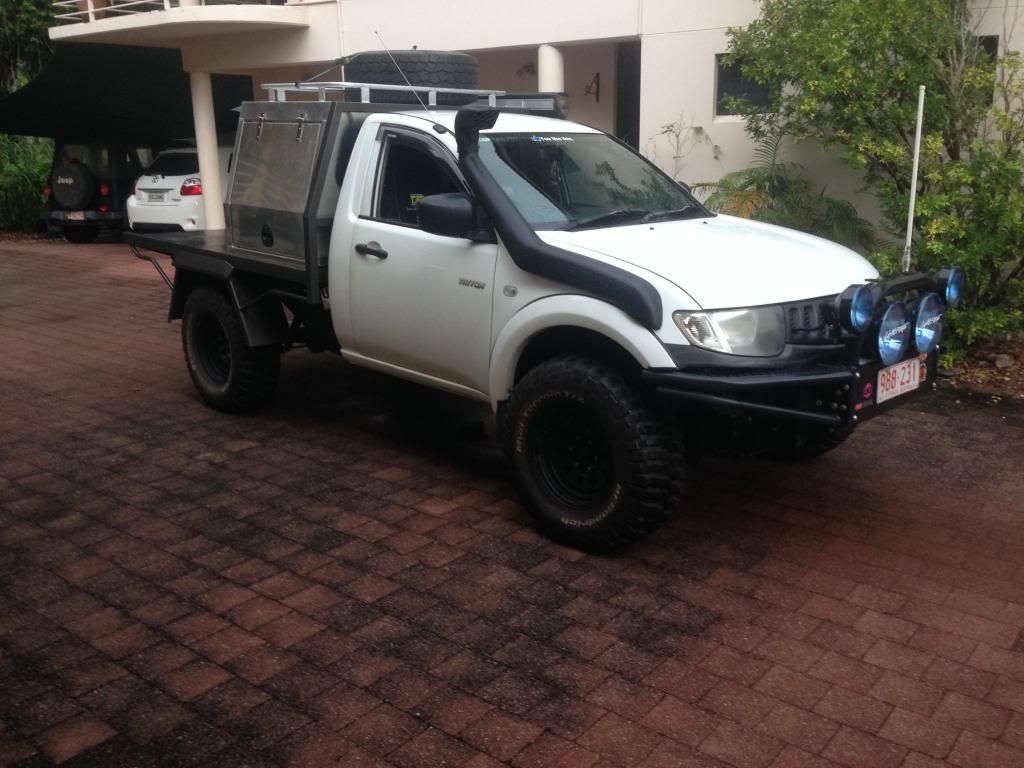
So heres a quick photo of the flares and tie down rails on the tray. At the moment its currently getting sand blastered and powder coated, so keen to see how it comes out!
07 ML Triton, 2" Lift, 33's, Snorkel, XROX, Spotties, 3" Exhaust, CHIPIT Chip. Waddup!
-
goochie - Posts: 54
- Joined: Thu Jul 28, 2011 7:01 pm
- Location: Darwin, NT
Re: Goochie's ML Single Cab
![]() by goochie on Wed Nov 06, 2013 10:53 am
by goochie on Wed Nov 06, 2013 10:53 am
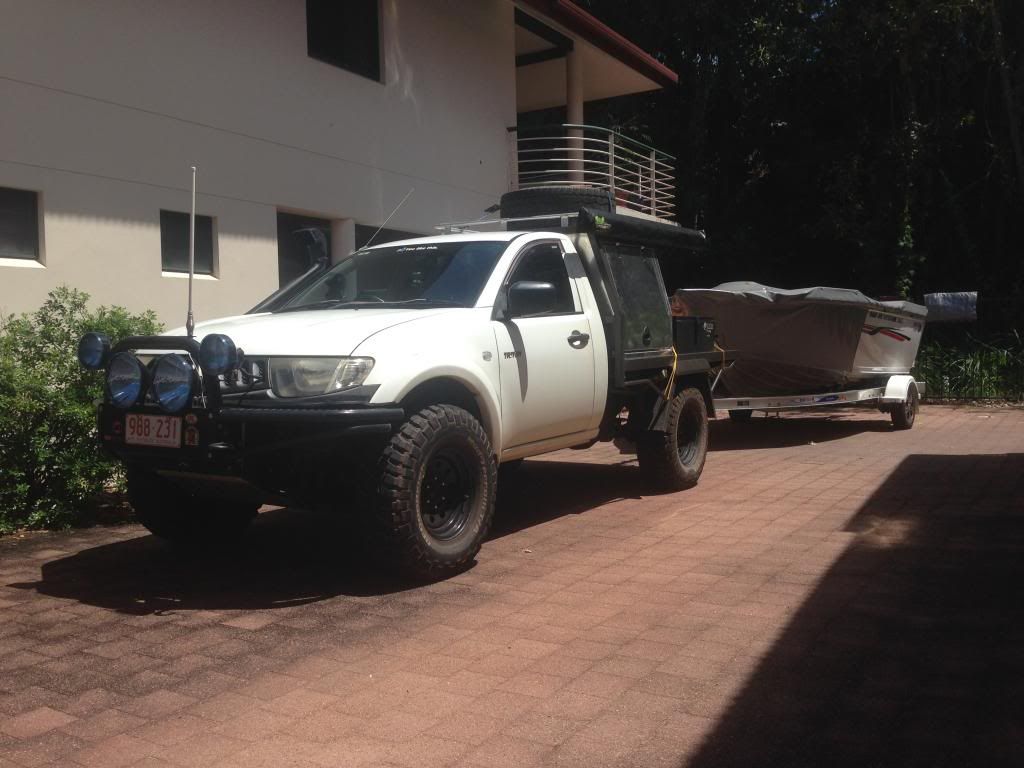
Haha yeah mate tray has been painted for a while now, dual batteries are in, new single bucket seat (no more 3/4 bench) and waeco cooler inside the car also. Looks the goods, waiting for a alloy enclosed box to be fabbed for the tray, with a rack on top. Also waiting on Chipit to send replacement chip as I fried my last one, and car keeps going into limp mode. So i'll put some photos up when I get a chance
07 ML Triton, 2" Lift, 33's, Snorkel, XROX, Spotties, 3" Exhaust, CHIPIT Chip. Waddup!
-
goochie - Posts: 54
- Joined: Thu Jul 28, 2011 7:01 pm
- Location: Darwin, NT
Re: Goochie's ML Single Cab
![]() by goochie on Tue Mar 11, 2014 5:38 pm
by goochie on Tue Mar 11, 2014 5:38 pm
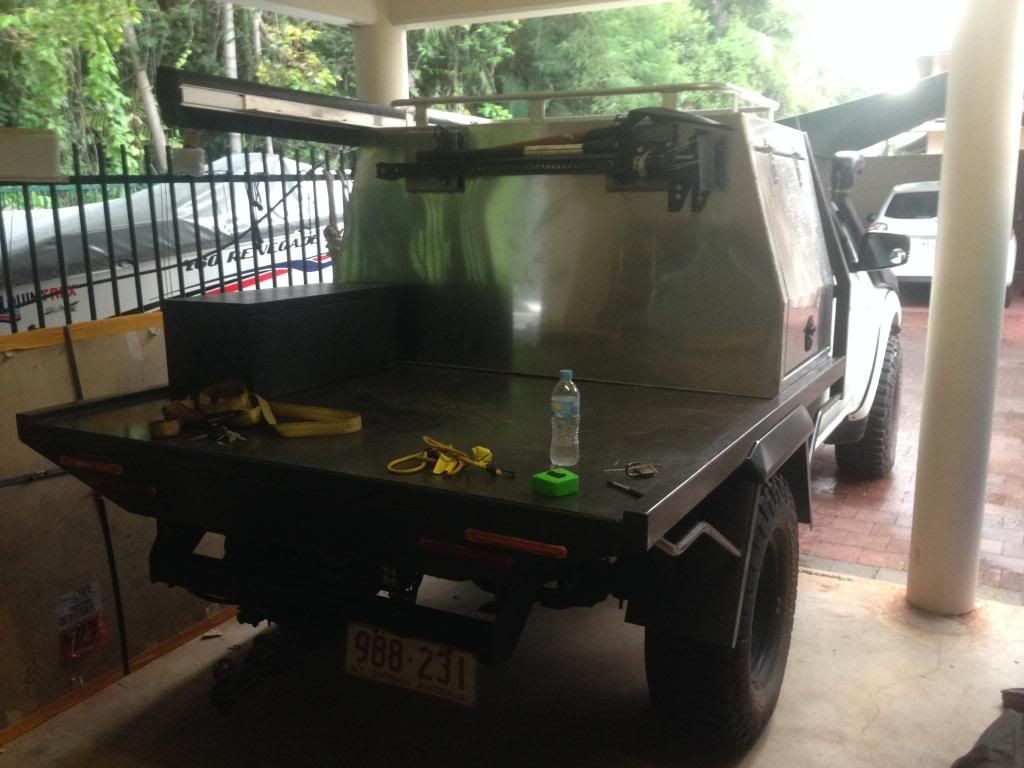
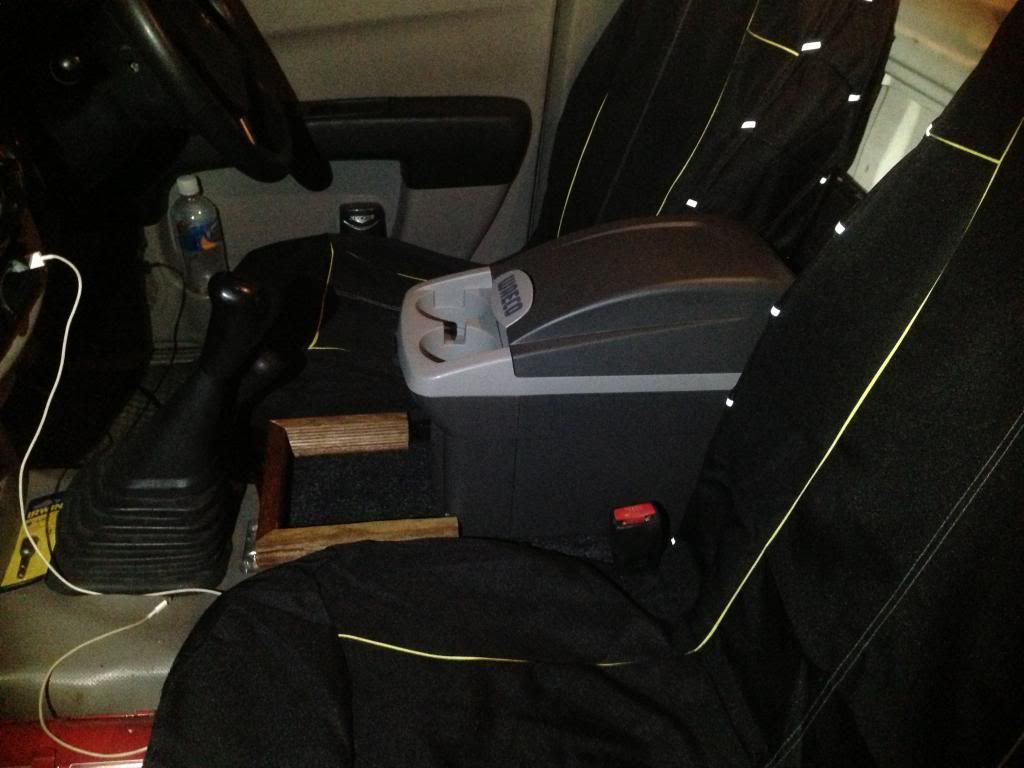
Here a couple of photos of the new box that just got fabbed up, which I will shelve out when I get the time. FInally a place to mount the awning, high lift and shovel, really happy with it.
Also, the bucket seat and little Engel cooler I put in ages ago haha, with a little centre console unit i made up. More to come soon.
07 ML Triton, 2" Lift, 33's, Snorkel, XROX, Spotties, 3" Exhaust, CHIPIT Chip. Waddup!
-
goochie - Posts: 54
- Joined: Thu Jul 28, 2011 7:01 pm
- Location: Darwin, NT
61 posts
• Page 3 of 3 • 1, 2, 3
Who is online
Users browsing this forum: No registered users and 18 guests
![]()