For this install you will need:
- CD ROM cable from an old computer
- A stereo jack of you choice (jaycar or electronics shop)
- Soldering iron
- a metre or so of 3 wire cable (three separate wires in a cable or 2 separate wires with a shield).
- Files, drill, self tapping screws etc.
Firstly, get yourself a wire coat hanger or wire etc and cut so you have two bits of wire.

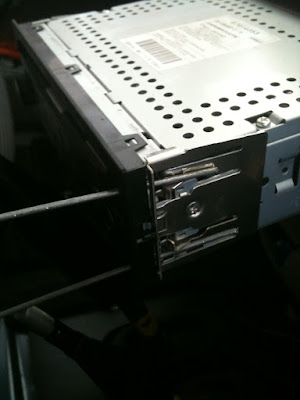
Bend them so both wires are going into the 4 release holes, they push a spring in on the side of the radio, if it won't come out, wait until you've got the trim out (following).
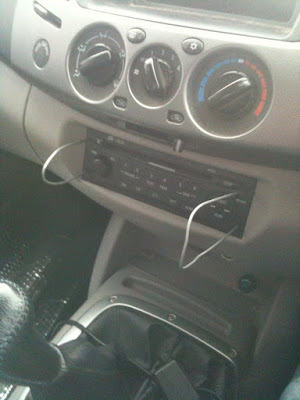
You can see the clips the wire needs to push in to remove the radio...
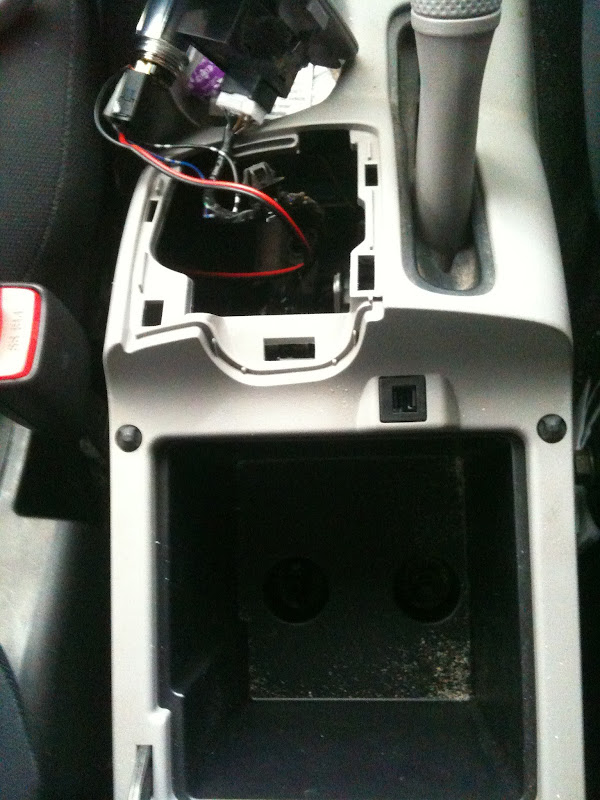
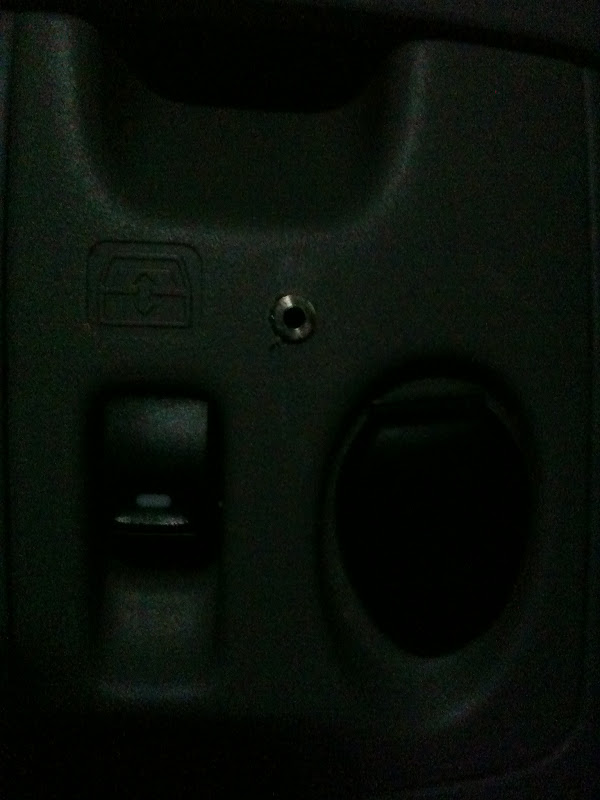
Open the centre console box and undo the two bolts (large black area). The plate with the 12V power and rear window switch clips out, get your finger into the 12V socket to pull upwards and away from the centre console. I currently run my radio from the 12 V power, and this is where I am installing the stereo jack.
Move the whole lot backwards (away from the front) out of the way for now and you can now see the front console bolts. Undo them.
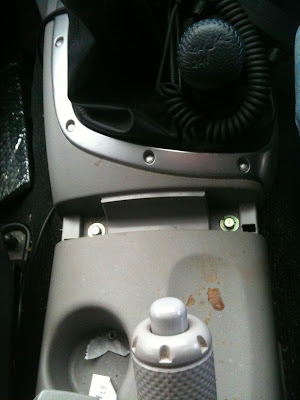
There is a screw at the very RH edge of the picture, just below the front 12V lighter that needs to be unscrewed. On the sides of the front console (passanger and driver footwells) there are two snap clips that need to be removed. I tried undoing on and it broke, so pulling on the whole trim away from each snap clips seems to be the way to go... Now the gear knobs come off and the front console unclips from the dash. The gear trim slides over the gear sticks. Get the front bottom console out of the way.
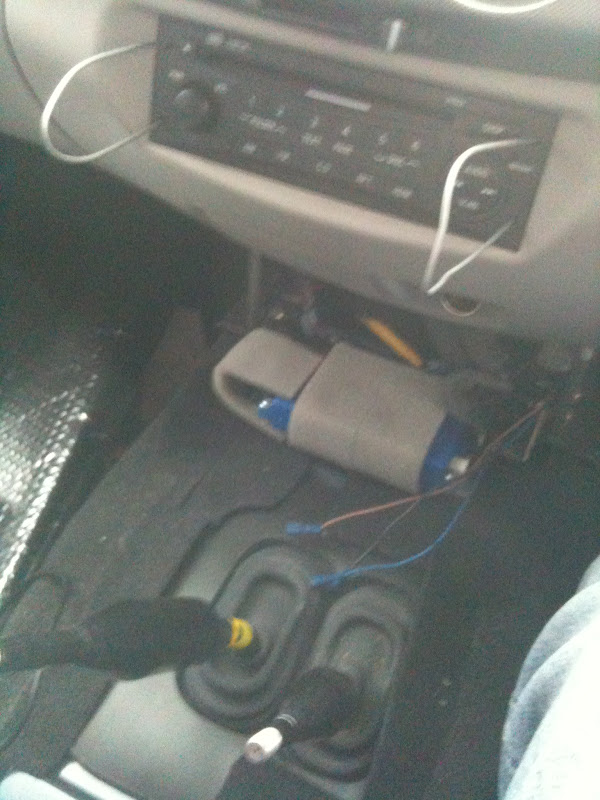
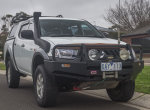
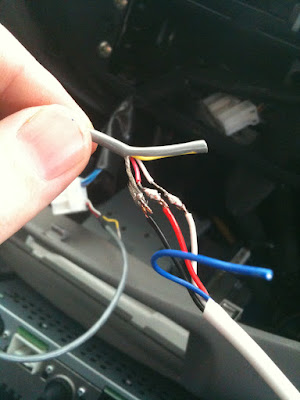
Anyone know what the blue box of tricks is? The three wires are for my driving lights (see 1st picture).
The centre dash unclips from the upper centre dash at about 4 places. The sides should pull clear of the rest of the dash.

CD-ROM audio cables.
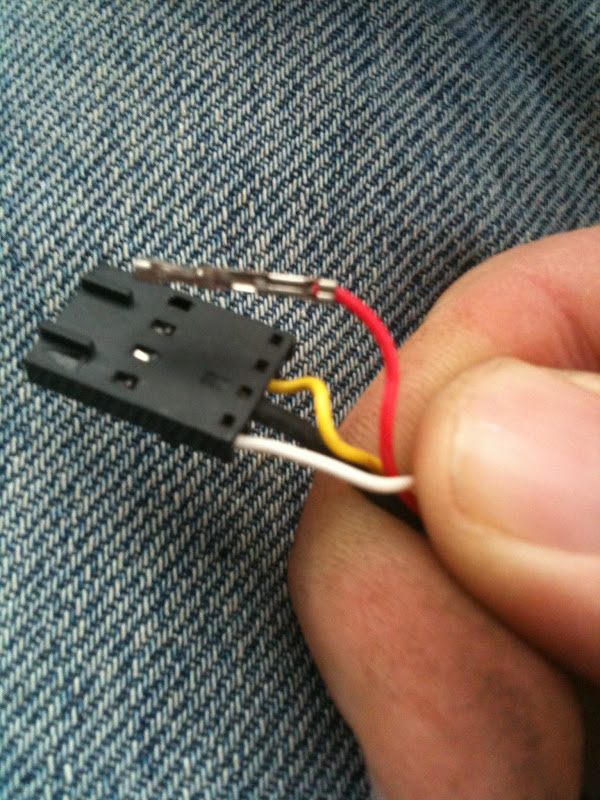
One end, the pins will side (pull) out once you have gently pushed the lock-clips down (one is glinting silver still in the plug).
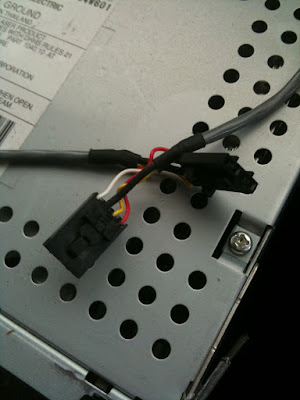
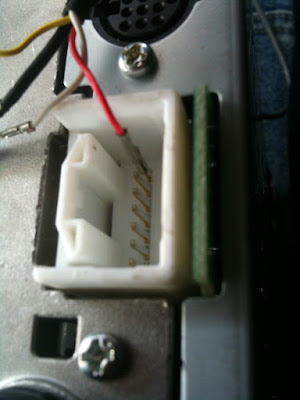
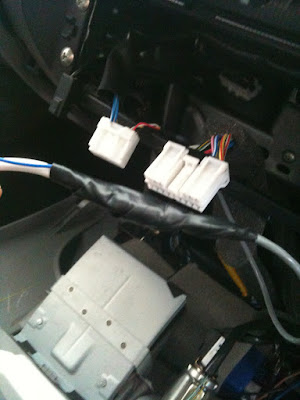
They fit nice and snuggly onto the pins in the rear of the radio. Demonstration only, they have to go into the white plug below.
Use you nails or a micro screwdriver (or paper clip) to pull the locking clips back (the ones you pushed in) and insert them into the connector as shown. They only go in one way and you should feel them lock in, if they don't it's not the end of the world. Note, I've copied the colour assignment from the other articles, black I assume is ground, then red and white are left and right channels. Not gospel, but thats how I read it.
Some in situ soldering. Note the black wire pin is actually the cable shielding.
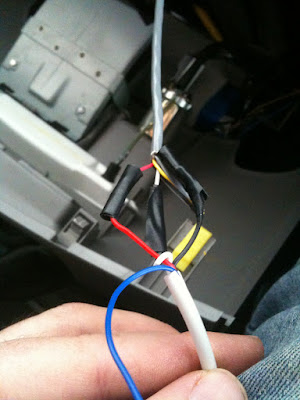
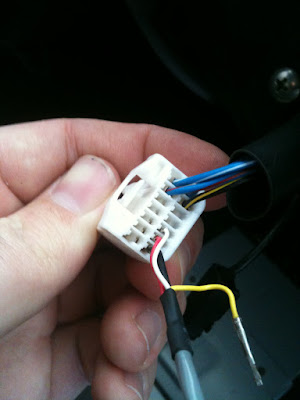
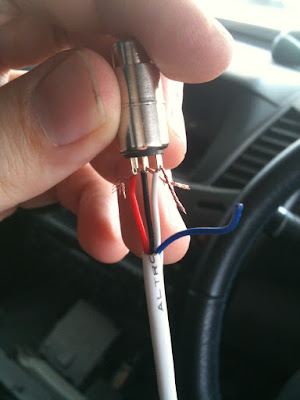
My chosen stereo jack connector. I got the wires as separate as possible and soldered them still, then individually wrapped each wire and pin with electrical tape, then wrapped it all together. Plug in your audio source and test the connections at this stage. I got nothing at first, I had to push the pins into the white connector a bit more once the white connector was plugged into the radio.
 I'm not sure what caused it, but when I was testing the wiring out, shorting some of these wires together caused my iPhone to go to voice command. I couldn't repeatably do it, so not sure which ones shorted, or if I did it twice quickly or something.
Put your trim back together, and run the cable back underneath the centre console trim. I used a small drill bit and a round file to get the hole just big enough for an interference fit. I used some strong silicone sealant to glue the connector to the back of the switch plate. With the interference fit and the large glob of silicone as backup, it shouldn't move. Will resort to some stronger glue if need be.
So remember to check your connections before you put everything back, try not to make n00b mistakes like solder wires without checking they are routed correctly when it all is going to go back together (unbeleiveably I managed not to).
This project is ideal to wire your UHF in at the same time, I finally tidied mine up...

The UHF is Velcro'ed under the seat with power, aerial & display all running underneath the centre console. The UHF is actually small enough to go in the centre console bin, or mounted to various other points, but the day was late, so it will remain under the seat for now.